Welcome to the Weekend Workshop, a place where you can save some cash by getting your hands dirty. These tech guides aim to arm you with the necessary info and knowledge to get out there and give it a go yourself, with no professionals needed, at a price that won’t break the bank. This month, we delve into MIG welding an exhaust system; nothing too fancy — just a basic mild-steel three-inch exhaust system like that found on many of your more common builds. For this Weekend Workshop, we will follow the team at TTT Auto Engineering as it builds a three-inch system on a 13B turbo RX-3, using mufflers from Adrenalin R, but you can take the skills shown here and apply them to any exhaust build, no matter what size or application.
Tools
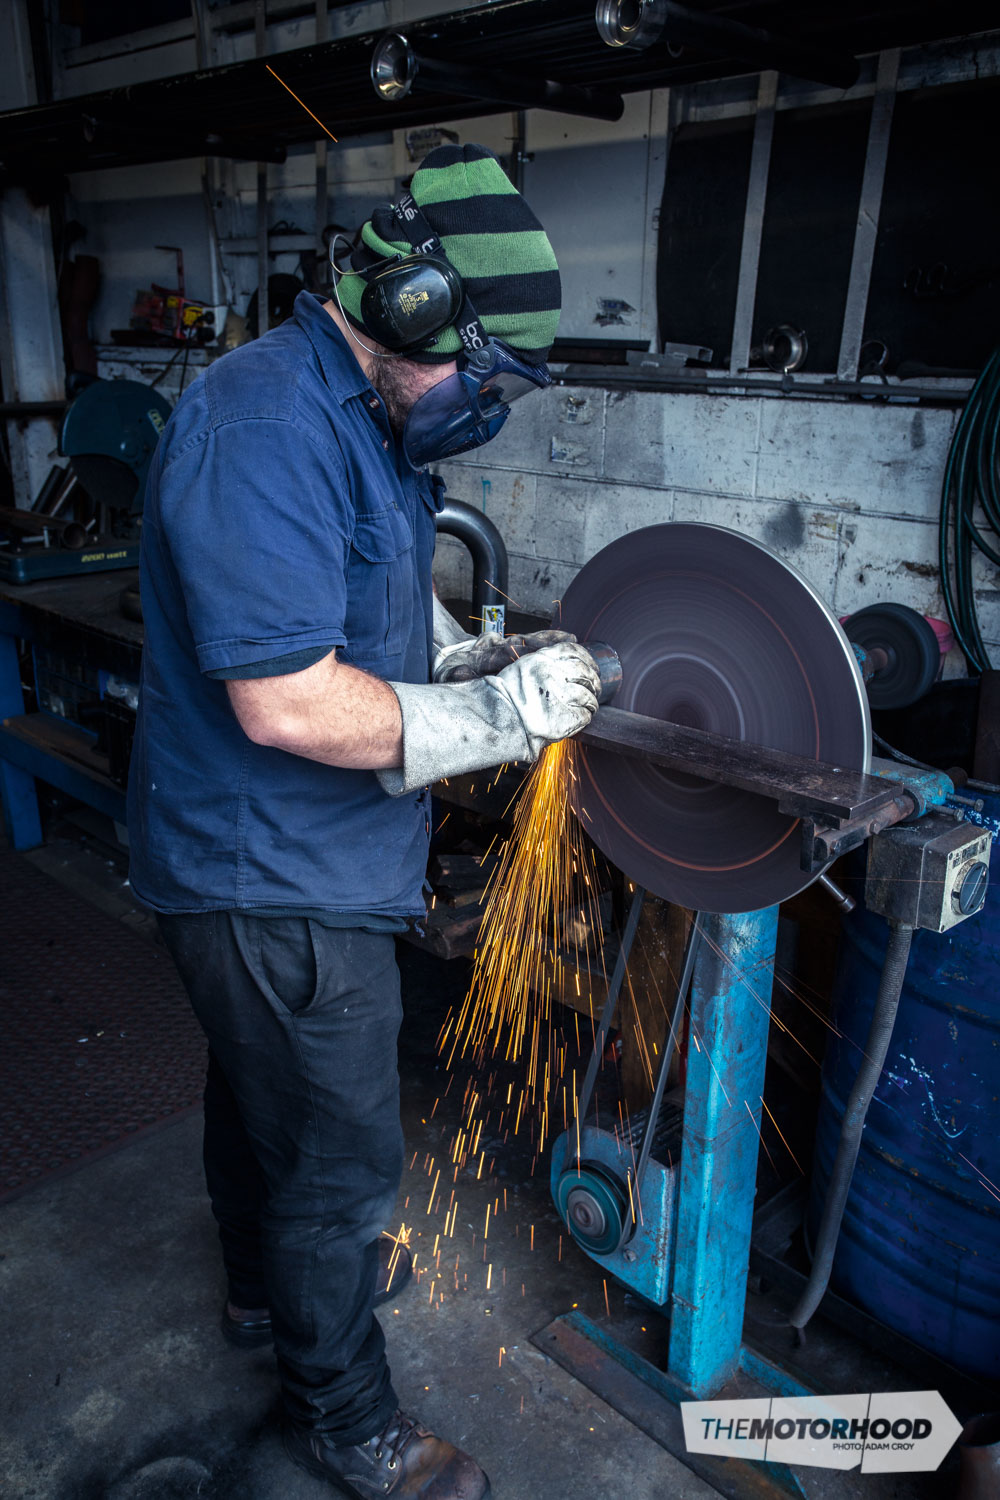
You will need a MIG welder and associated safety equipment. A 200-amp machine is used here, but a much smaller welder will be fine for such thin material. You will also need a jack and jack stands, if you don’t have access to a hoist. A grinder with both cutting and sanding discs or, if you have one, a metal cut-off saw will make life easier but is not a must-have. You should also use sunblock on any skin that will be exposed to welding radiation, as it will burn very quickly.
Time
The TTT team works fast and hammered out this complete system within a few hours, but doing it at home without a hoist and lying under the car on your back will add a bit of time, so expect to lose the best part of a day.
Expert level
We say moderate. If you are a quick learner with the welder, then life will be easy; if you have never picked one up before, it will be very hard to replicate the MIG welds shown, but, as long as you’re patient and practise plenty, you will get there.
Step one — plan it out
The keys to building a long-lasting exhaust system are preparation and using the right materials.
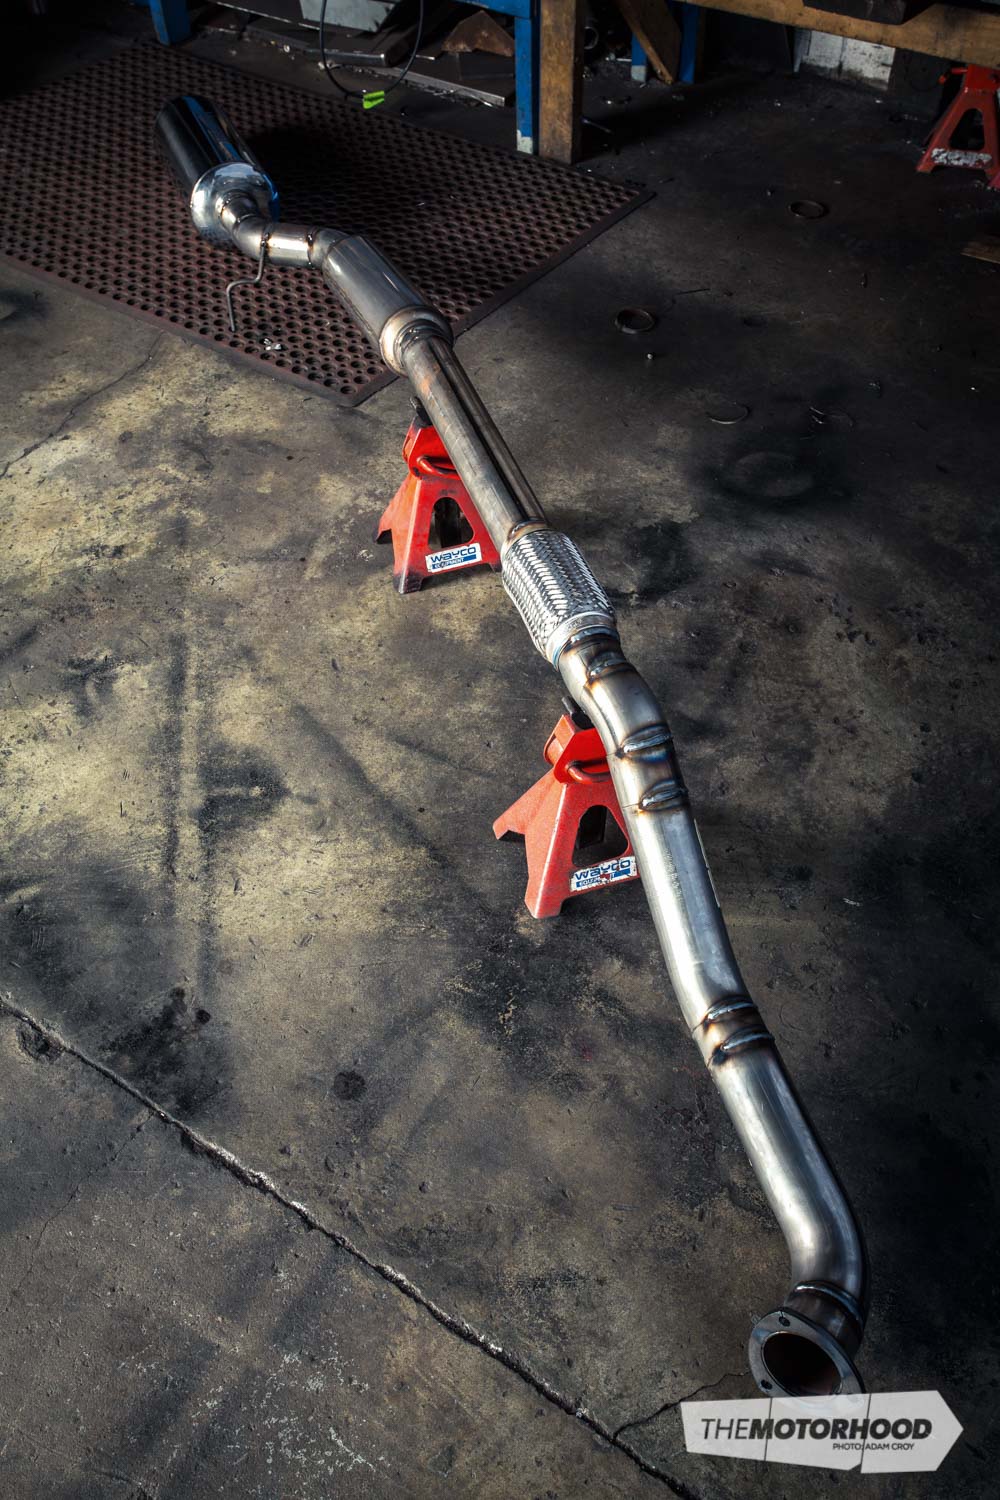
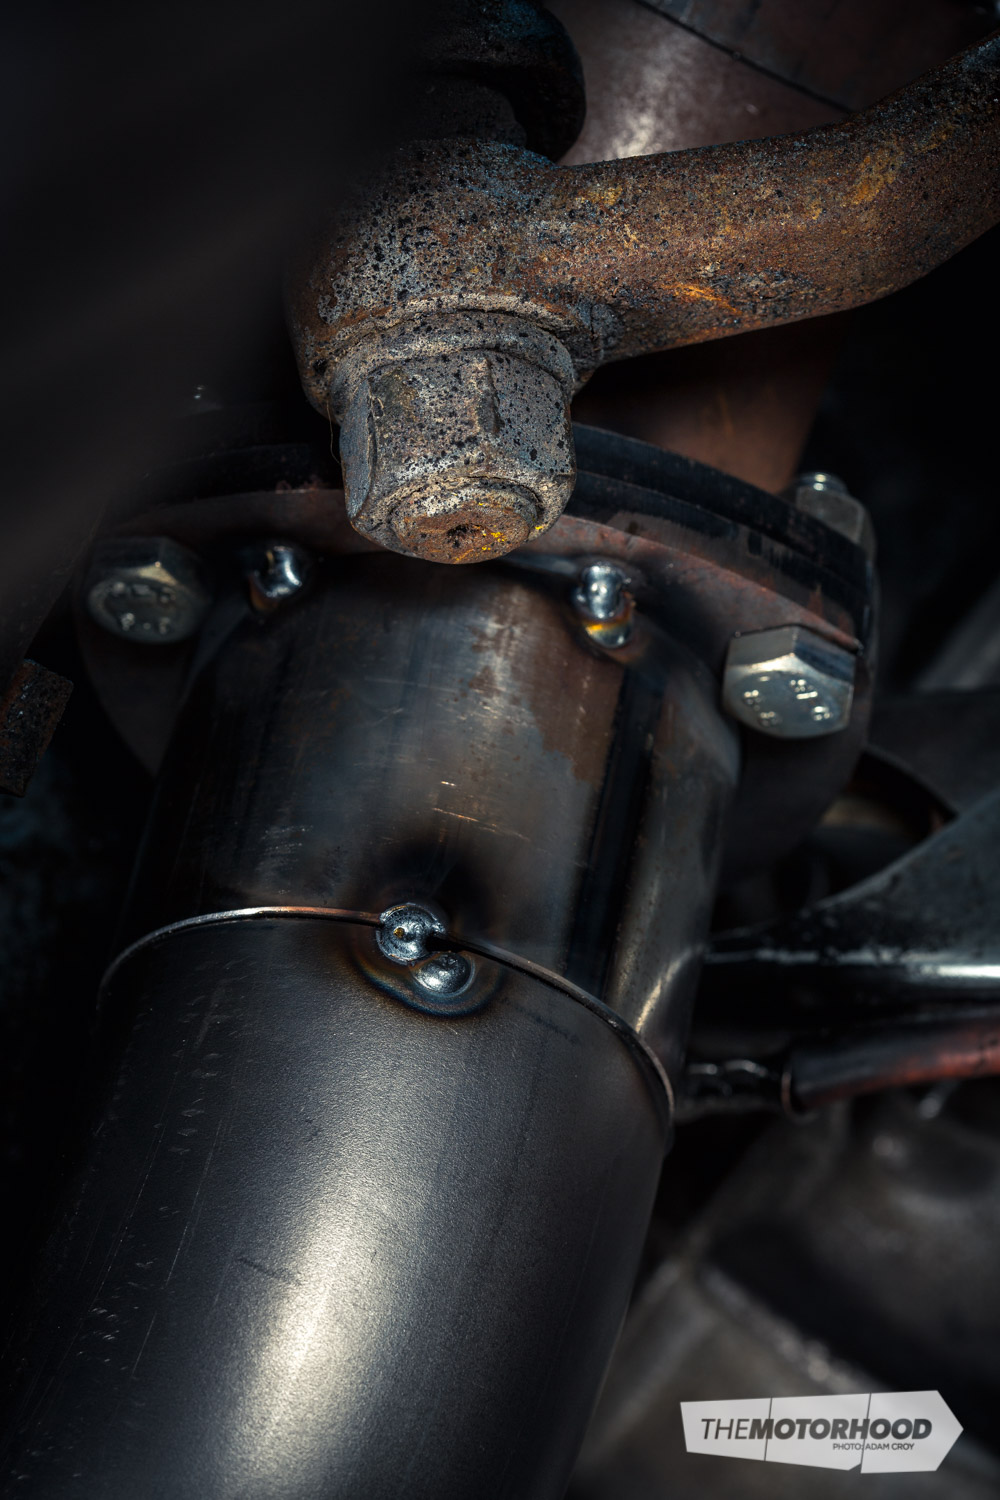
TTT has the luxury of a hoist, but most home garages will not have one, so a jack and jack stands will do the trick. Make sure you get the car up as high as possible. In the car shown here, the downpipe from the turbo was already in place, and this was our starting point. The system will also run a flexi joint and one of Adrenalin R’s high-power packages with a single resonator and rear muffler. If you do not run a flexi tube, the system will be under tension from engine movement, and will be likely to crack sooner rather than later.
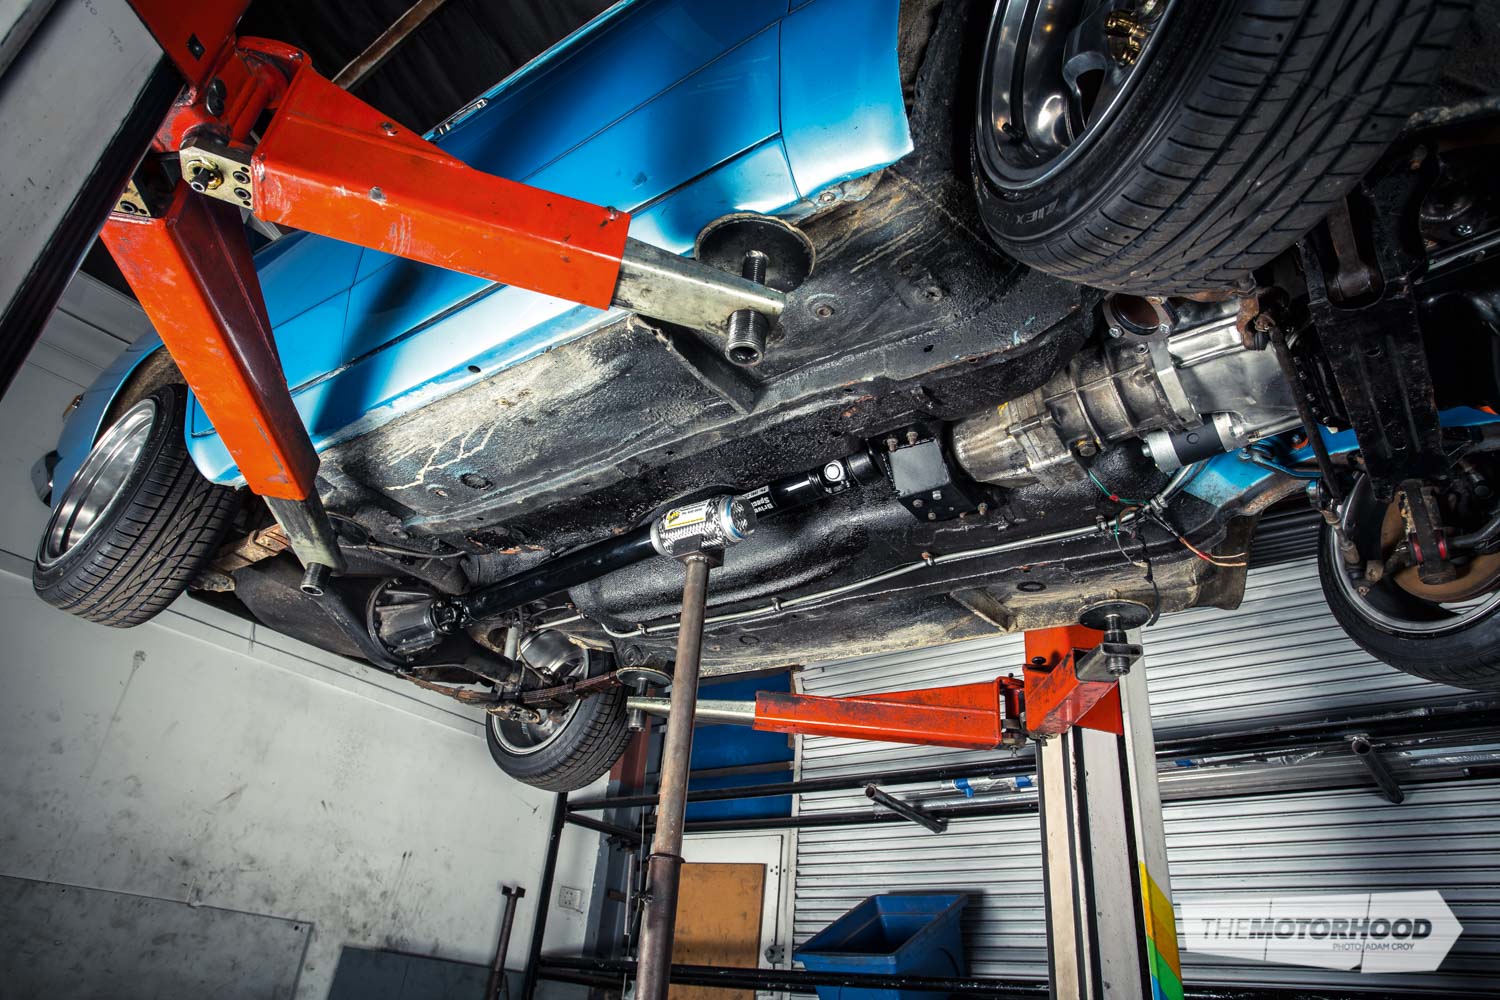
Step two — ensure you have clearance
With ground clearance a major consideration, begin by placing your mufflers and flexi joint in the best locations for them, which will give you a direction when planning the route. With the downpipe the starting point, make sure it’s tightly secured to the engine, as 1mm of movement up there will be multiplied at the other end of the exhaust. With the rear suspension at full droop, we ran the pipe straight under the diff, just touching it — this will give you maximum ground clearance and ample clearance from the suspension, unless you plan to do some massive jumps.
Step three — parting up
The team at TTT prefers 2mm wall mild-steel bends rather than 1.6mm. Using the 2mm wall thickness will make life easier come welding time, and fight the rust a little longer, too.
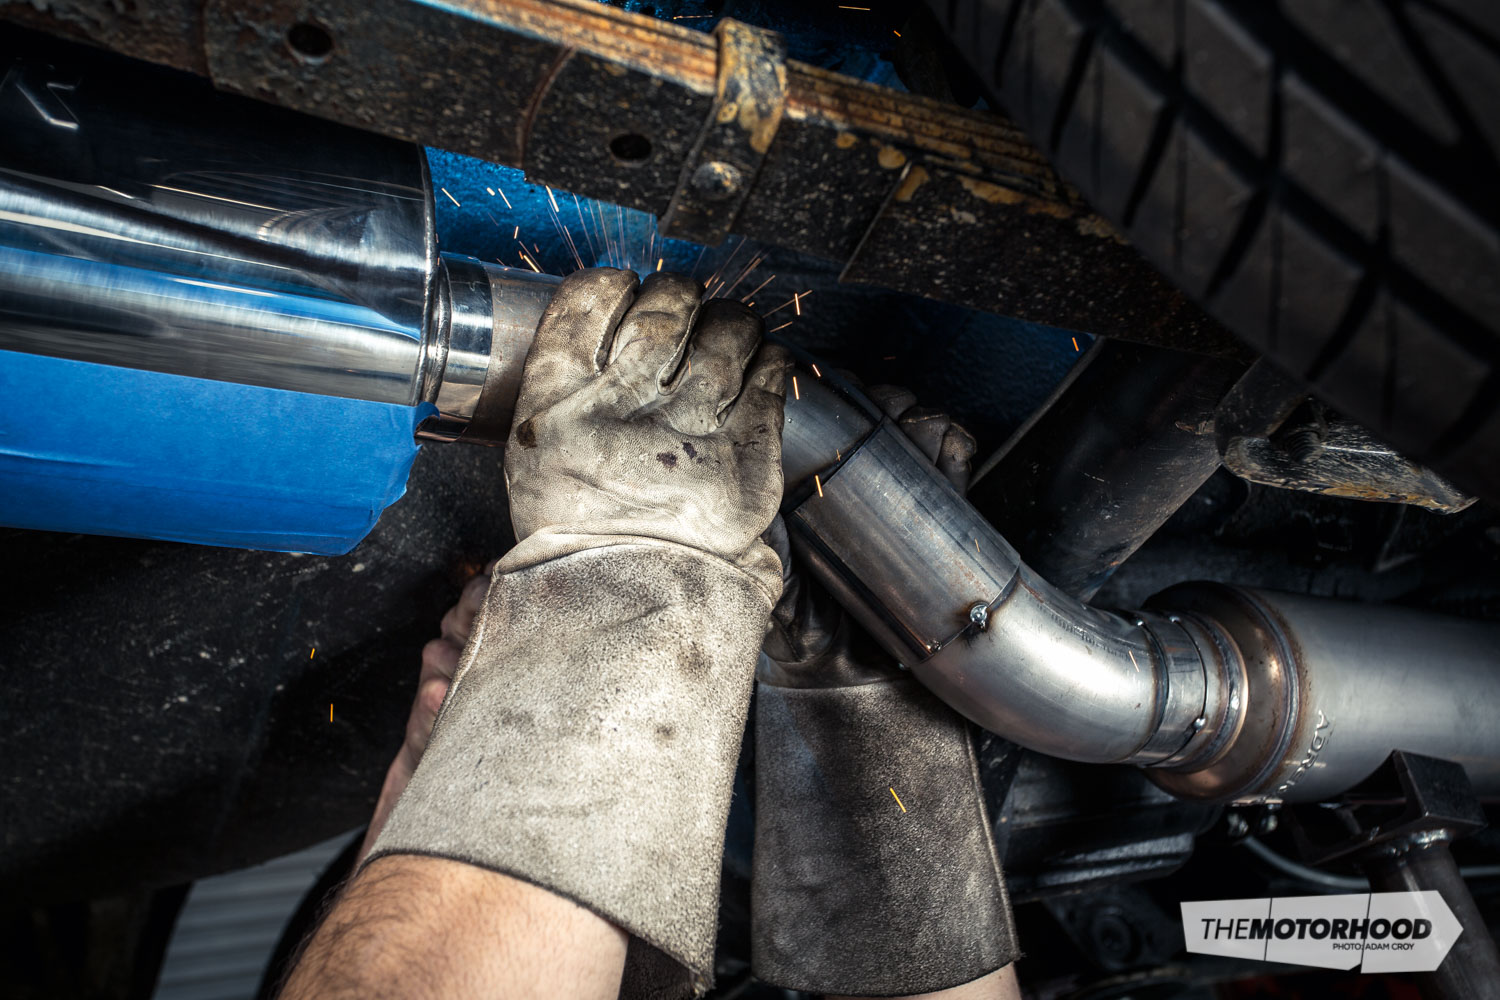
With the component locations locked in, begin by cutting 180-degree bends to 90-degree bends, and work at fitting the pieces until they link up the flexi joint and downpipe. Make sure your joints are tightly butted for welding. If you spend time getting the joints perfect, this will save you plenty of time in the long run and heartache when it comes to welding. Concentrate on getting this first section sorted and tacked before moving on to the next.

Step four — setting up to weld
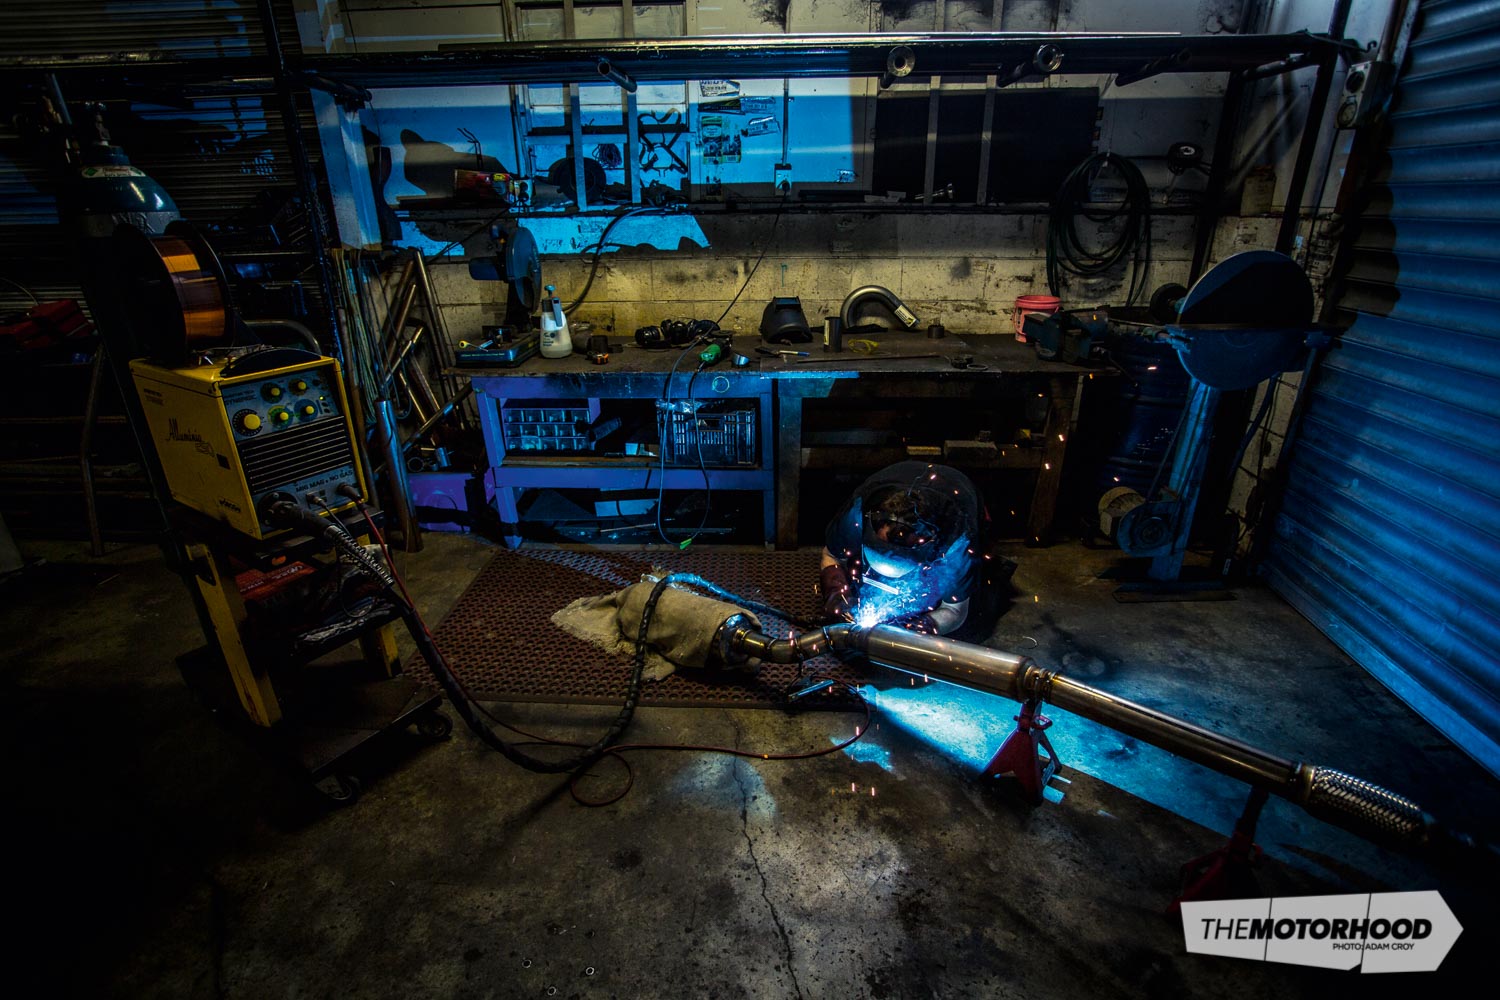
We can’t give you the exact settings to use, as each welder and situation will be slightly different. The machine TTT used was a 200-amp MIG with the amps set at 65, the wire feed at eight metres per minute, and the argon flow at eight litres per minute. Remember, these settings are for when using a 2mm wall; if you’re only using the 1.6mm steel, you will need to turn down the amps.
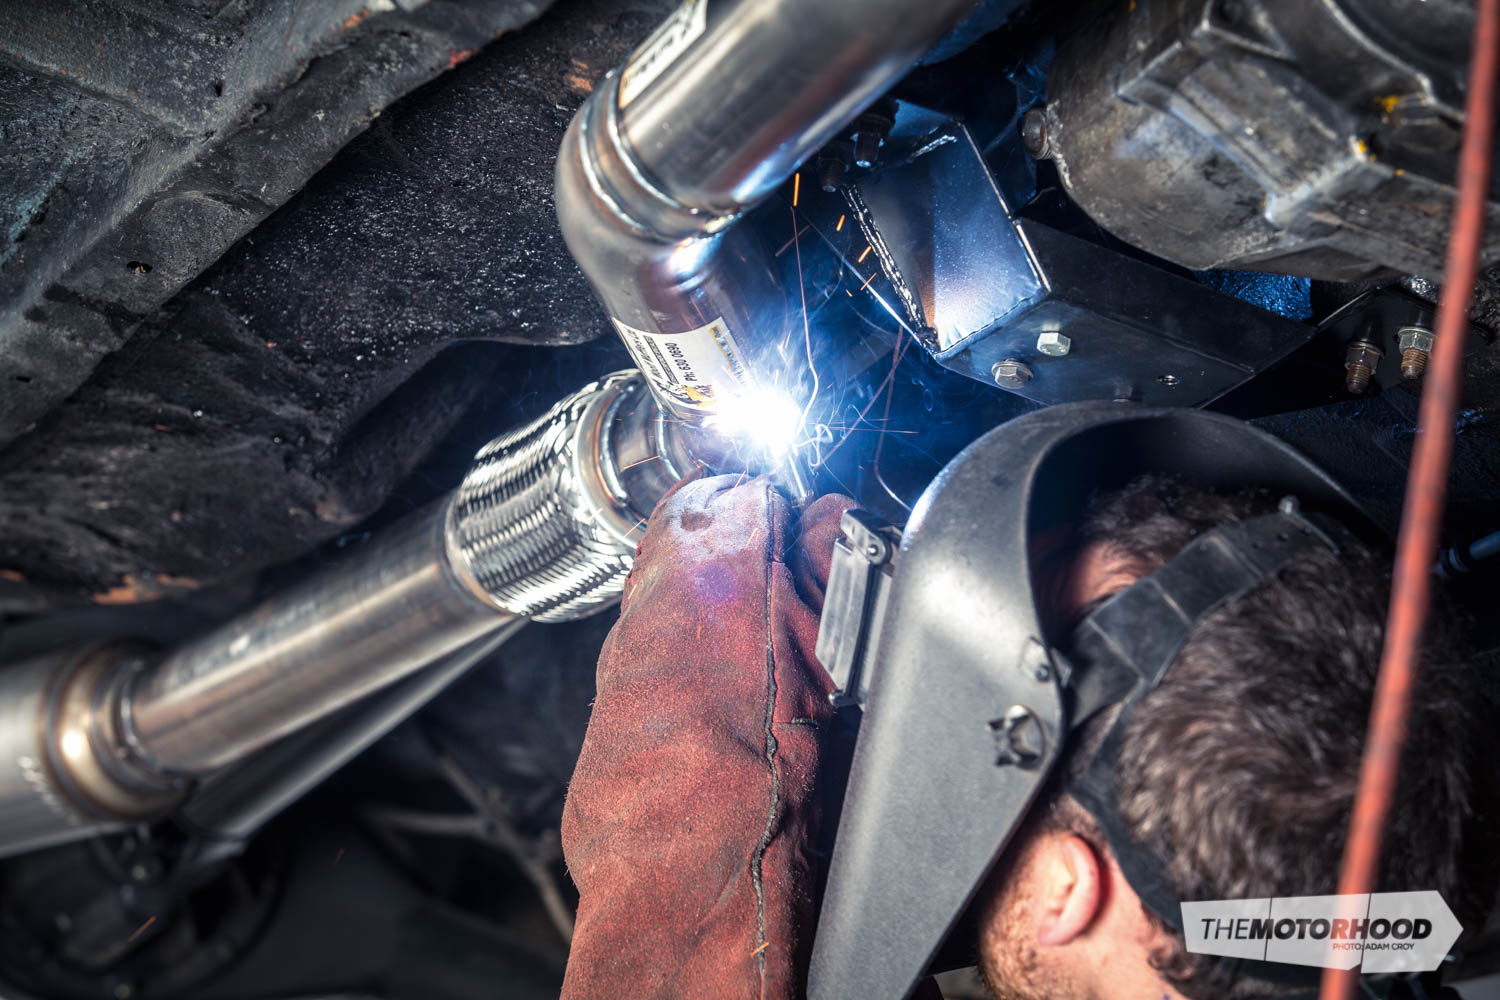
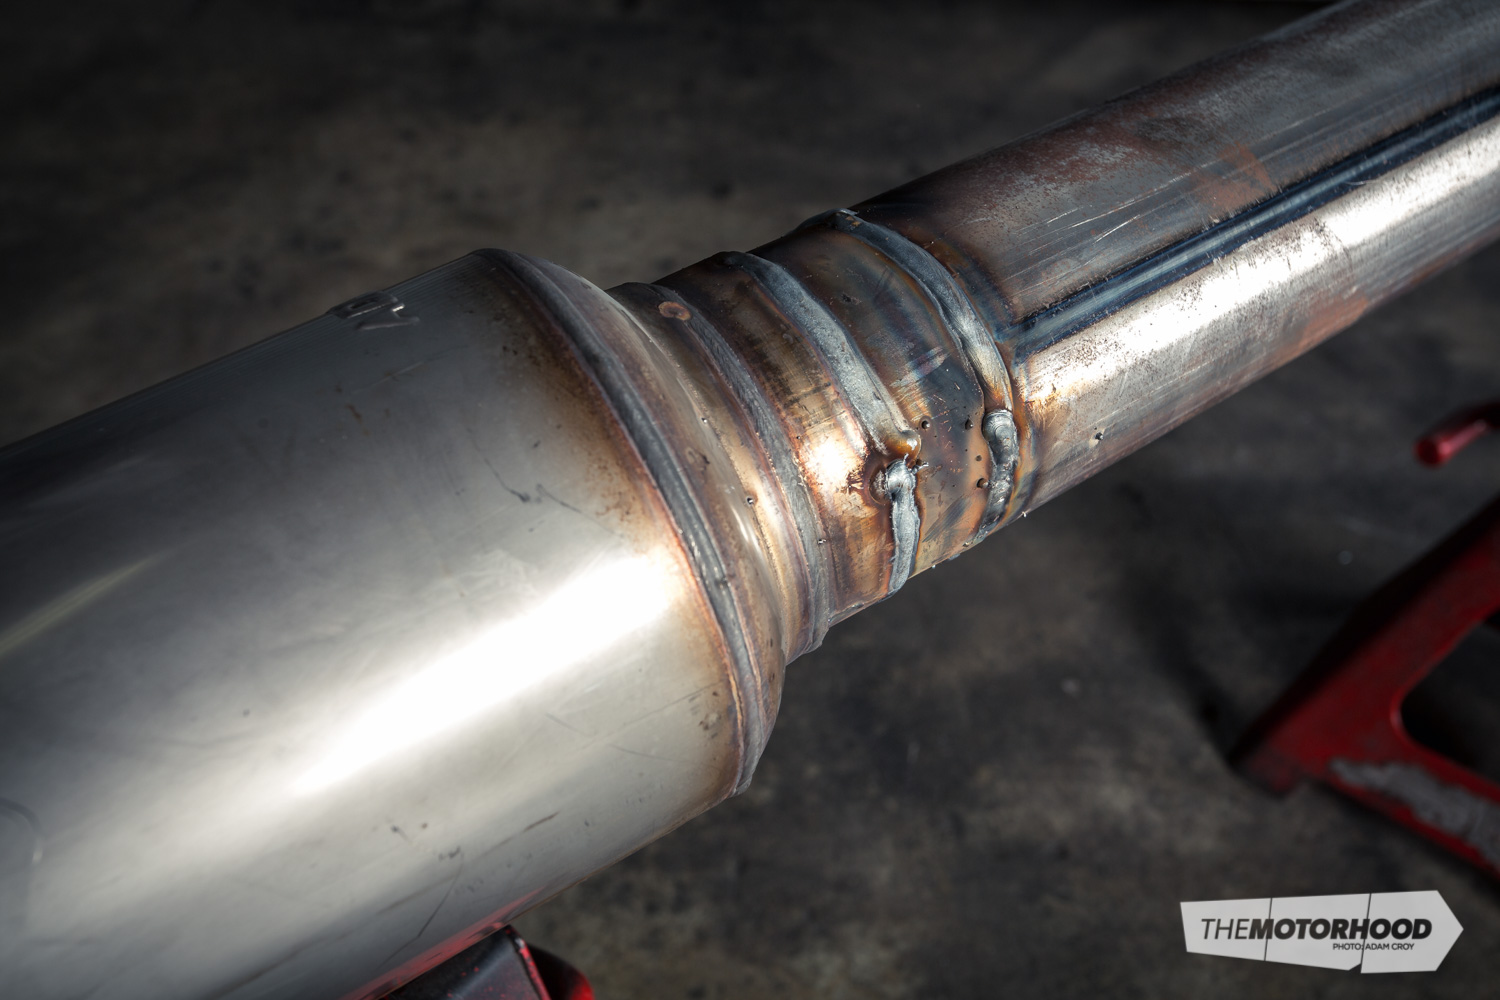
Take two pieces of scrap pipe, butt them together, and practise tack welding. When welding, especially if the pieces are not perfectly butted, always start on one piece and move across the gap to the other rather than directing the wire into the butt. Hold the welder with two hands, so the tip is no more than 12mm from the surface. Keep the torch at 90 degrees to both pieces you are welding. Take a look inside the pipe to see if your weld is penetrating properly. Practise, practise, and practise some more, until perfect.
Step five — tack it up
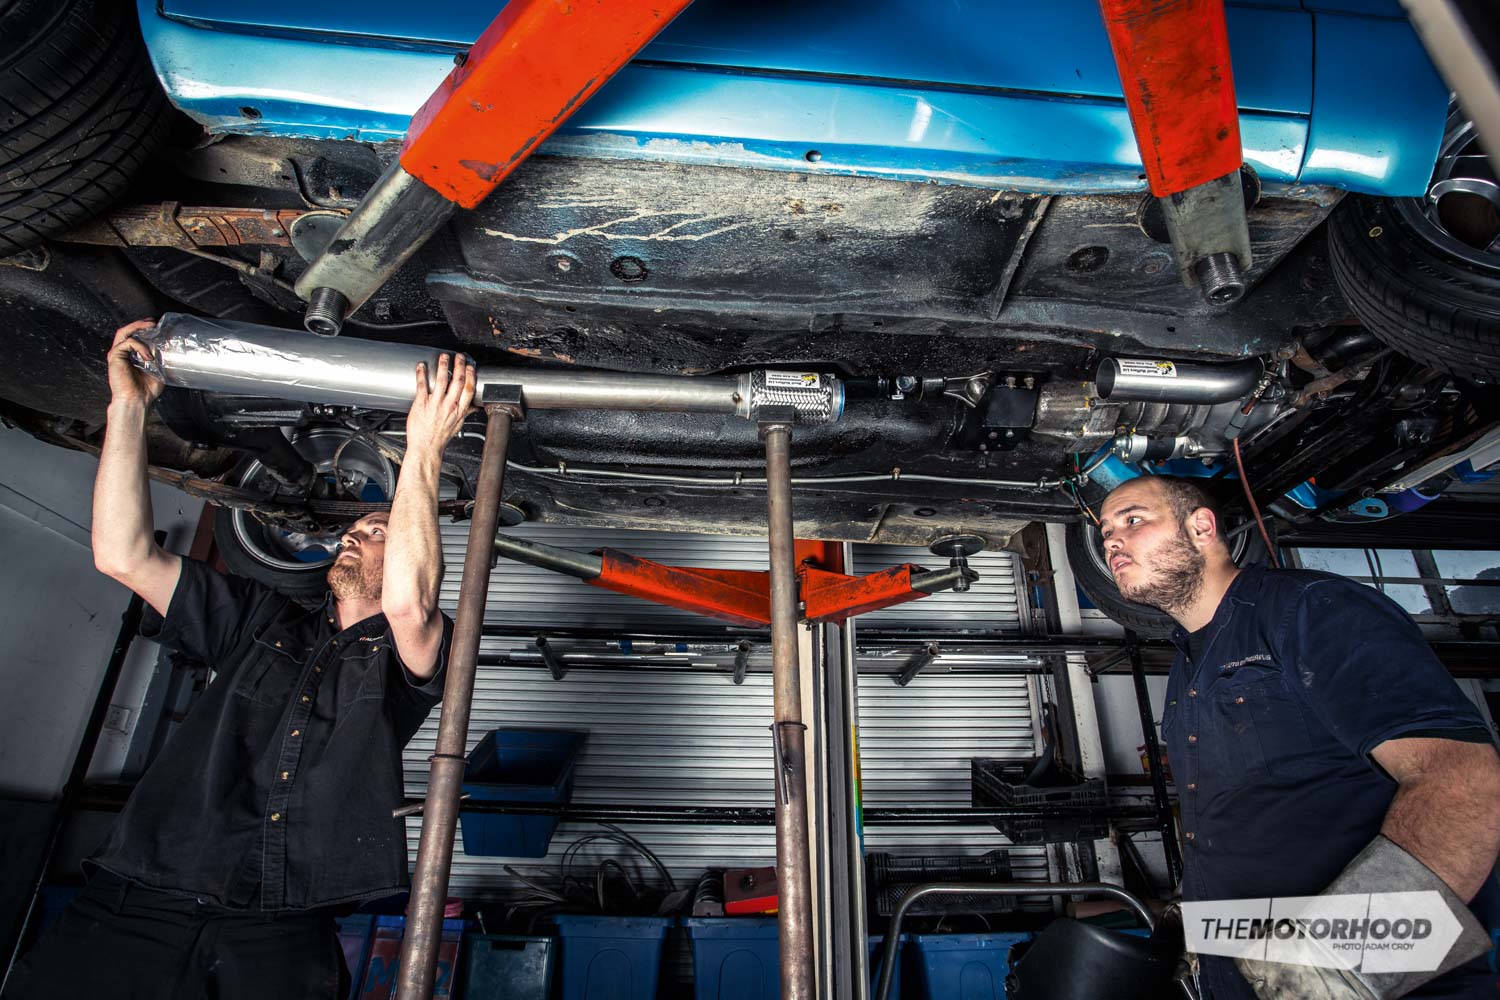
Once you have your settings sorted, tack each joint in four places with single tacks, spreading them evenly around the pipe. Start with the welder pointed at one piece, then move across, forming a bridge. With the first section tacked, move onto the section between the flexi joint — the resonator — get that tacked, and then the final section.
The reason we tack the entire system before fully welding any sections is so that you can test whether everything clears. You will want no part of the system to make contact with the body, or any parts. Too close to the floor and it will not only rattle like crazy but could also melt your shoes or your paint, or set your carpet and sound deadening on fire.
Step six — fully welded
To get your welds looking their best, visually split the pipe into four pieces and only ever weld down-slope. Weld the two side quarters on the car, then remove and weld the remaining two segments (the top and bottom) with the exhaust propped up on the floor and turned, so you are still welding down-slope. When welding down-slope, you will want to keep a fast motion going with the torch, with the wire feeding just in front of the molten pool. The longer you weld, the faster you will need to move, due to heat soak. Practise this on a spare piece to get the speed sorted. As an alternative, you could pulse weld, but this will take a lot longer.
To pulse weld, you tack weld the joint around 360 degrees. Make one tack, then wait until the red glow disappears, move half a tack and pulse again — repeat 1000s of times over. With either technique, you will need to spread your heat load, so weld one piece on each joint, then work your way around the entire system before reaching back to the opposite side of where you began.