data-animation-override>
“Welcome to the Weekend Workshop, a place where you can save some cash by getting your hands dirty”
These tech guides aim to arm you with the necessary info and knowledge to get out there and give it a go yourself — with no professionals needed, and at a price tag that won’t break the bank.

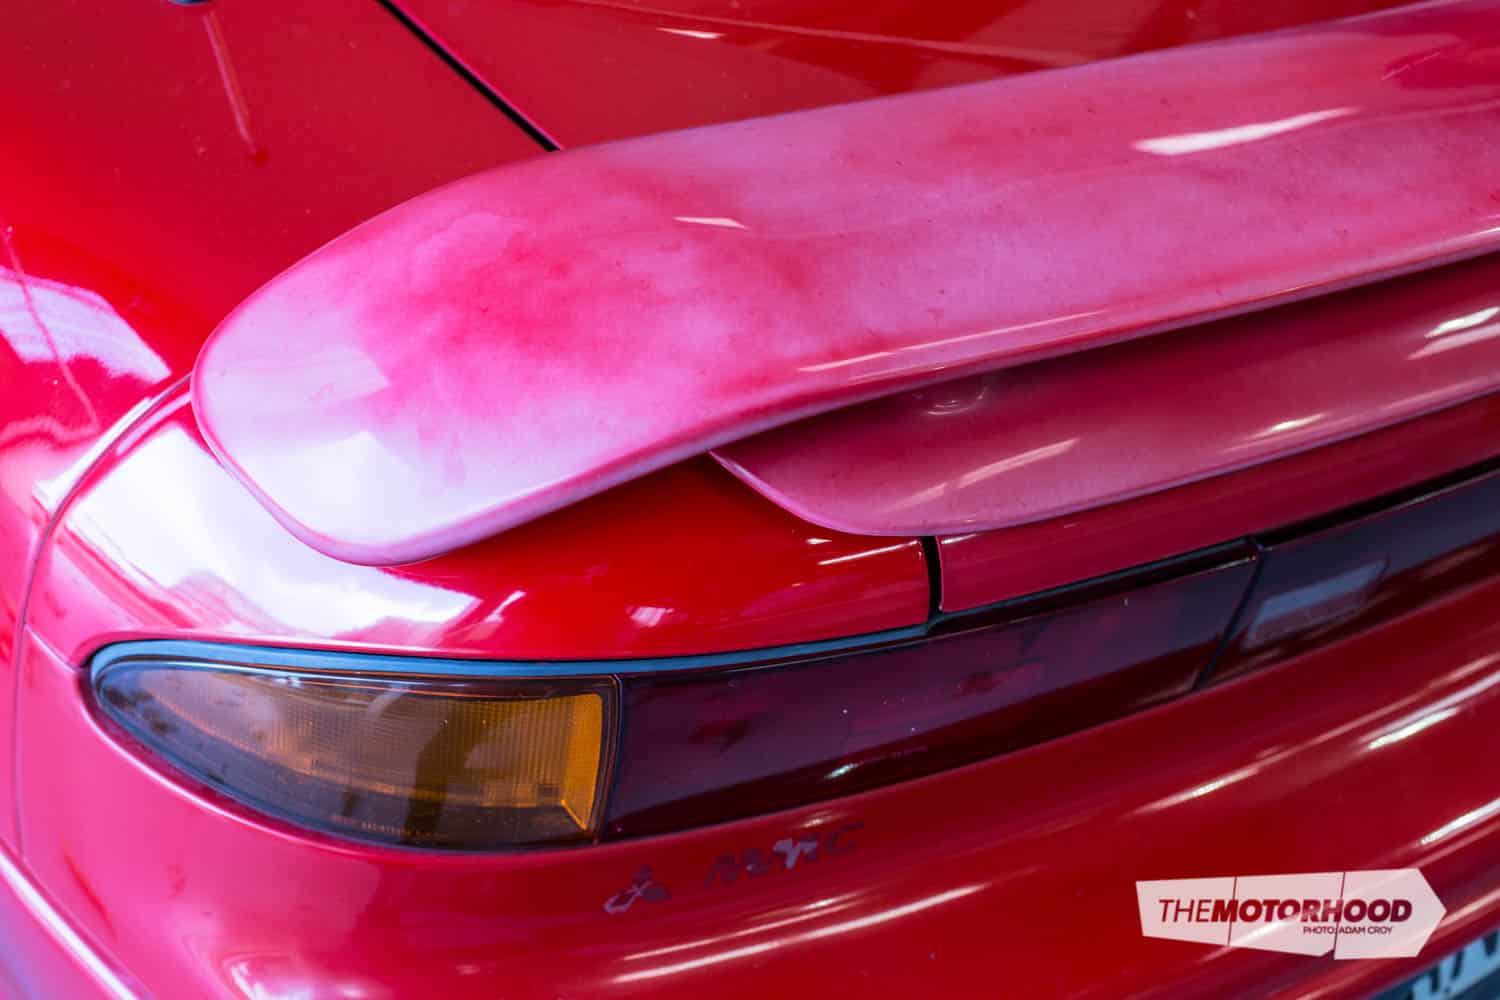
This month we delve into some DIY paint refinishing using the Lyndar Paint system available in all Supercheap Auto stores. For this tech guide, we will repaint the very faded wing mirror and rear wing on a certain GTO. Although you can obviously repaint or paint anything you wish using this system, including your entire vehicle.
We will refrain from quoting the amount used and time, as the job we chose is arbitrary and just illustrates the process. Anyone who can hold a spray can or spray gun can use this system, and by following the instructions you can expect to achieve a decent-quality finish.
Safety first
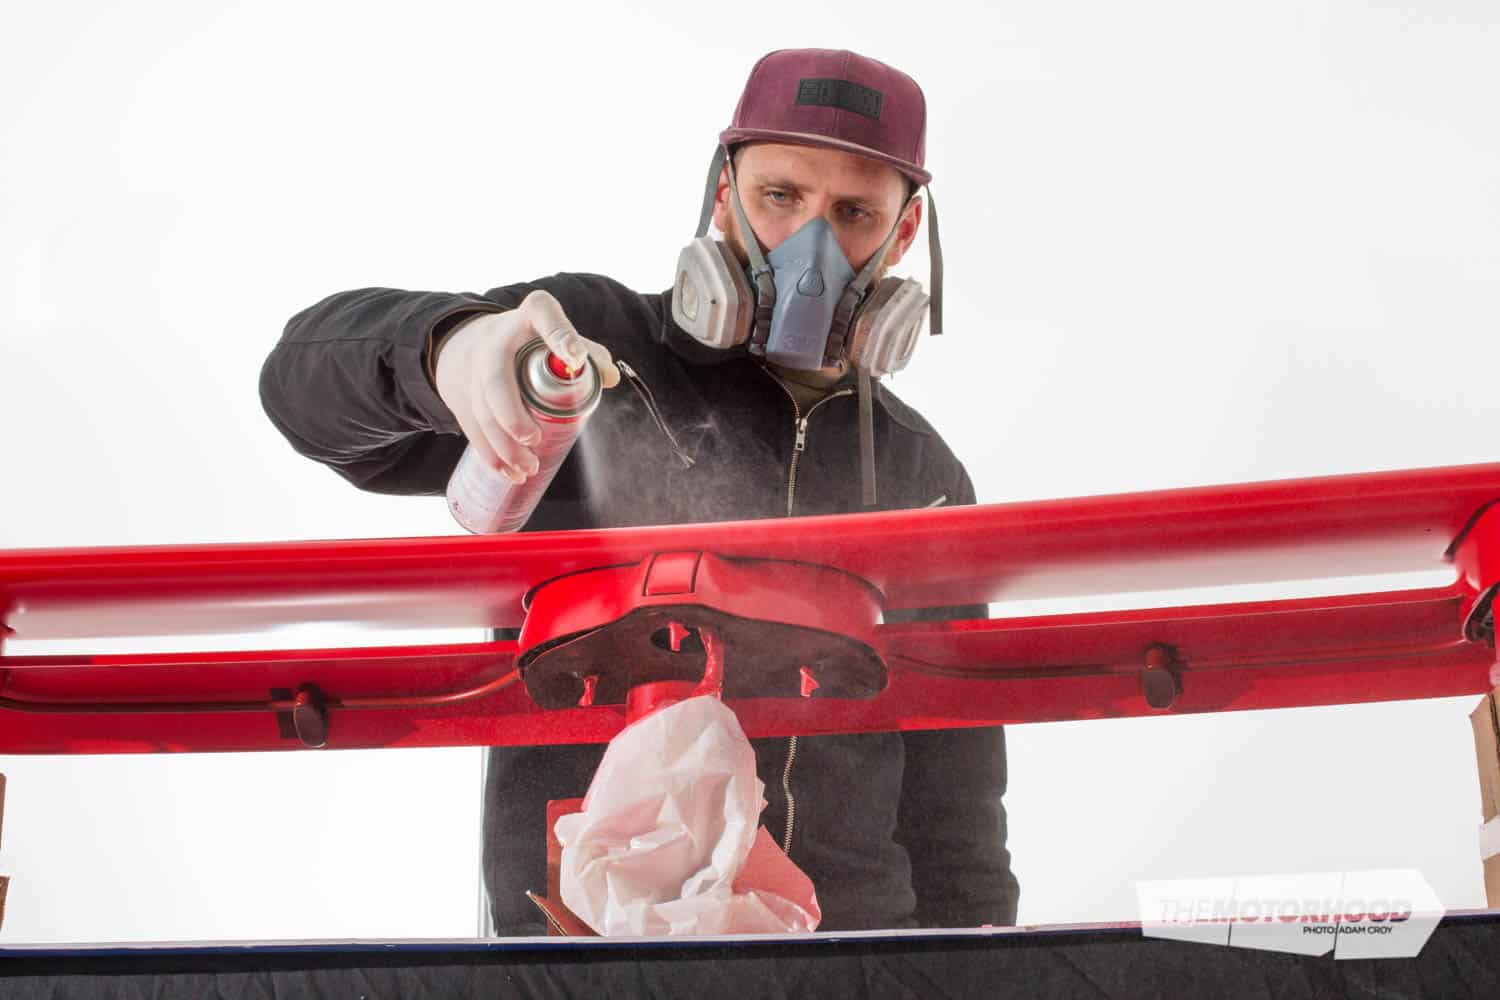
While you might consider yourself too cool to rock safety gear, the reality is that when painting you’re dealing with some shit which just isn’t meant to be absorbed into your body. Breathing in chemicals is no joke, so grab a mask — a replaceable carbon-filter type or a disposable one suited to painting, and not just the dust kind.

You should also protect your hands, as they absorb all the chemicals they come in contact with, so grab some latex gloves. These days you can get black ones if the ‘I’m about to give you a cavity search’ neutral colour isn’t your thing. Safety glasses will also help prevent your eyes from absorbing stuff. So stop being too cool, and cover yourself up!
Step one: mixing it up
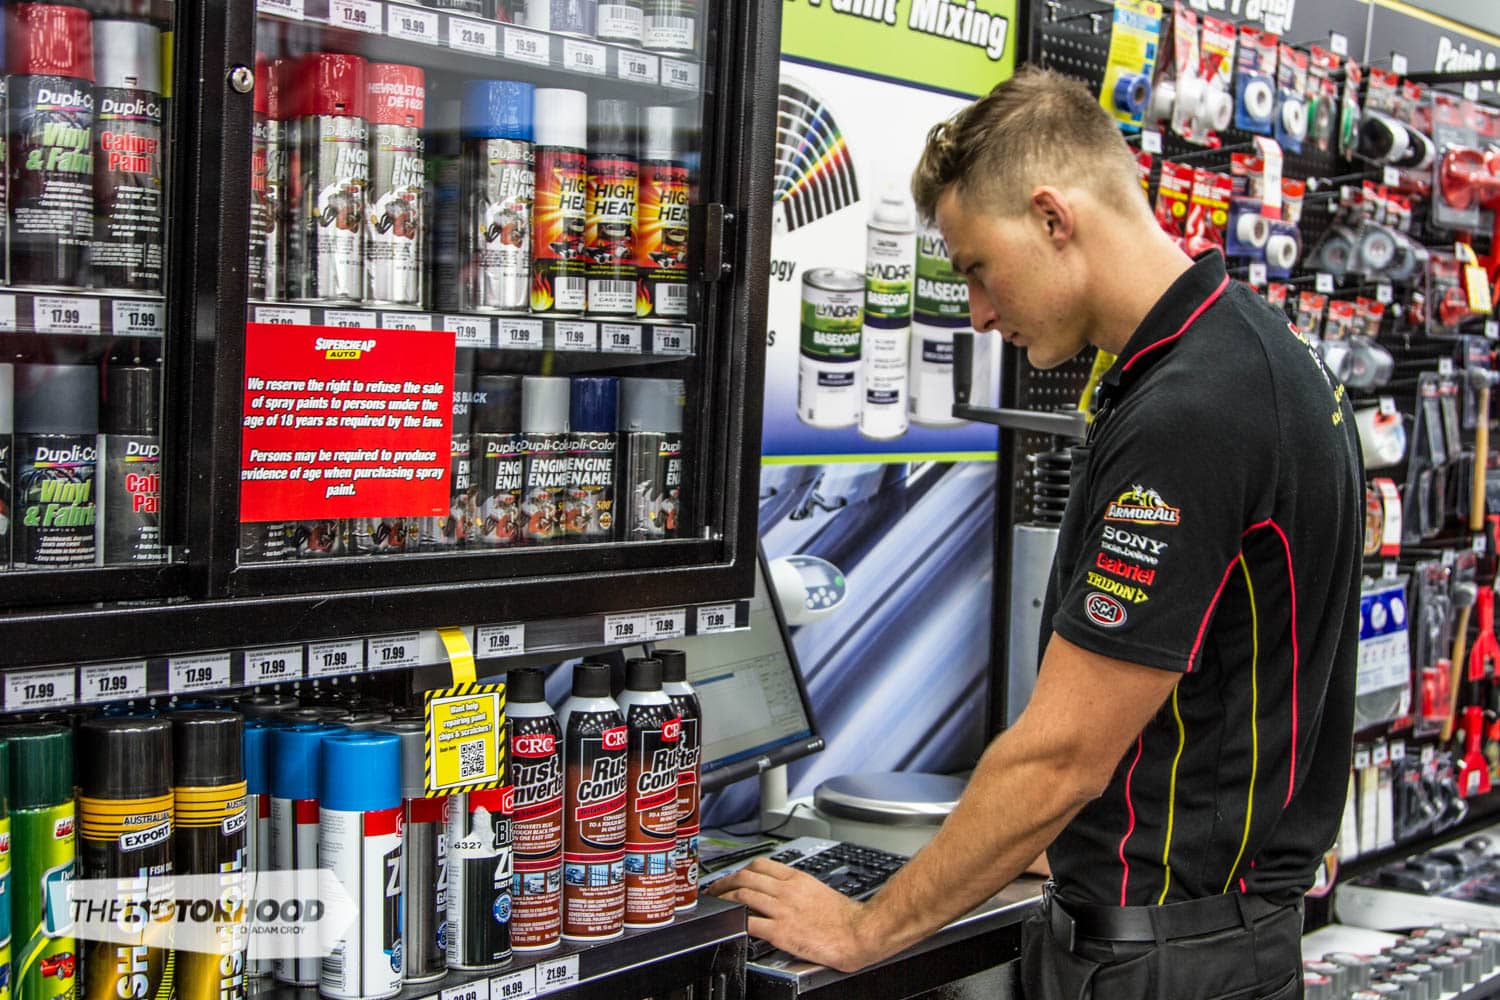
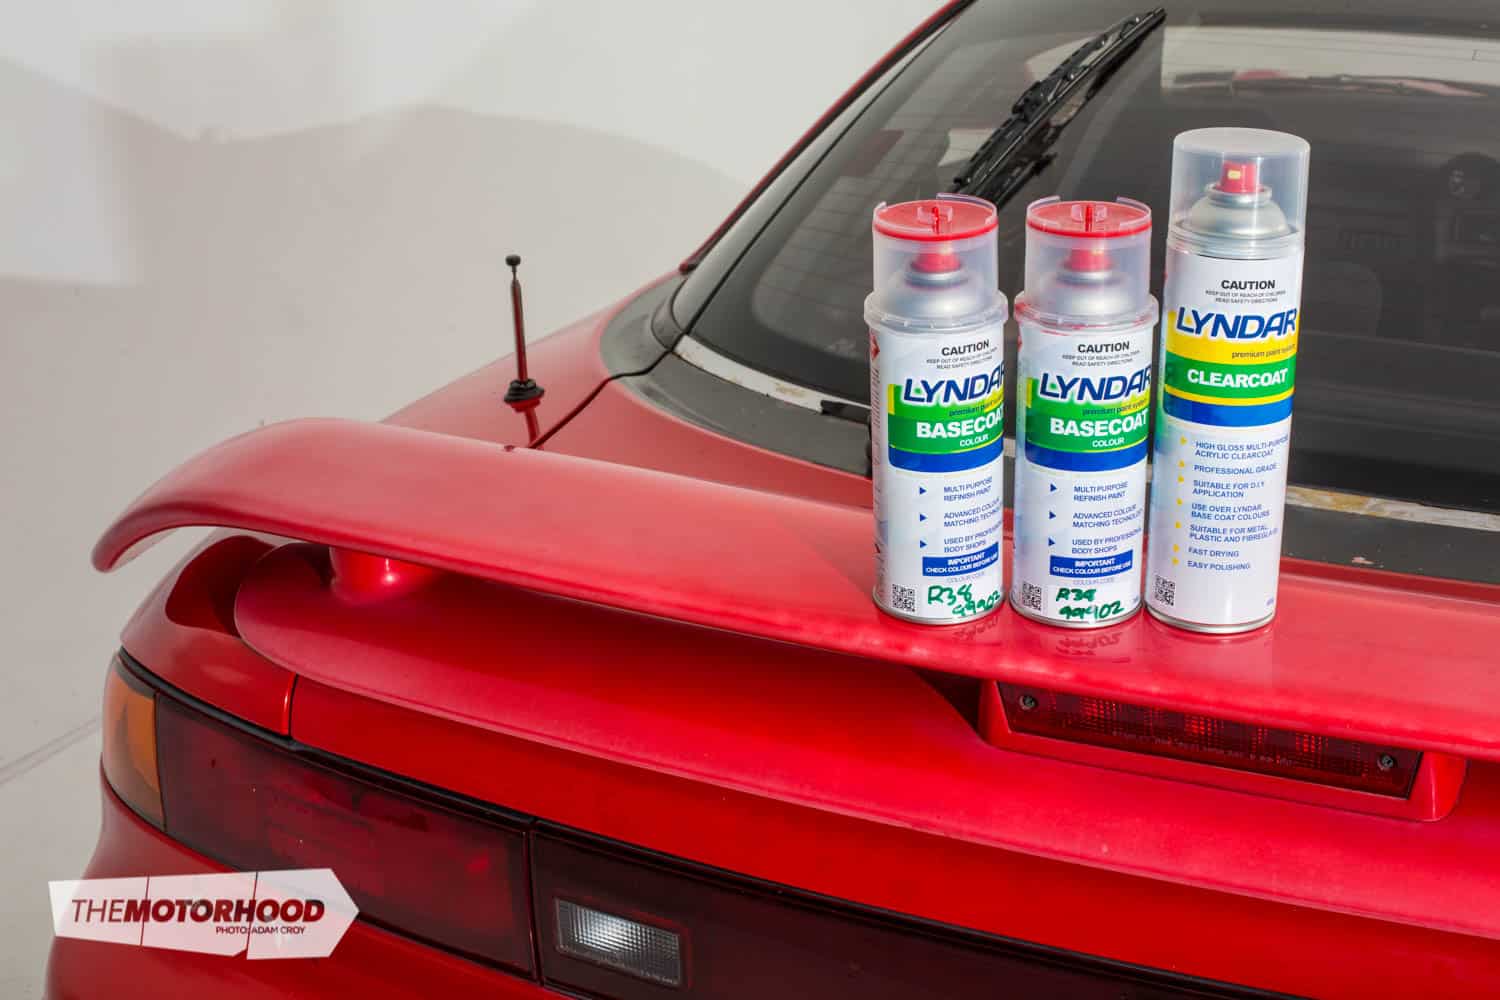
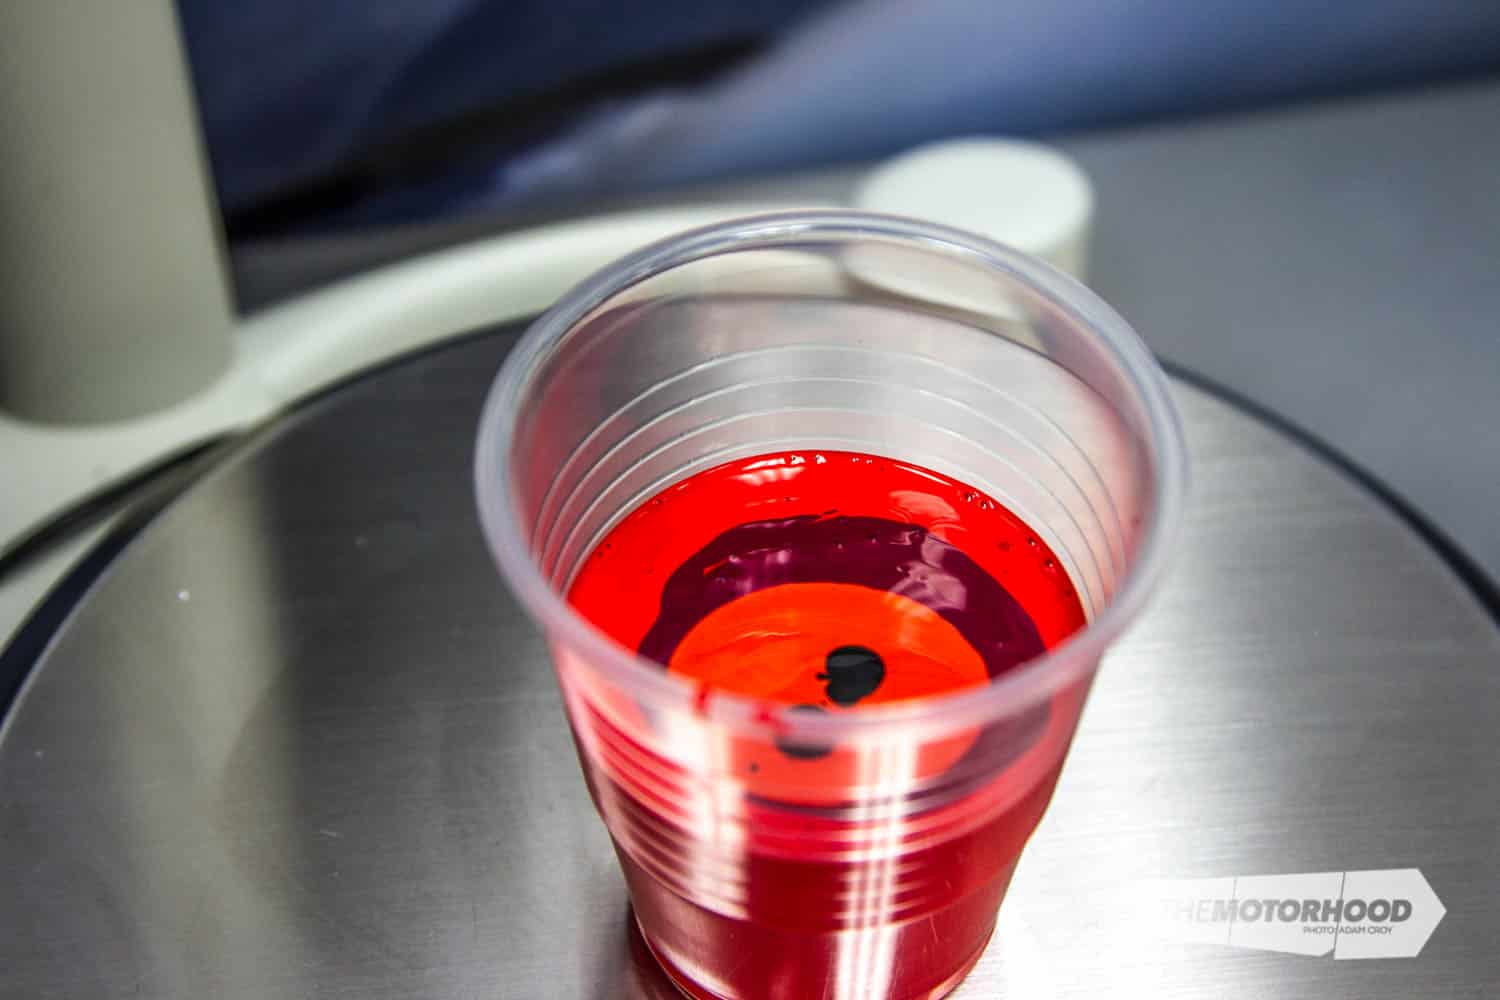
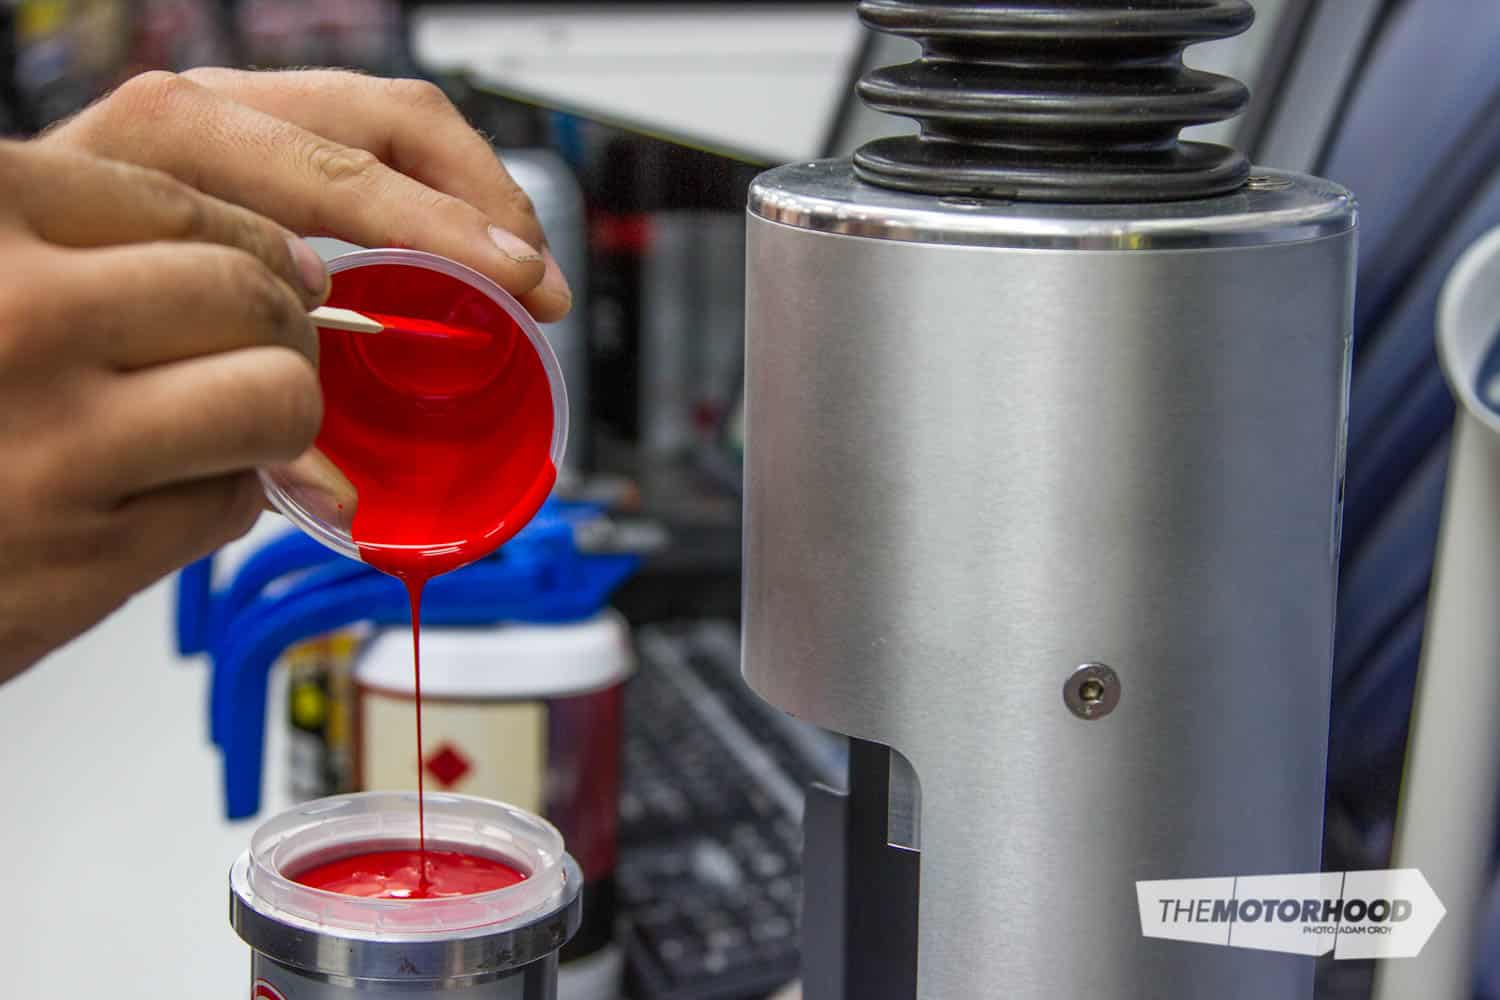
Your local Supercheap Auto store is equipped with a Lyndar paint-mixing station, and with little more than a paint code the SCA team can mix up damn nearly any colour. We went in armed with the GTO’s paint code. Although our red is a very basic, solid colour, the system can replicate nearly any paint you can dream of, including metallic and pearlescent colours.

For our job we had two ready-to-spray aerosol cans of colour mixed up, and one can of clear, though you can also just purchase the paint in 500 or 1000ml cans if you’re going to use a spray gun. If painting bare metal, you will also need to etch prime, then prime before colour. If it’s a bog/filler repair, primer will need to be applied before the colour. Everything you need to complete this job is available over the counter at Supercheap Auto. As we were spraying over an existing job that has no repairs or bare spots, we could get away without priming.
Step two: preparation

Sand all the surfaces you plan to paint with sandpaper. We opted for 1200, but you can use finer paper, including a Scotch-Brite pad. Cut your sheet into four pieces so it is easier to handle. Grab a bucket of fresh water and add just a dash of dishwashing liquid to provide some lubricant for the sandpaper (not too much). If you’re sanding back colour, like us, and not priming the surface first, you want to avoid going bare on corners, etc. You are only roughing up the surface so the paint has something to bond to. Dry off the surface to check progress. You want it to be smooth, and a consistent matte finish. If there are glossy spots everywhere it means it’s not flat, so you should continue sanding until the consistent surface is achieved.
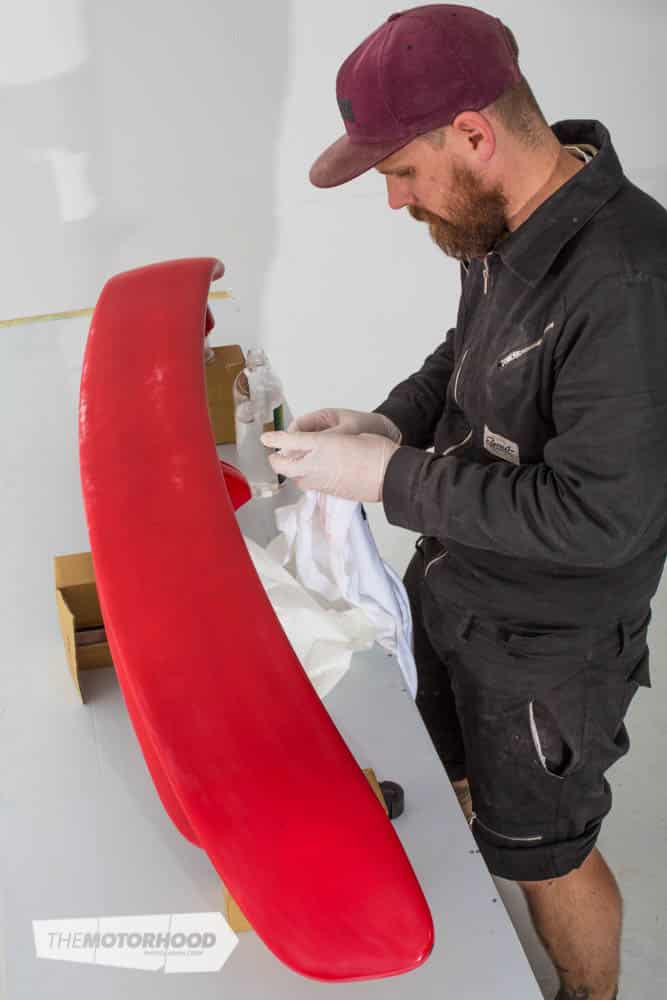
Step three: clean up your mess

Whip off as much of your sanding residue as possible with water, dry it, then grab a clean rag and repeat the process with wax and grease remover. Don’t be afraid to repeat the process a few times, as you want to ensure the surface to be painted is as clean as possible. Any contaminates will ruin your finished product. This is probably the key step in the entire process.
Step four: masking

Now you want to mask off any areas you don’t want to paint, including mounting hardware and wiring. If you’re painting something like a bumper, mask off any large holes with paper, as it will cut down on overspray. Once it’s all masked, give your part a final rub down with your wax and grease remover.
Don’t use cheap masking tape, it will have you pulling out hairs and swearing during both application and removal. Also, don’t leave something masked for weeks on end, as it will be very hard to remove when you get around to it.
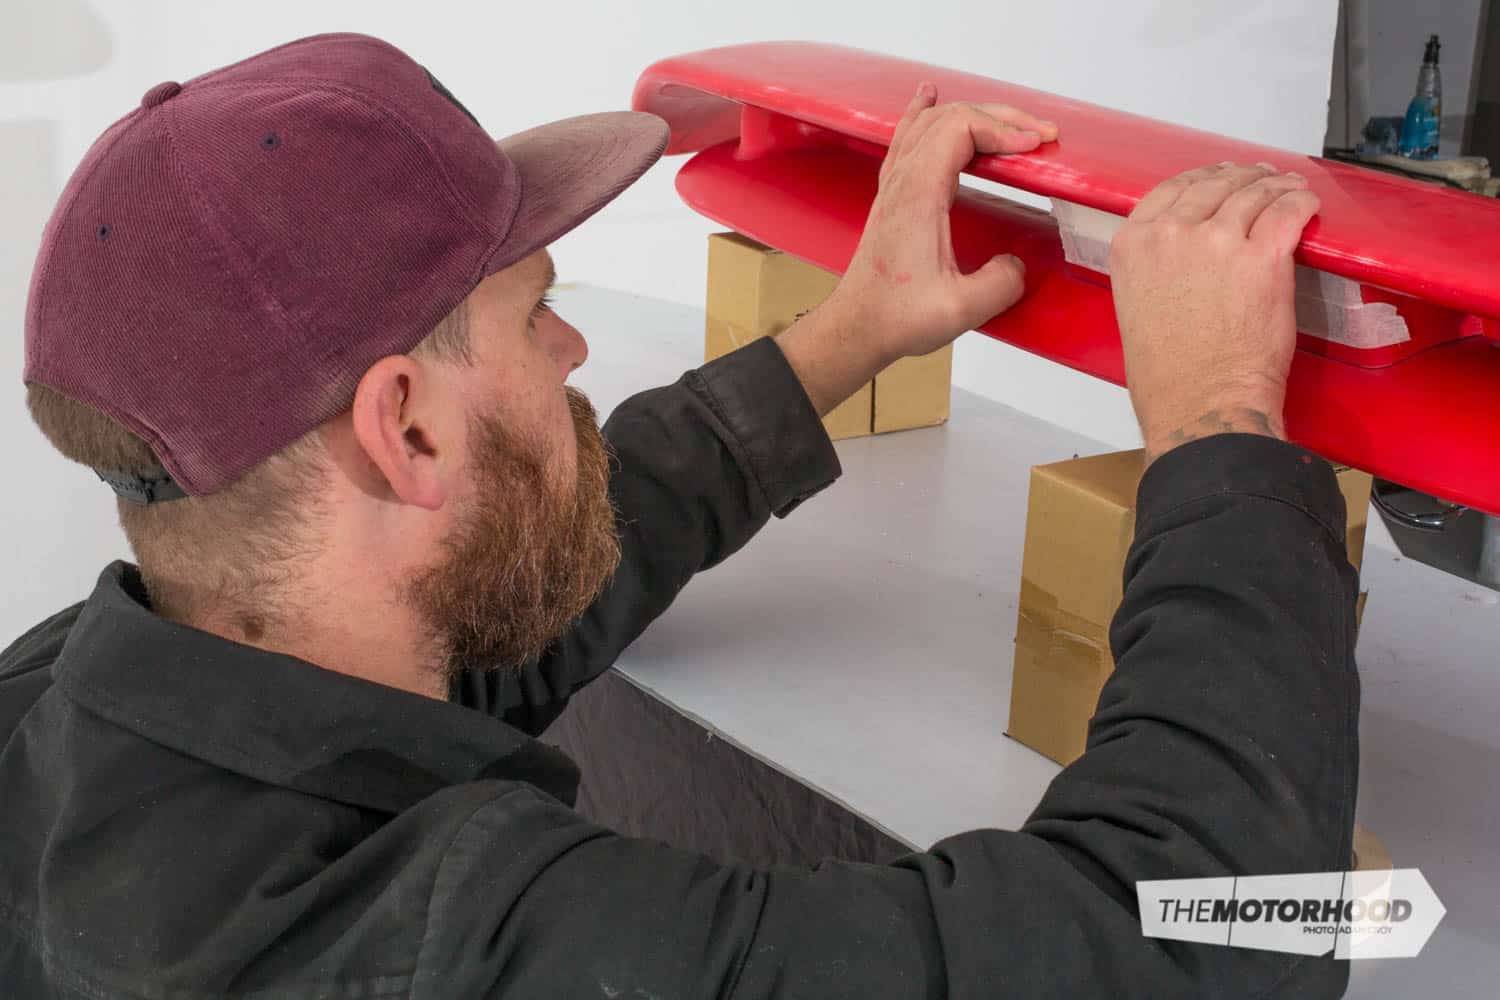
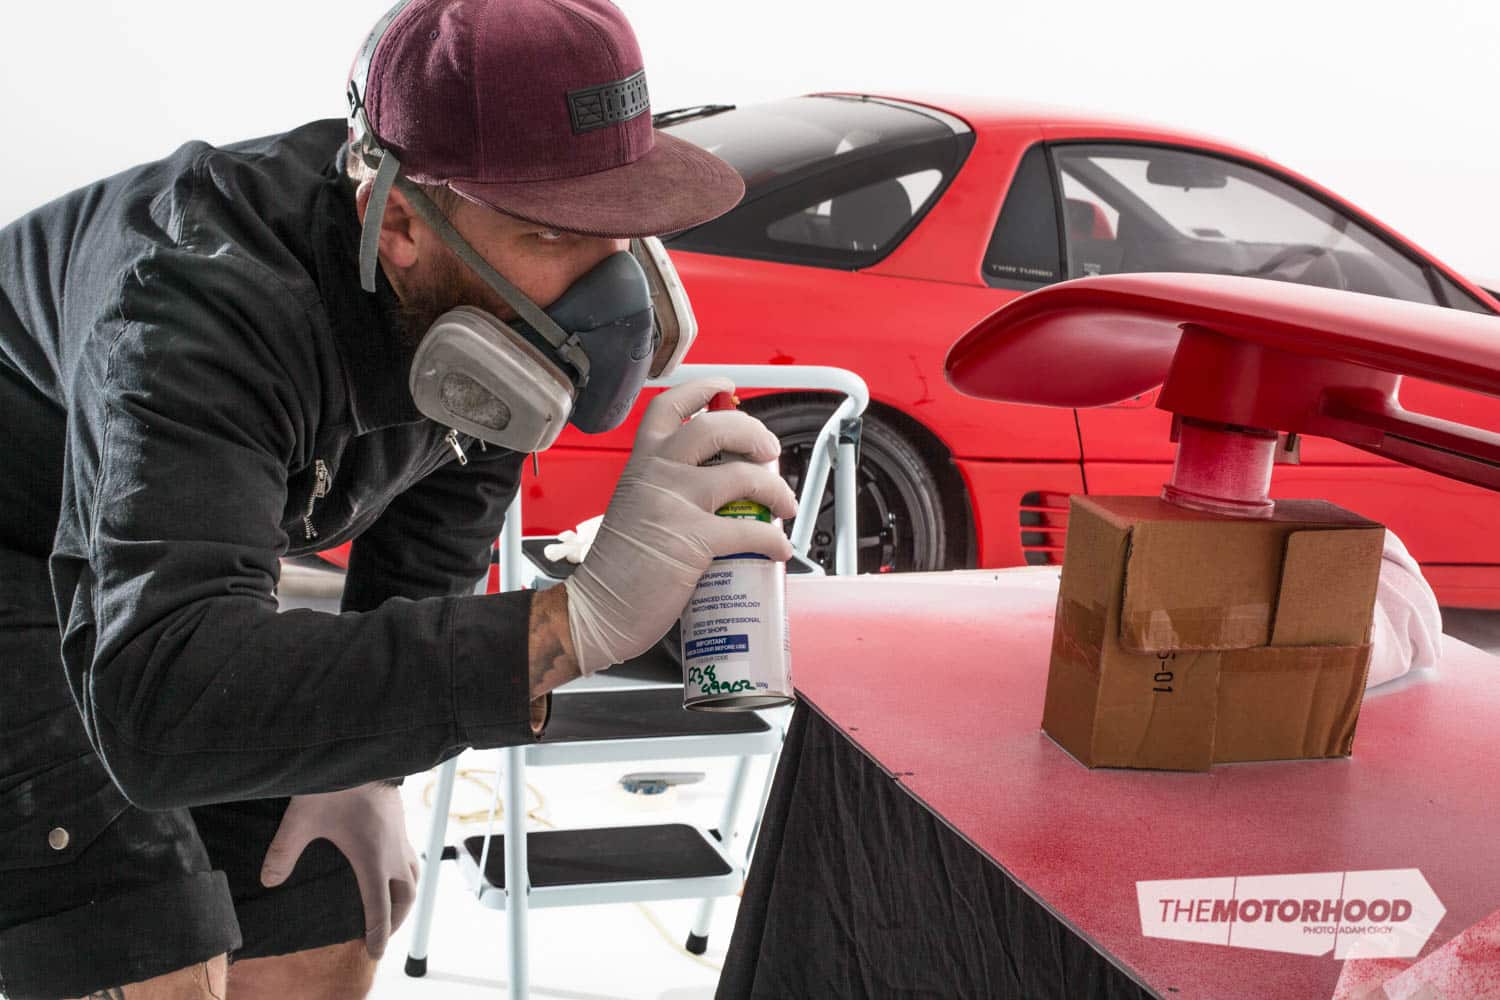
Step five: mount up

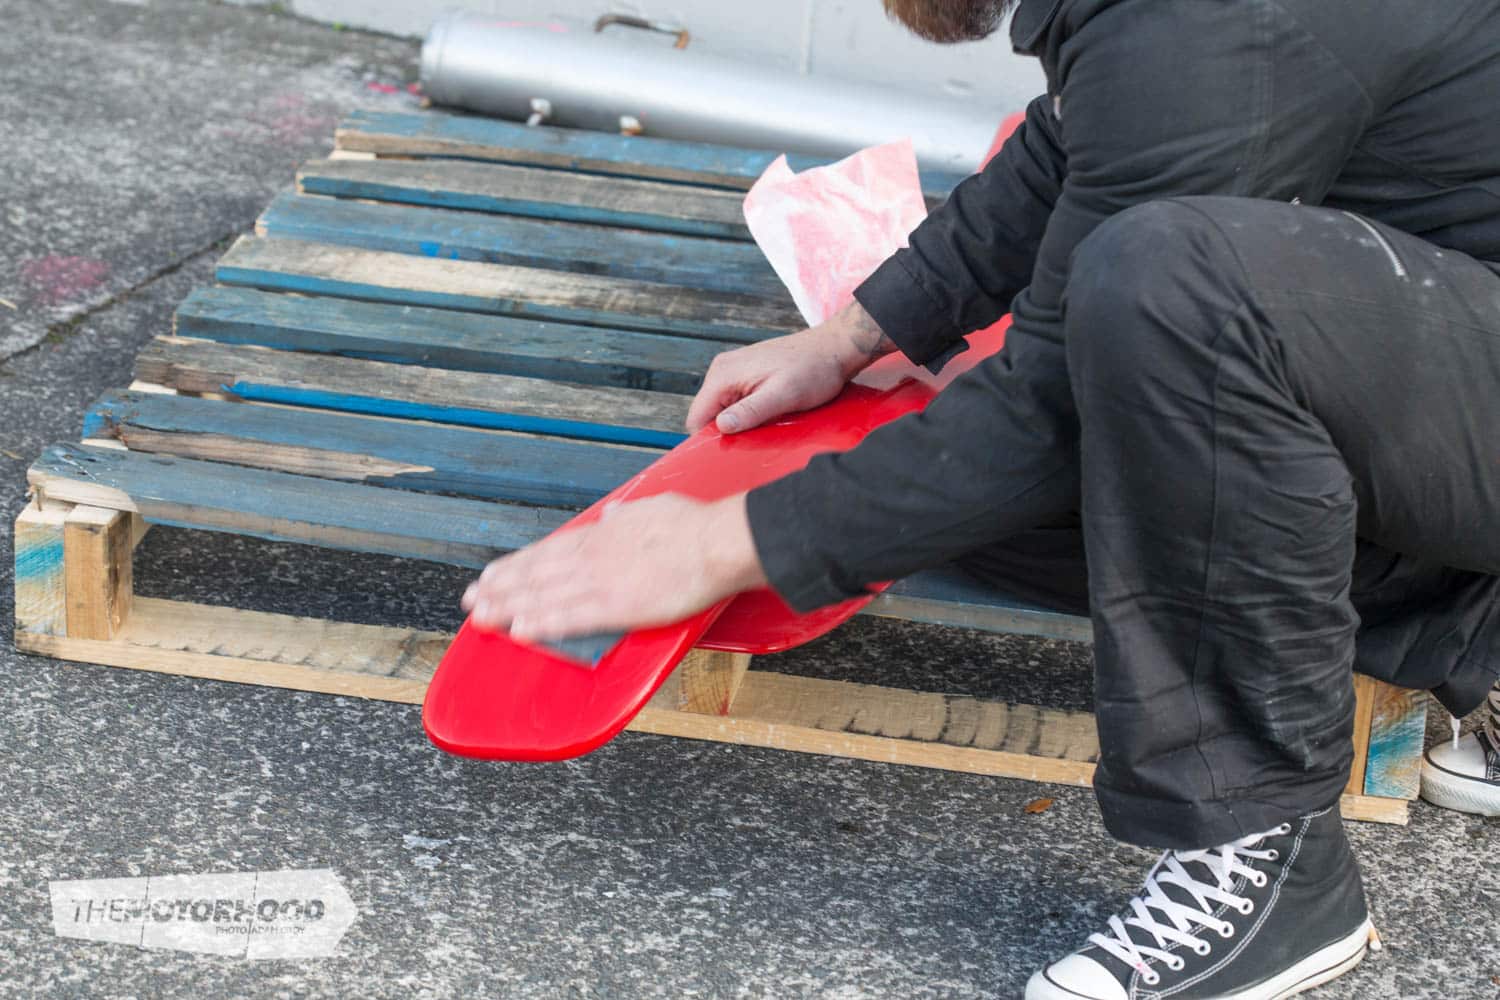
Before grabbing the can and going all out, make sure the parts are sitting somewhere that allows you to comfortably spray the entire part without having to move it mid-coat. We made up a few different jigs with whatever was lying around the office. If you’re spraying a metallic colour, have the part oriented the way it will sit on the car, so the metal flakes in the paint lie the correct way. With solid colours like our red, this is not so much of a concern.
Don’t stack your parts on old tyres, as the silicon in or on the tyre will likely ruin your day by contaminating the job — trust us.
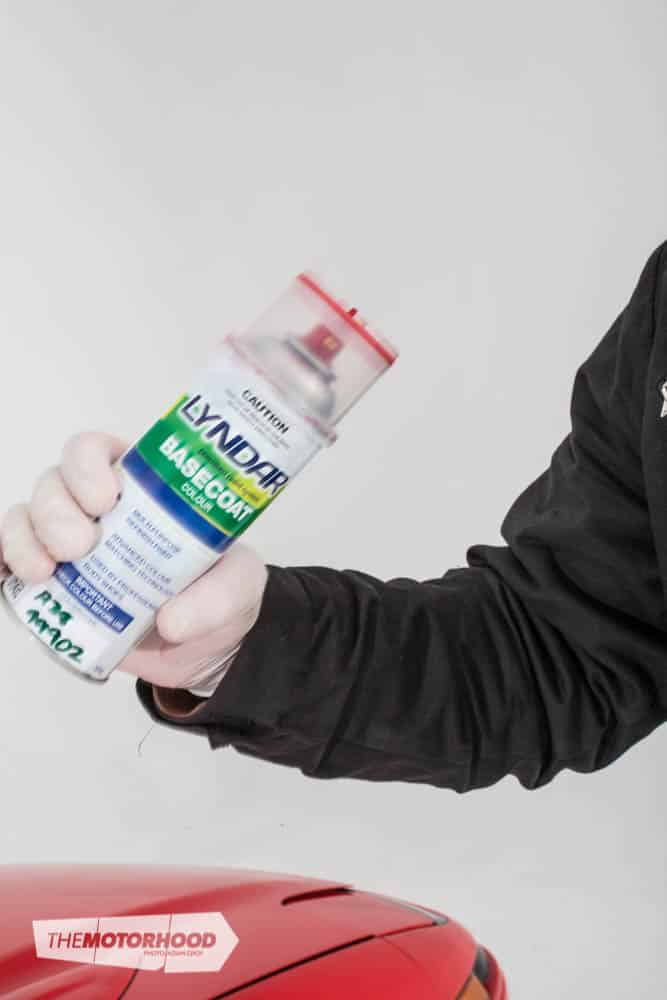
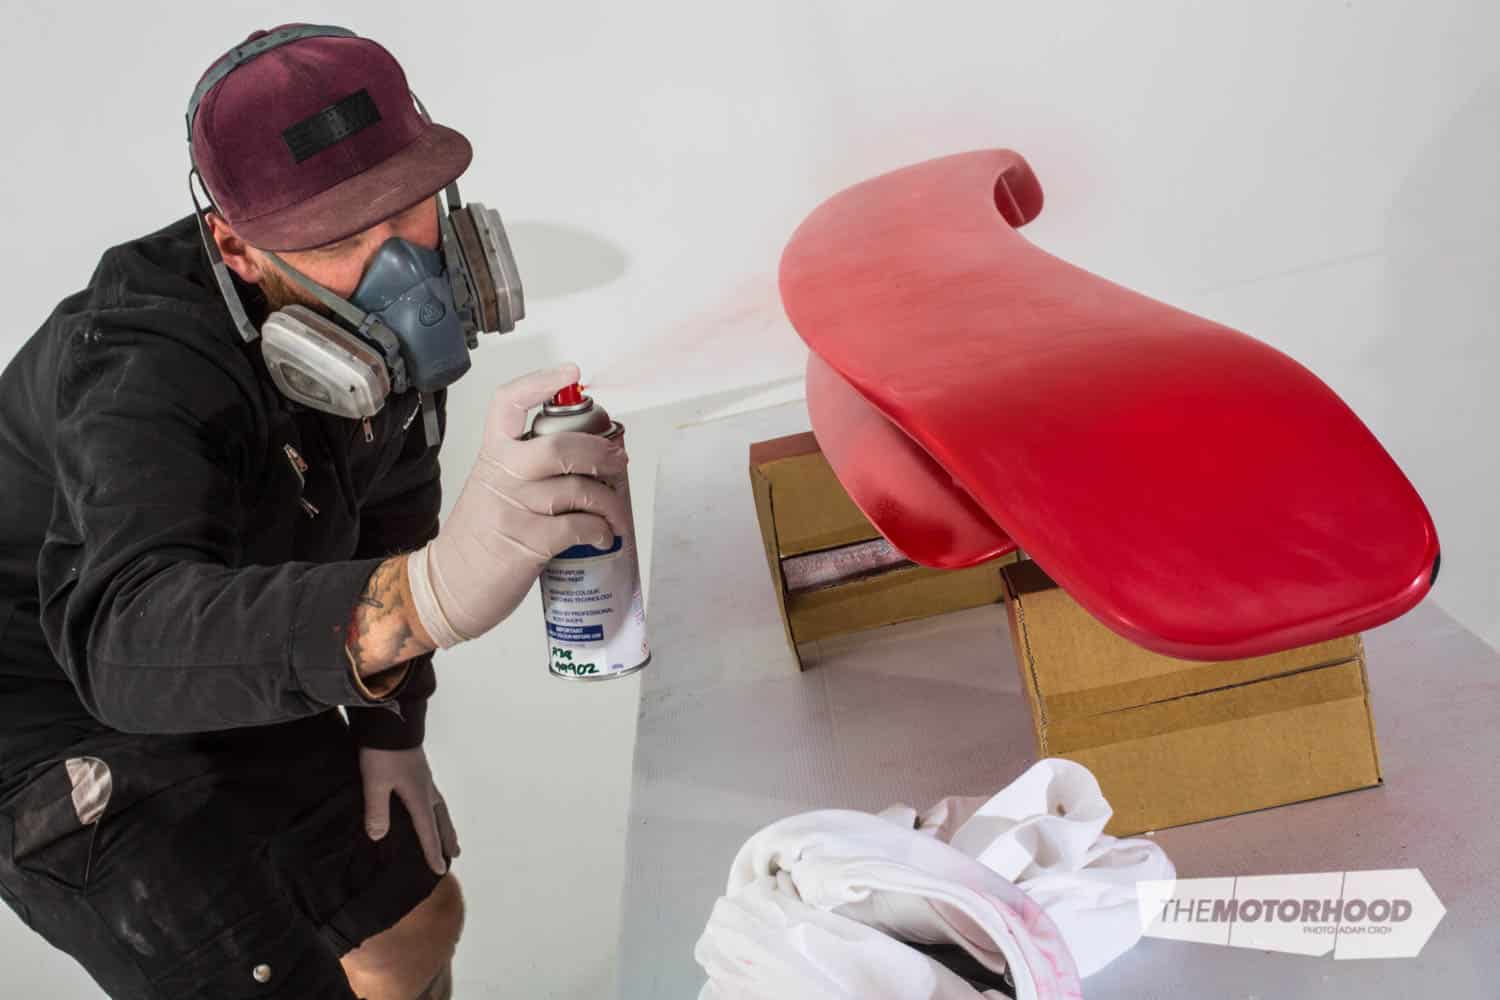
Step six: laying down colour

Now that you’re ready to lay some colour, you will want to shake the can for a solid four or five minutes to ensure it’s properly mixed. You want to spray it out in five light, even coats. Hold the can a good 200–250mm back from the surface so it can atomize before it hits. On each stroke you want to ease off the nozzle before stopping the stroke. Overlay each stroke by 50 per cent to ensure your part doesn’t end up looking like a tiger, zebra, or other such animal. Don’t try and lay it on too thick as it will sag, run, or become blotchy — especially with metallics.
Clean your nozzle repeatedly by wiping it with a rag, and also give the can a few shakes every three or four strokes.
Step seven: coating

It’s important that you give the paint proper flashing time between coats. Lyndar recommends five or ten minutes. We waited 10 between each of our five coats just to be sure. Some colours will cover much easier than red will, so five coats might not be needed. After each coat we inverted the can and sprayed (for two seconds) to clear any paint from the nozzle. Don’t hold it down for too long, as you will run out of pressure in your can before you do the paint.
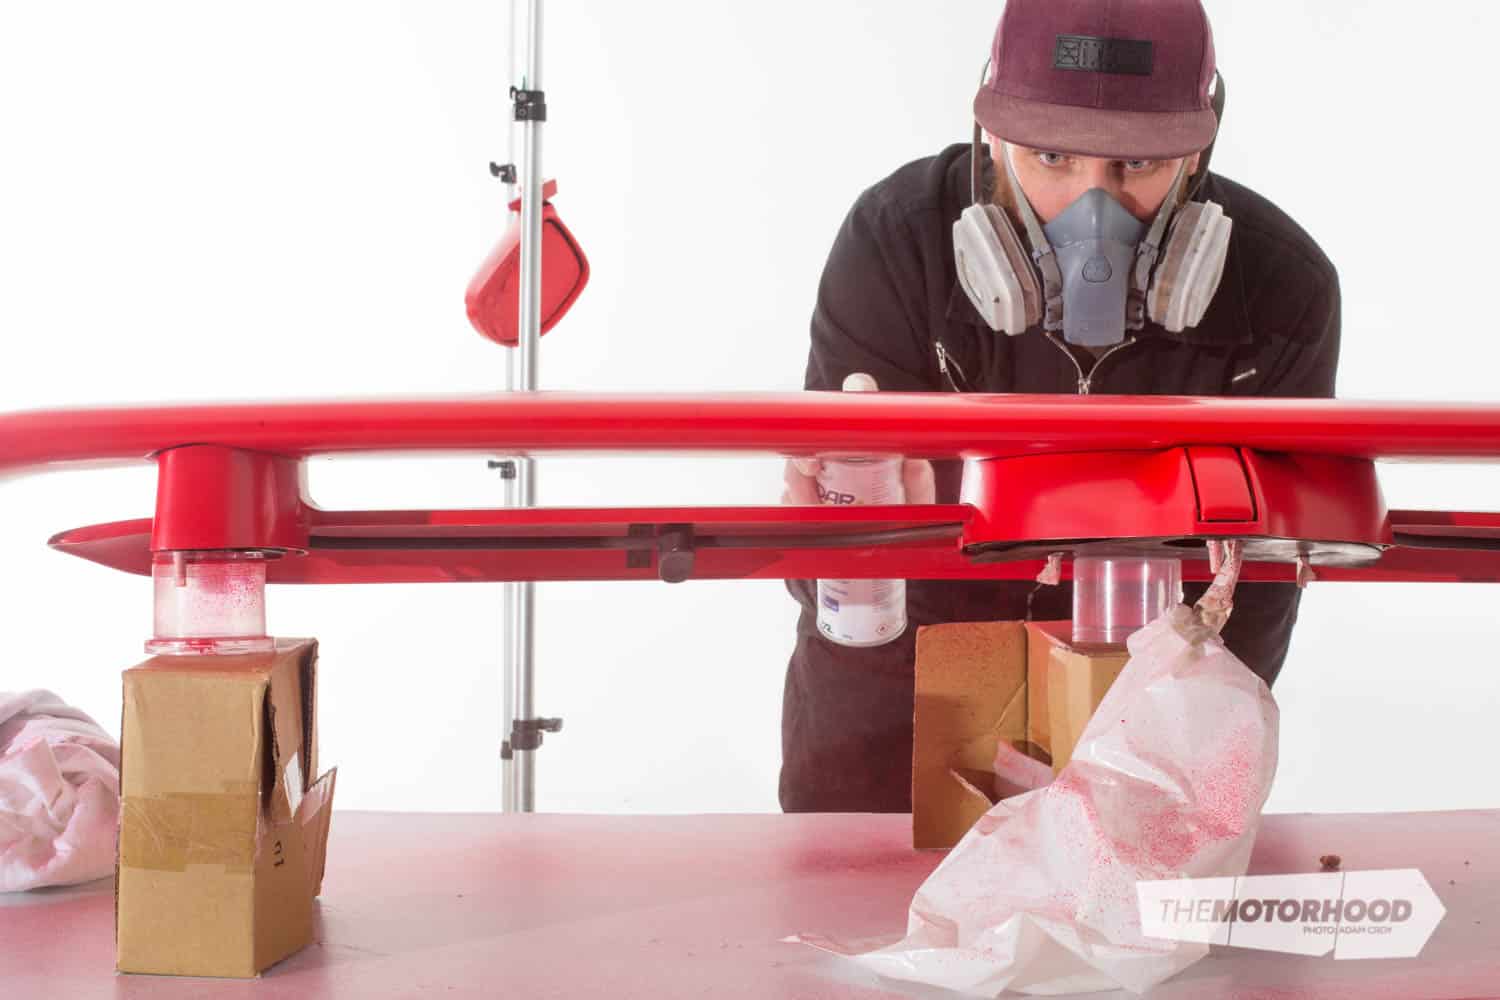
Step eight: clear coat

After five coats of colour we then waited the recommended 40 minutes before applying the clear coat. Again, shake the can for four to five minutes before spraying. This is really the hardest step to nail, and separates the pros from the hacks. When spraying, hold the can 200mm from the surface and go slow, laying down a good coat that’s not too dry. Ensure that you’re overlapping each time by 50 per cent. We built up each coat until the fifth coat, which was quite heavy, ensuring the surface looked wet and we could see ourselves. But go too wet and it will run, a painter’s nightmare! It’s kind of like Russian roulette, we ended up with a few small runs, but nothing we can’t fix in step 10.
Step nine: curing
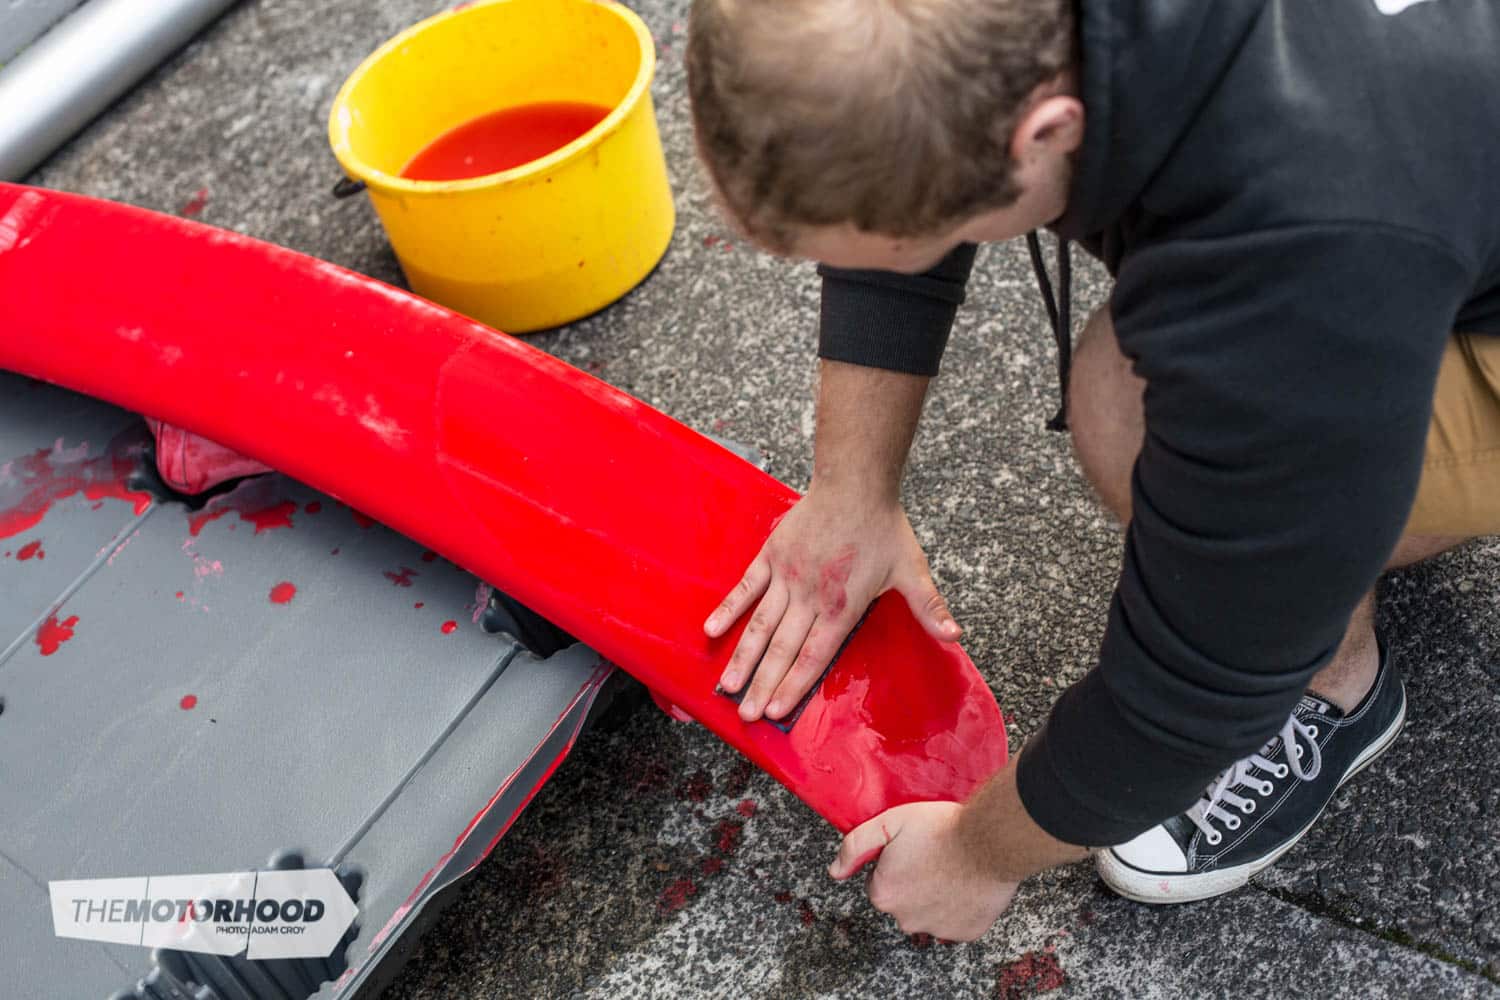
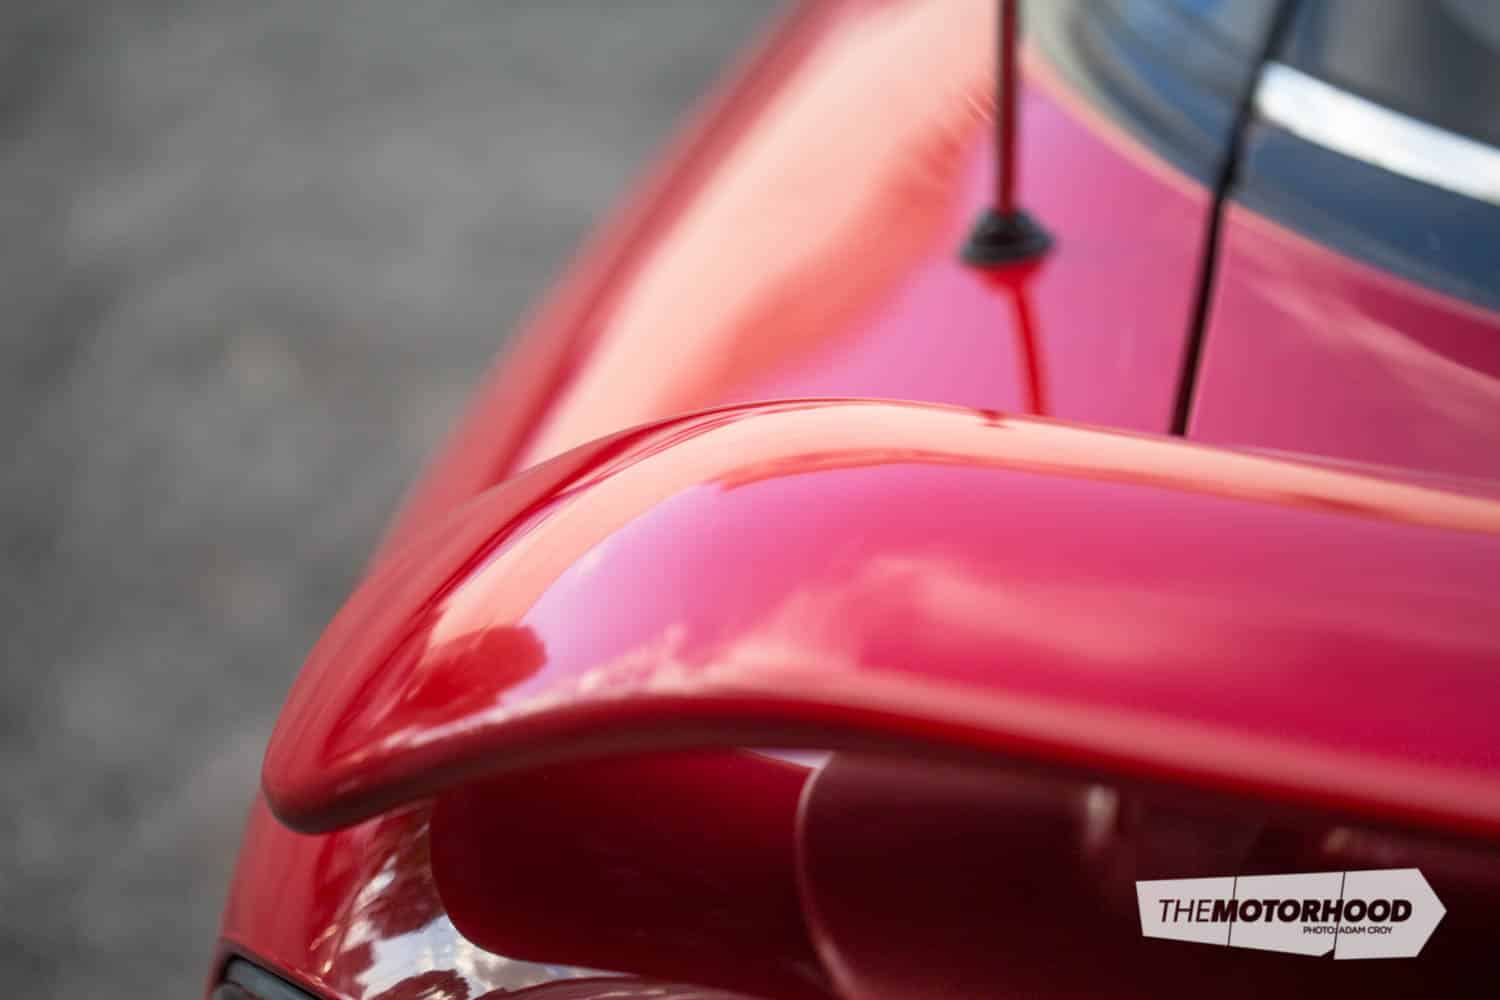
Once you have what is hopefully a nice and glossy piece, you need to leave it curing as long as possible before polishing. Lyndar recommends at least 24 hours. If you’re happy with the shine, you can stop here, but if you want to really bring out the depth, a polish is needed.
We used 1500–2000 grit, and lightly wet-sanded the part, being very careful not to go through the clear. Just like with the primer, wipe the part dry and inspect the surface. You want it to be a consistent matte surface, the flatter it is, the nicer the shine you will achieve when polishing.
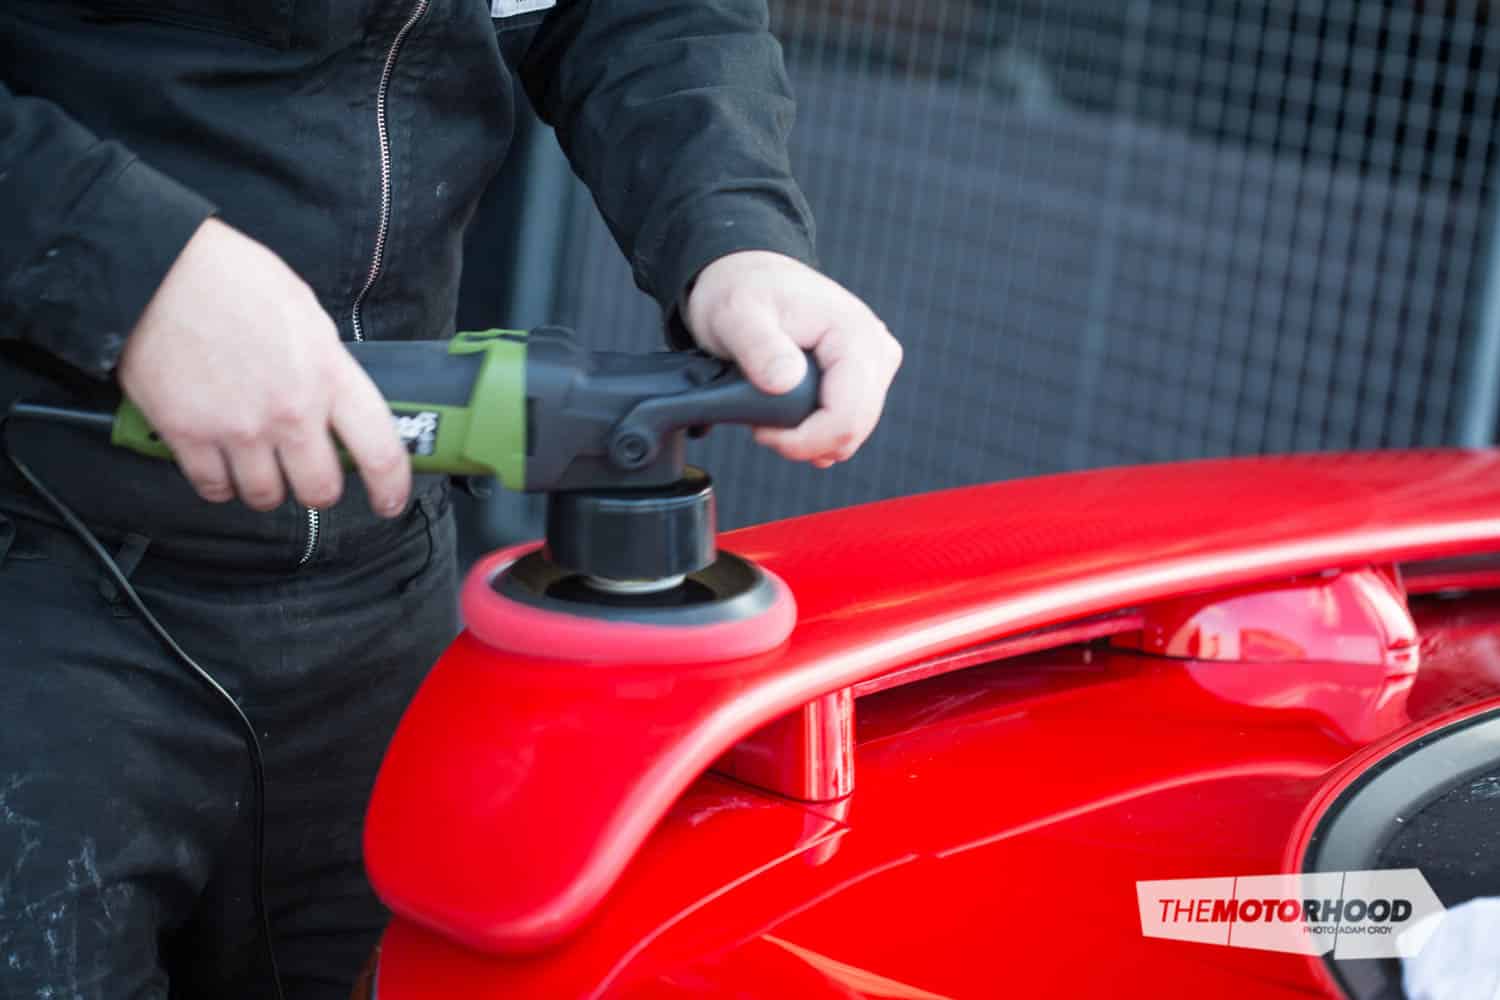
Step ten: polishing

Once you’re happy with the matte surface, it’s then time to restore that gloss with some cut and polish and a wool pad. You can do this by hand, but a machine will not only make your job easier, it will generate a better finish. If using a machine, be careful not to buff right through your clear, especially if you only waited the minimum curing time. Once you have removed the sanding marks, run over it with a polish and foam pad to bring up a mirror-like finish. Don’t wax the parts for 60 days, as the coating will still be releasing solvents until fully cured.
In summary:

While we used aerosol cans, painting something as big as the wing is starting to push the limits of the clear in a can. Lyndar is available in bulk, so you’re better off spraying with an actual gun/compressor to achieve a professional-level finish. But the aerosols are perfect for the smaller jobs, as you’re not holding the nozzle down for long periods. We found the entire Lyndar system really easy to use, and the colour match was great. Following the steps above should see you able to achieve a good-quality job in the shed at home.