
Most of what people know about right-hand-drive conversions tends, with historical merit, to centre on horror stories. However, in 2017, that couldn’t be further from the truth.
One of the great misconceptions surrounding American vehicle imports is to do with the necessity of converting the driving position from the left to the right. While many of the vehicles featured in NZV8 are permitted to be kept left-hand drive, on account of meeting certain criteria — most often due to age and gross vehicle mass — there are a great many vehicles that, by law, must be converted to right-hand drive to be driven legally on New Zealand roads.
The very term ‘right-hand-drive conversion’ carries a negative association. Old wives’ tales of the awful conversion jobs of old — from sprockets and chains through to universal joints and crossover shafts — have done the process no favours, but the truth of the matter is that a right-hand-drive conversion must be completed to a certain standard to be registered.
The team at Bunce Motor Company are American vehicle experts who specialize in right-hand-drive conversions on late-model American vehicles. They have been involved with GM vehicles for 47 years. We caught up with them to document the conversion process — something that takes about six weeks from start to finish, due to the intensive nature of the undertaking. Nothing is overlooked in achieving a premium end result that is indistinguishable from factory.
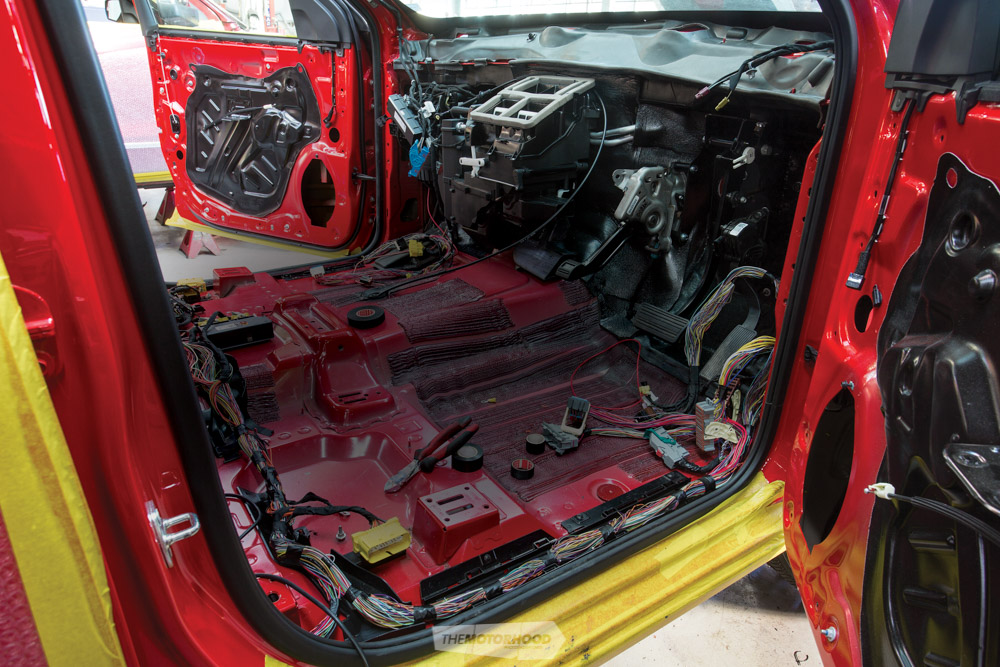
Step one:
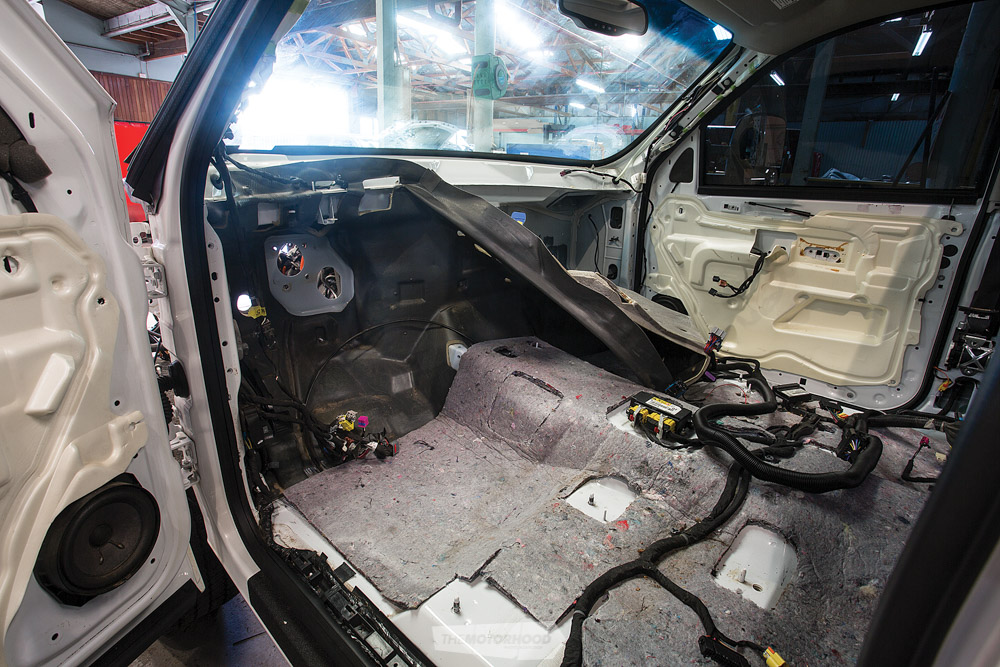
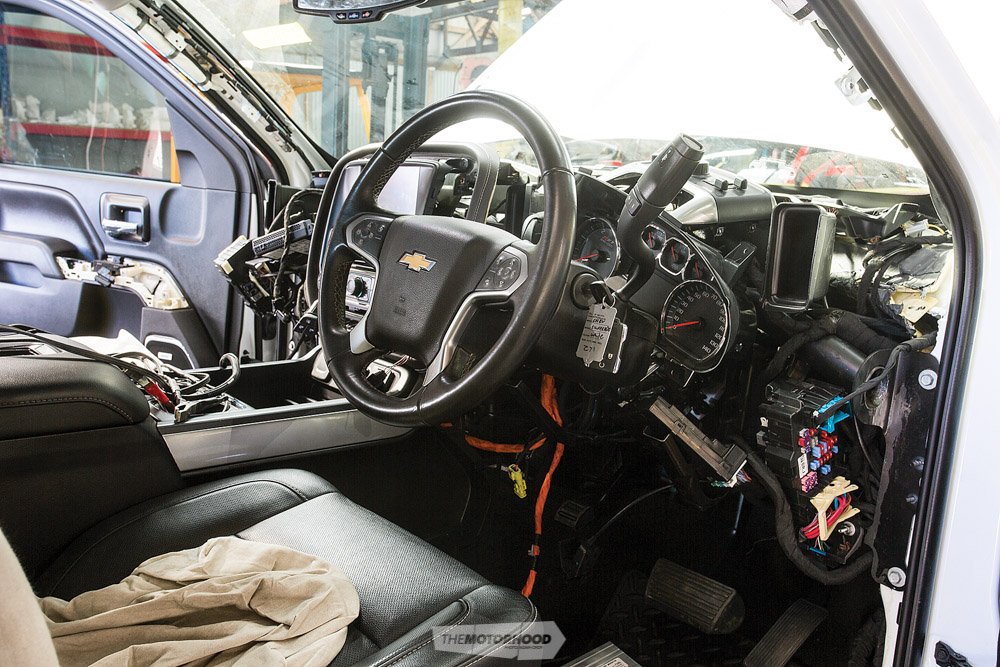
Obviously, the vehicle must first be stripped so that the technicians are able to get to everything that must be accessed. This includes all front panels, right down to the chassis rails, as well as the front seats, steering column, dashboard and centre console, and door cards.
Step two:
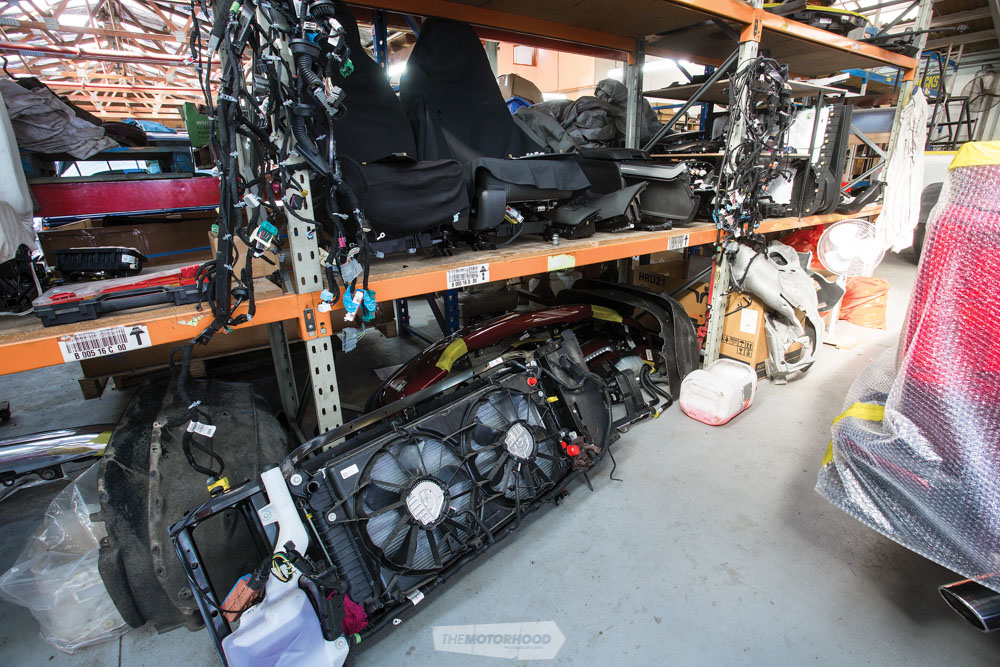
These parts are stored aside to eliminate the risk of damaging the parts that will be reused.
Step three:
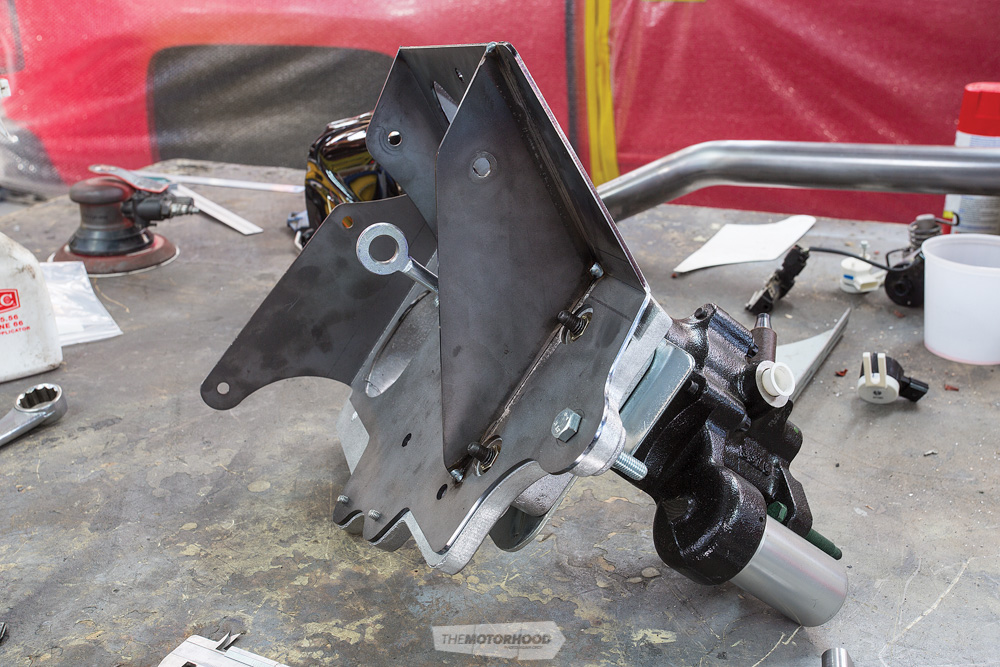
With this improved access, the firewall can be reconfigured to suit the switch to right-hand drive. This includes provisions for the steering column and brake assembly, comprising pedal box, vacuum booster, and master cylinder. New brake hard lines need to be made to suit the repositioned master cylinder.
Step four:
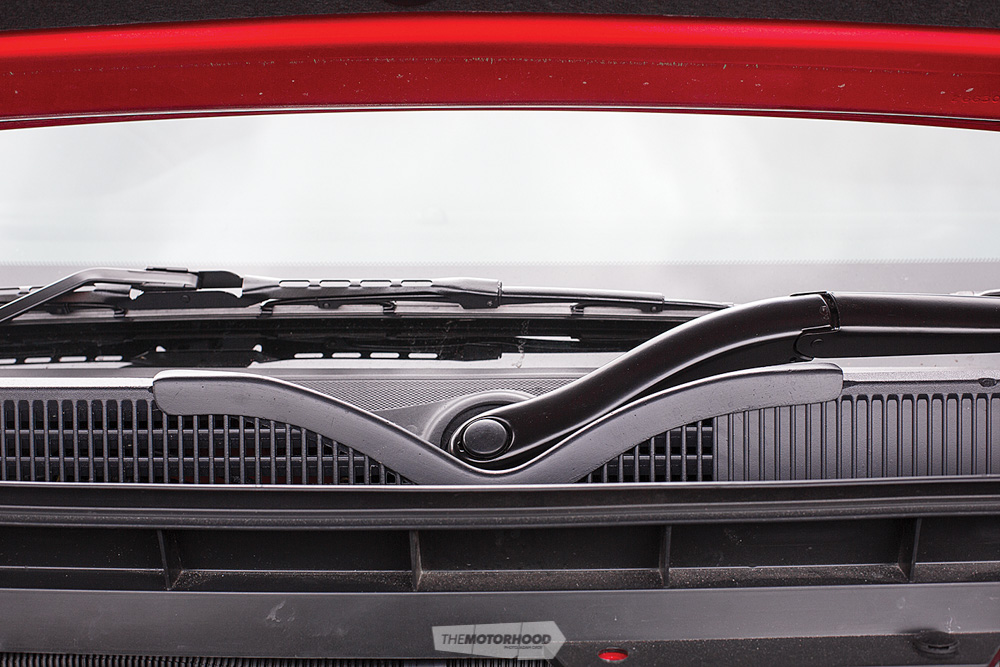
Farther up the firewall, the windscreen-wiper assembly is then re-engineered to sweep the correct way — up and around towards the driver. This involves repositioning the wiper-arm pivot points, wiper-arm linkages, and wiper motor — the end result is unlikely to be noticed unless it is specifically pointed out.
The actual steering assembly depends on the vehicle being converted, but the Bunce Motor Company team have a quality solution regardless of system. Traditional steering racks are converted from left-hand drive to right-hand drive, with the shaft input and pinion gear on the opposite side, while steering boxes are remounted to work in a right-hand-drive chassis. All steering modifications are made using a jig, and the geometry is dialled for correct driving characteristics.
“They all go for a truck-wheel alignment, and bump-steer and geometry must be tested in order to pass compliance,” we were told.
Step five:
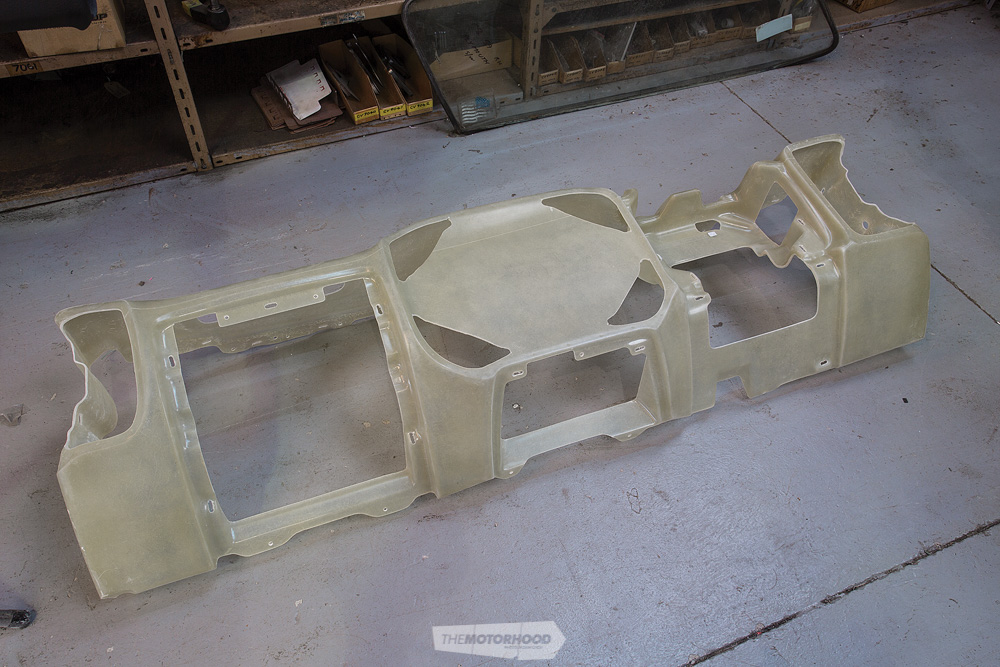
Inside is where the most noticeable change takes place, and showcases the premium quality prevalent throughout these conversions. Plastic dashboard panels are moulded for a perfectly reflected fascia, but with mounting tabs that will allow for the use of OEM accessories. The dash panel is professionally foamed and re-covered to replicate the factory item, with stitching added if required.
Step six:
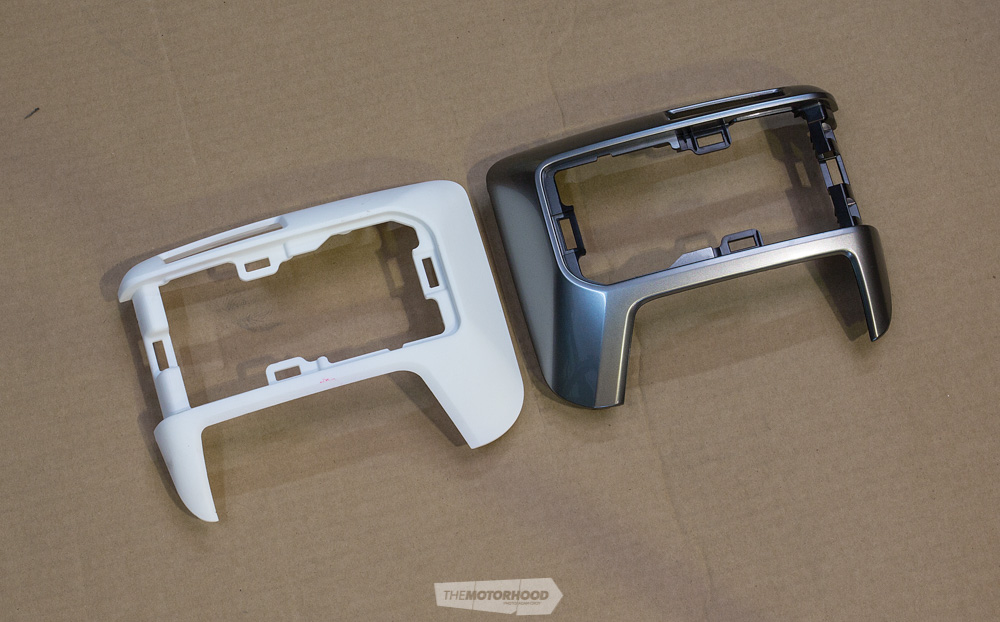

The same level of detail is also applied to the smaller trim pieces. Take, for example, the plastic trim surrounding the heater vents. Mirrored units are moulded and refinished so that the look and fit are identical to those of the factory items.
Step seven:
The gauge cluster is retained and merely swapped over from left to right. The dashboard mounting tabs are kept the same to ensure that there will be no problem with physical installation.
Step eight:
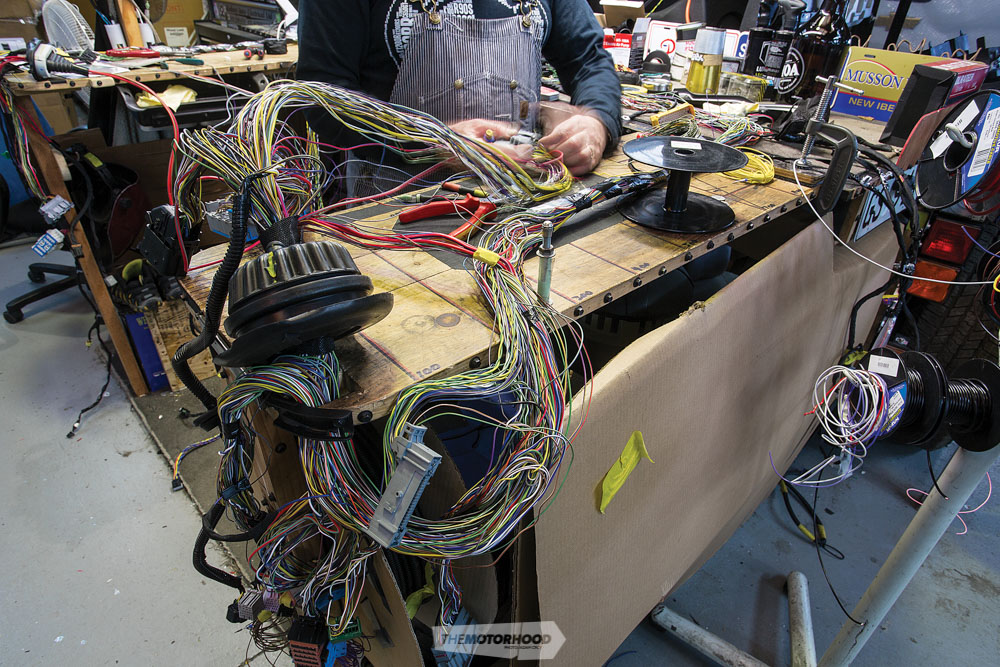
Potential problems are ironed out in advance, as the wiring loom is modified to factor in these relocated electrical accessories. Wires are lengthened and shortened as necessary, and it is important to note that the conversion is halted and checked after each major step to ensure that there are no issues and to present an opportunity to iron out any problems that may have arisen during any particular process. As an integral part of any late-model vehicle with such an extensive electrical system, the wiring is one such step.
Step nine:
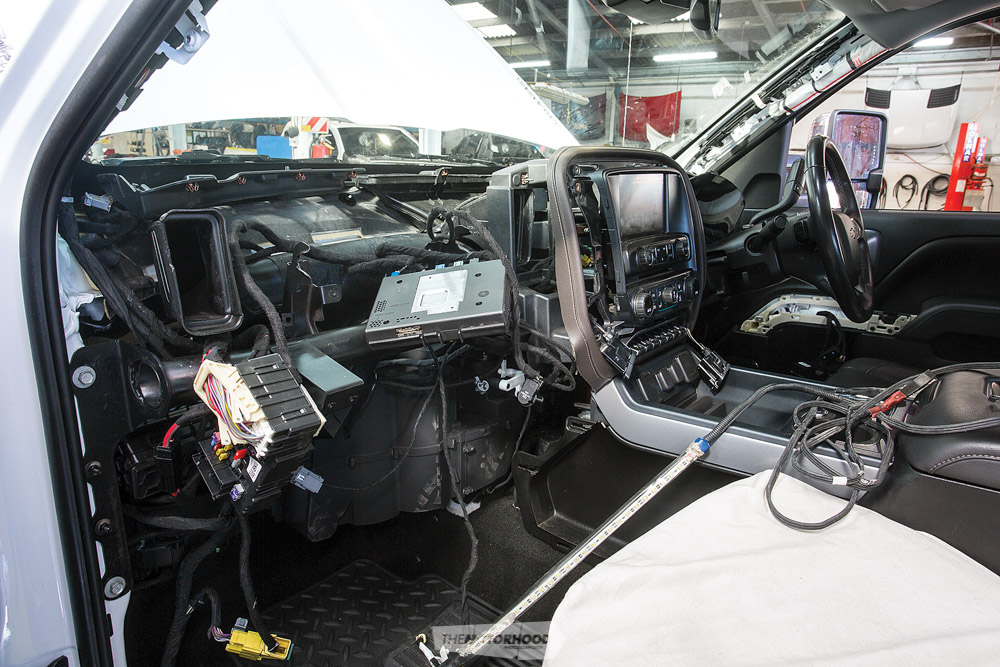
All electronics are retained and mounted in the new dashboard with factory-style mounts. However, the radio units are sent back to the US for reprogramming, allowing them to suit local radio frequencies.
With the wiring and radio unit ready for New Zealand requirements, the team can painstakingly piece the interior back together. As mentioned earlier, this is most obvious in the dashboard conversion, but consideration must also be paid to other areas. The seats are one such area.
Step ten:
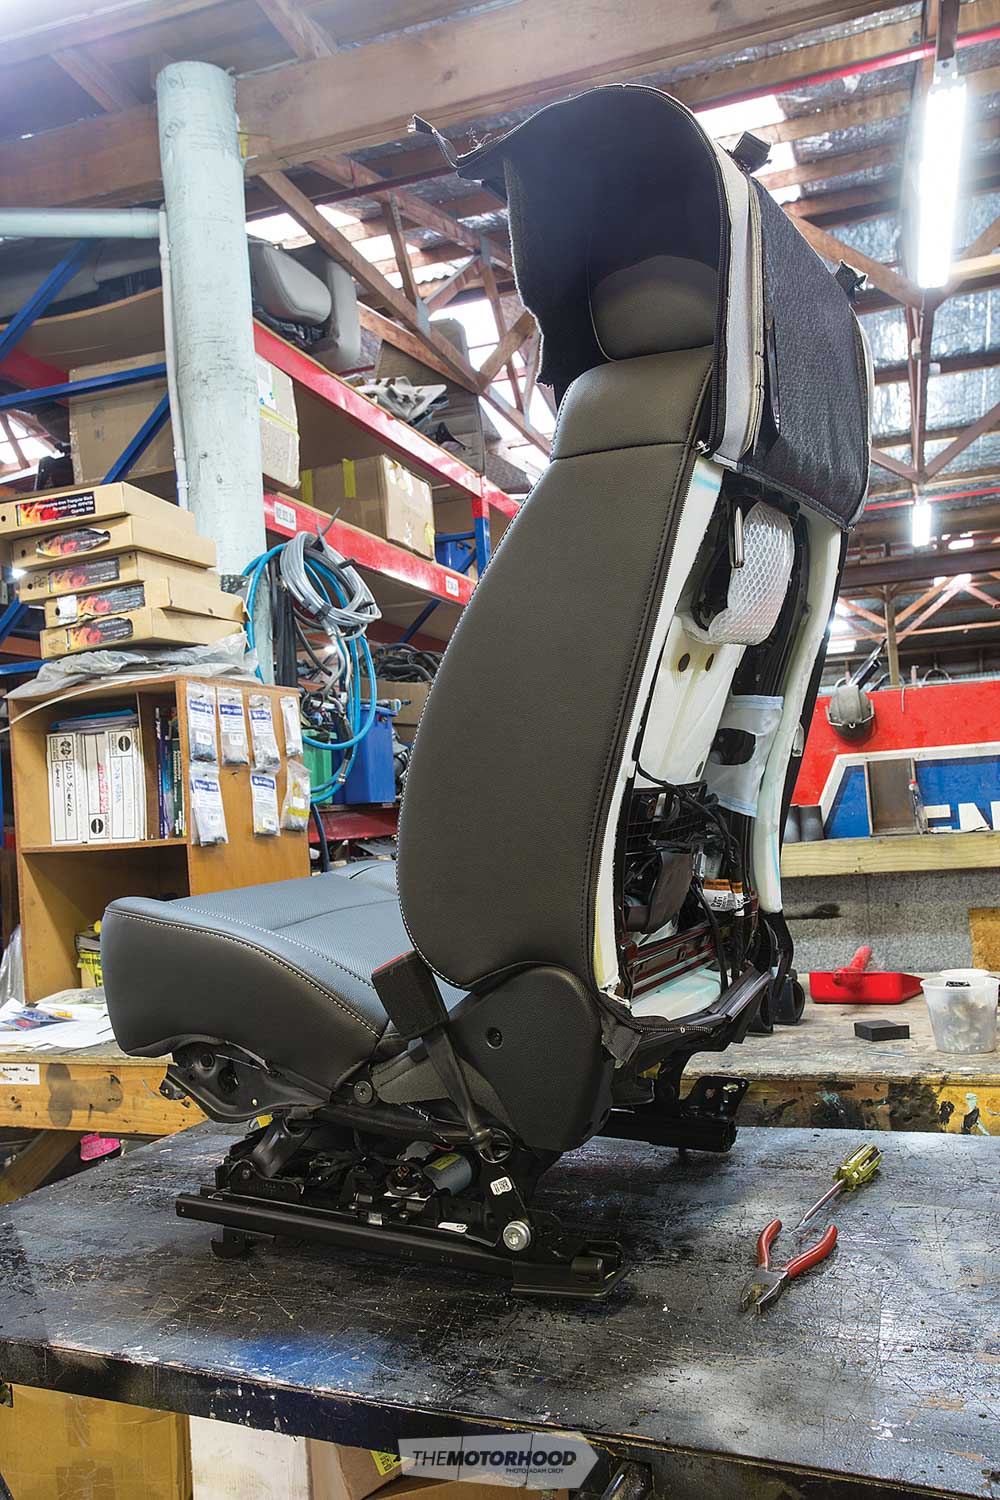
The only way to do this properly is to strip both the driver and passenger seat of all their electronics and swap them around. At the same time, new plastic side panels must be moulded and finished to suit the driver-seat controls on the right-hand side and the passenger-seat controls on the left-hand side. This not only facilitates the rewiring of the electric motors but adapts any necessary ancillaries to suit. For example, if the vehicle is equipped with a lane-departure warning system, which vibrates the driver’s seat when sensors detect that the vehicle has left its lane, it is no good if it is the passenger’s seat that vibrates because the vehicle has been converted to right-hand drive!
Step eleven:
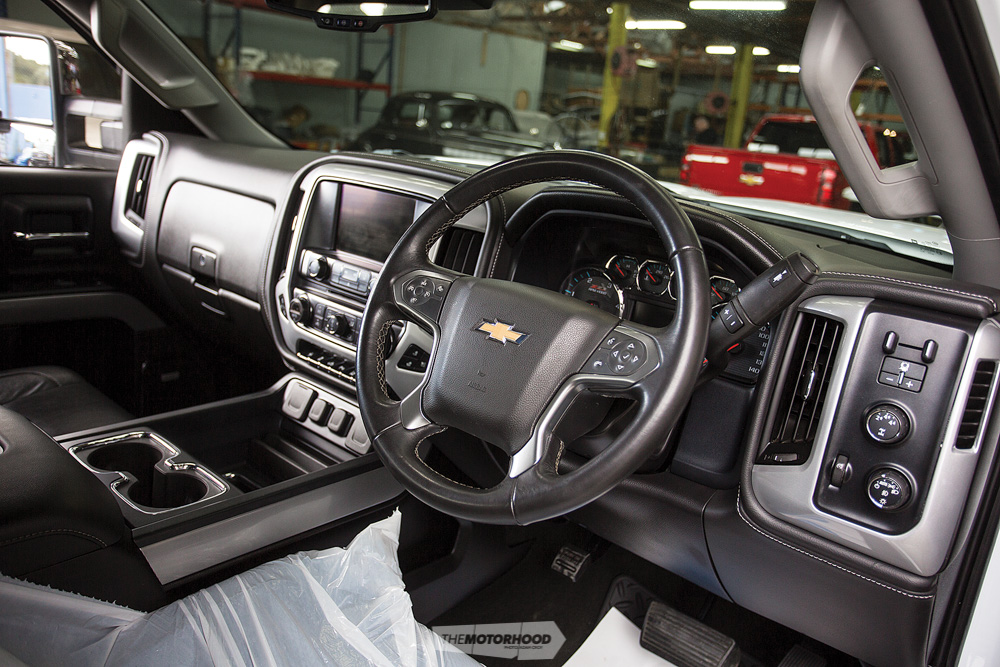
With the interior back in, it’s essentially impossible to identify that the vehicle left the assembly line as a left-hand drive. Everything falls to hand as it should, and works exactly as it left the factory. From this point, the vehicle goes on to receive a comprehensive wheel alignment and commence the compliance process, making it ready for its new owner to enjoy on New Zealand roads.
Conversion Criteria
Identifying the criteria for a vehicle to require conversion to right-hand drive can be complex if you are unfamiliar with the NZTA requirements. Many American imports featured in NZV8 are exempt, predominantly because they are classified as “light vehicles that are 20 years old or more”.
However, any late-model vehicles — less than 20 years old — that do not meet the NZTA’s criteria for a Category A LHD vehicle permit will need to be converted.
A full criteria list can be found on the NZTA website, but key points include:
- the vehicle must be a class MA vehicle less than 20 years old
- the vehicle must meet three of the four following criteria:
- the vehicle is identified as a collector’s item in a commercially produced motoring publication
- the vehicle is/was manufactured in annual volumes not exceeding 20,000 units
- the vehicle is a two-door coupe or convertible
- the vehicle is a high-performance vehicle.
Our thanks to the team at Bunce Motor Company for taking the time to demonstrate the right-hand-drive conversion process to us.