We find out how to fool people into thinking your brand-new paint job is not so new after all
The finishing touch to any project is without a doubt the paint job. It’s often one of the most expensive aspects of the build and the task that takes the longest to complete. The man-hours that go into perfecting those gaps and hammering and filing each panel, before layers and layers of perfectly glossy paint are applied, is a process that offers no shortcuts and no half measures if you are after a long-lasting, quality finish.
But what if you’re not a fan of shiny, and you’re a little rough around the edges, but still want to give your vehicle a makeover? Your options here are limited, as cutting corners on a respray can mean all sorts of issues down the track, not to mention it looking cheap and nasty. This is where patina or faux patina comes into play. If you’re lucky enough to find an unmolested shell that’s spent its life getting worn down by the harsh Arizona sun, and has not rusted out, simply spray it with a sealer and you’re sorted. But if you’ve purchased a vehicle that’s already had a respray, like this one, it may be worth considering faux patina.
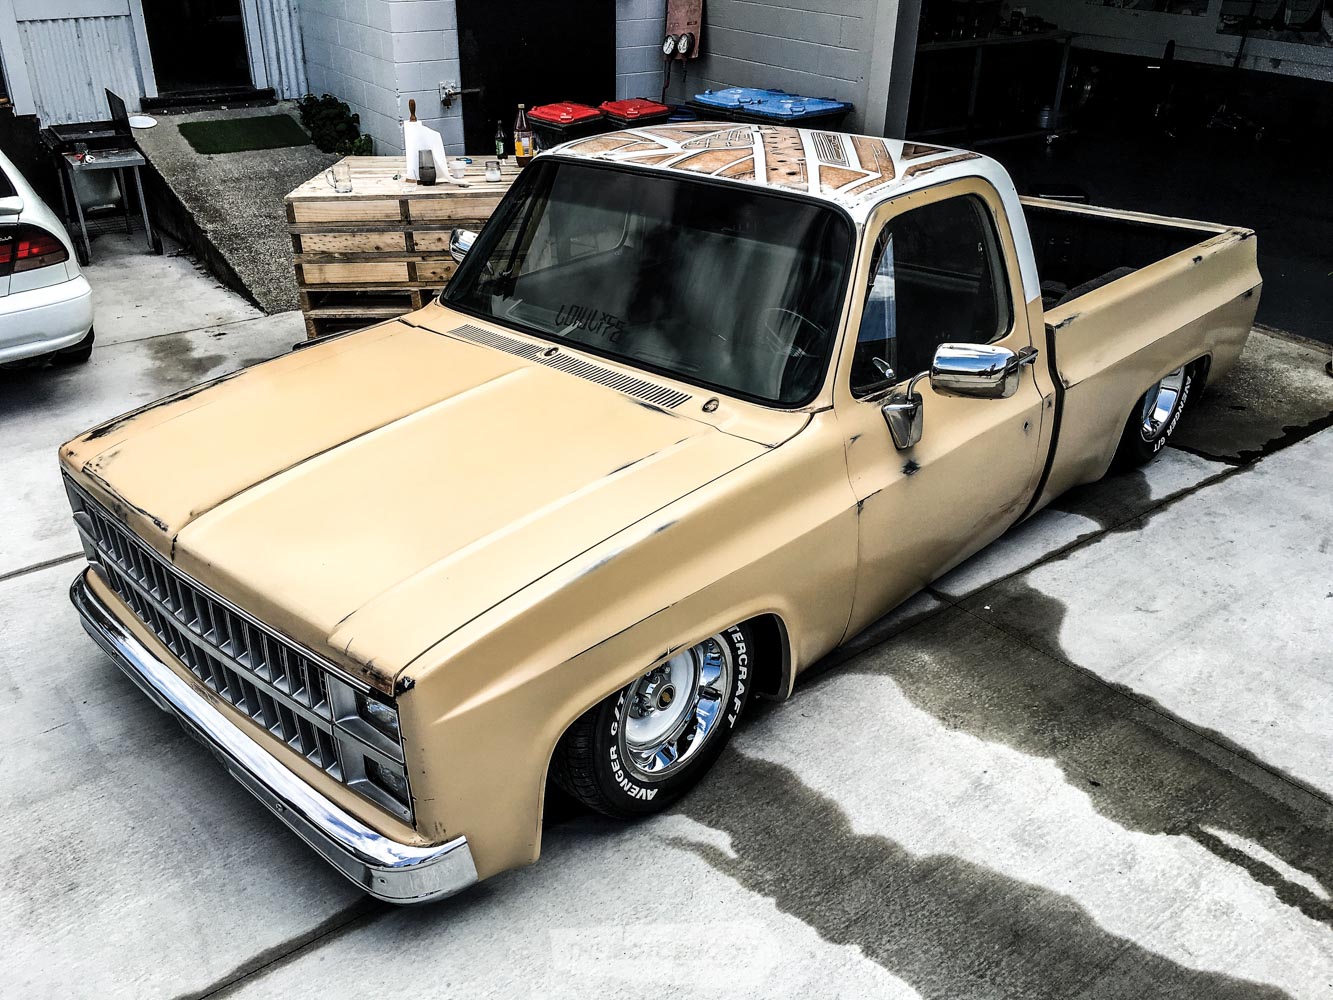
GT Refinishers was roped in to help bring this ’79 GMC Sierra workshop hack up to scratch, as the company has developed a faux patina technique that is somewhat authentic looking. The build goal with this vehicle was as a tow vehicle for a race car, so it was always going to get used to haul parts and spend its life in service. It had acquired a few small dings over the years, and the cheap 2K paint job was in need of some love. With the objective of taking the truck back to a factory two-tone look, faux patina seemed like the logical choice, as the body is not in perfect condition and spending $10K to get it there was not in the owner’s budget. Luckily, the factory cream colour was still on the interior panels, and was dropped off to be colour matched at Resene Automotive & Light Industrial’s branch in Auckland. Any paint supplier, and most paint and panel shops, should also be able to handle this process.
While there are many different techniques on how to achieve a faux patina, some using spray techniques and other chemical reactions, GT’s technique will give us a period-correct patina looking as authentic as possible for a 1980s workhorse. That’s something you need to take into account. If you’re doing this on a ’30s hot rod then, in theory, that shell has seen nearly 100 years of the elements, so the level of patina and the level of rust you can apply are basically limitless. However, as this truck is only 37 years old, the level of patina would be far less. If you go too far with it, it will look less realistic and that may detract from the finish.
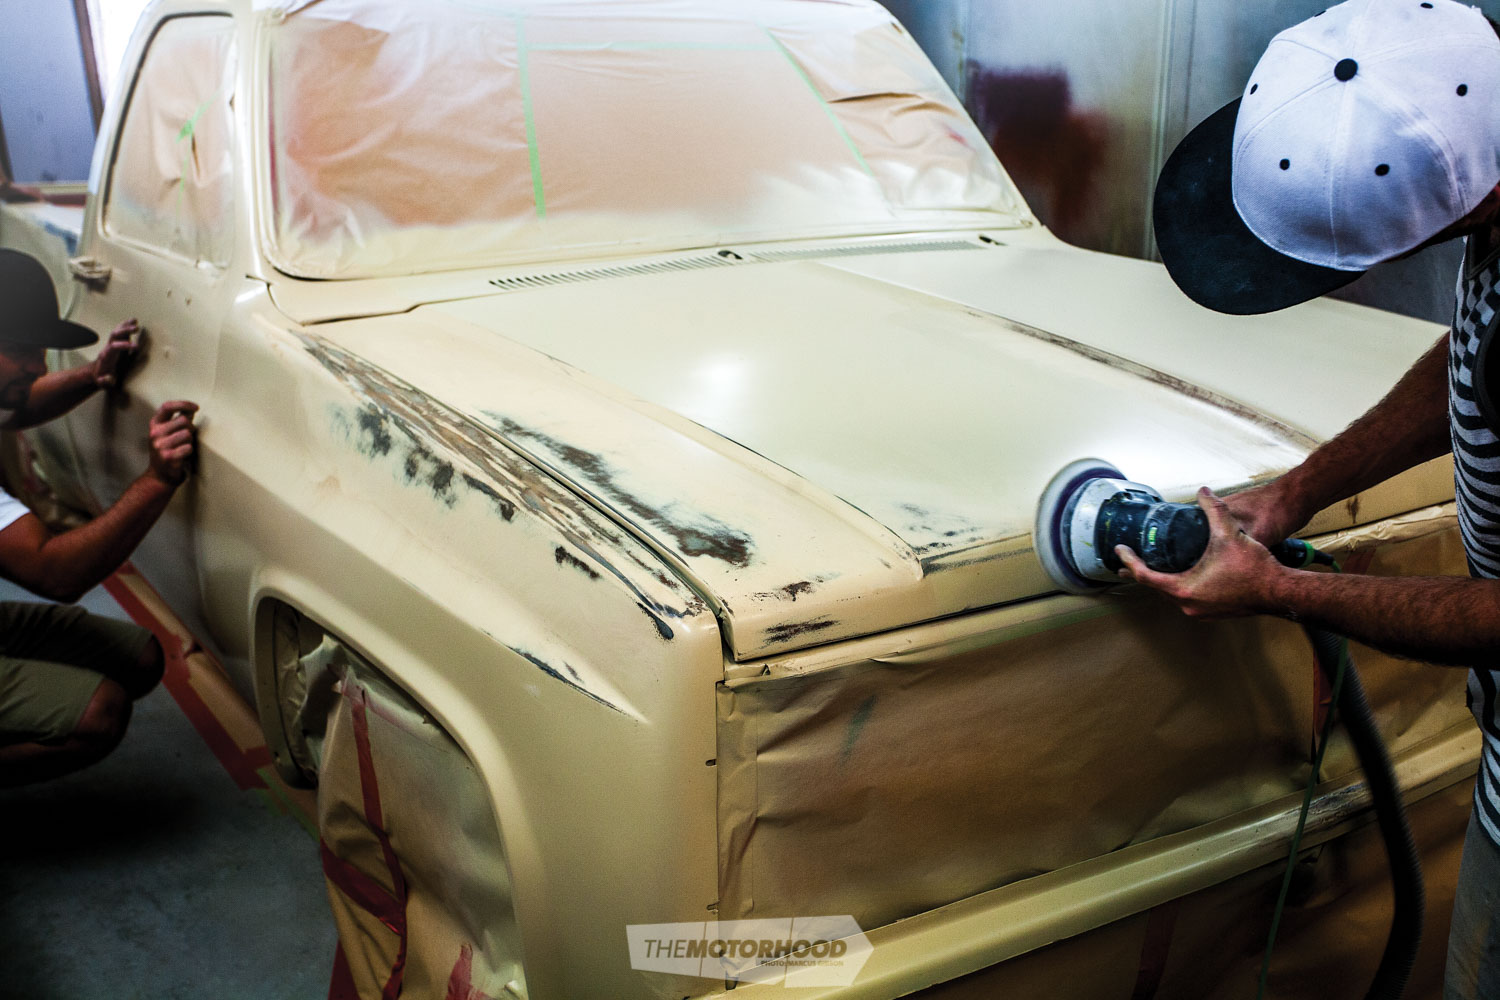
Strip and prepare
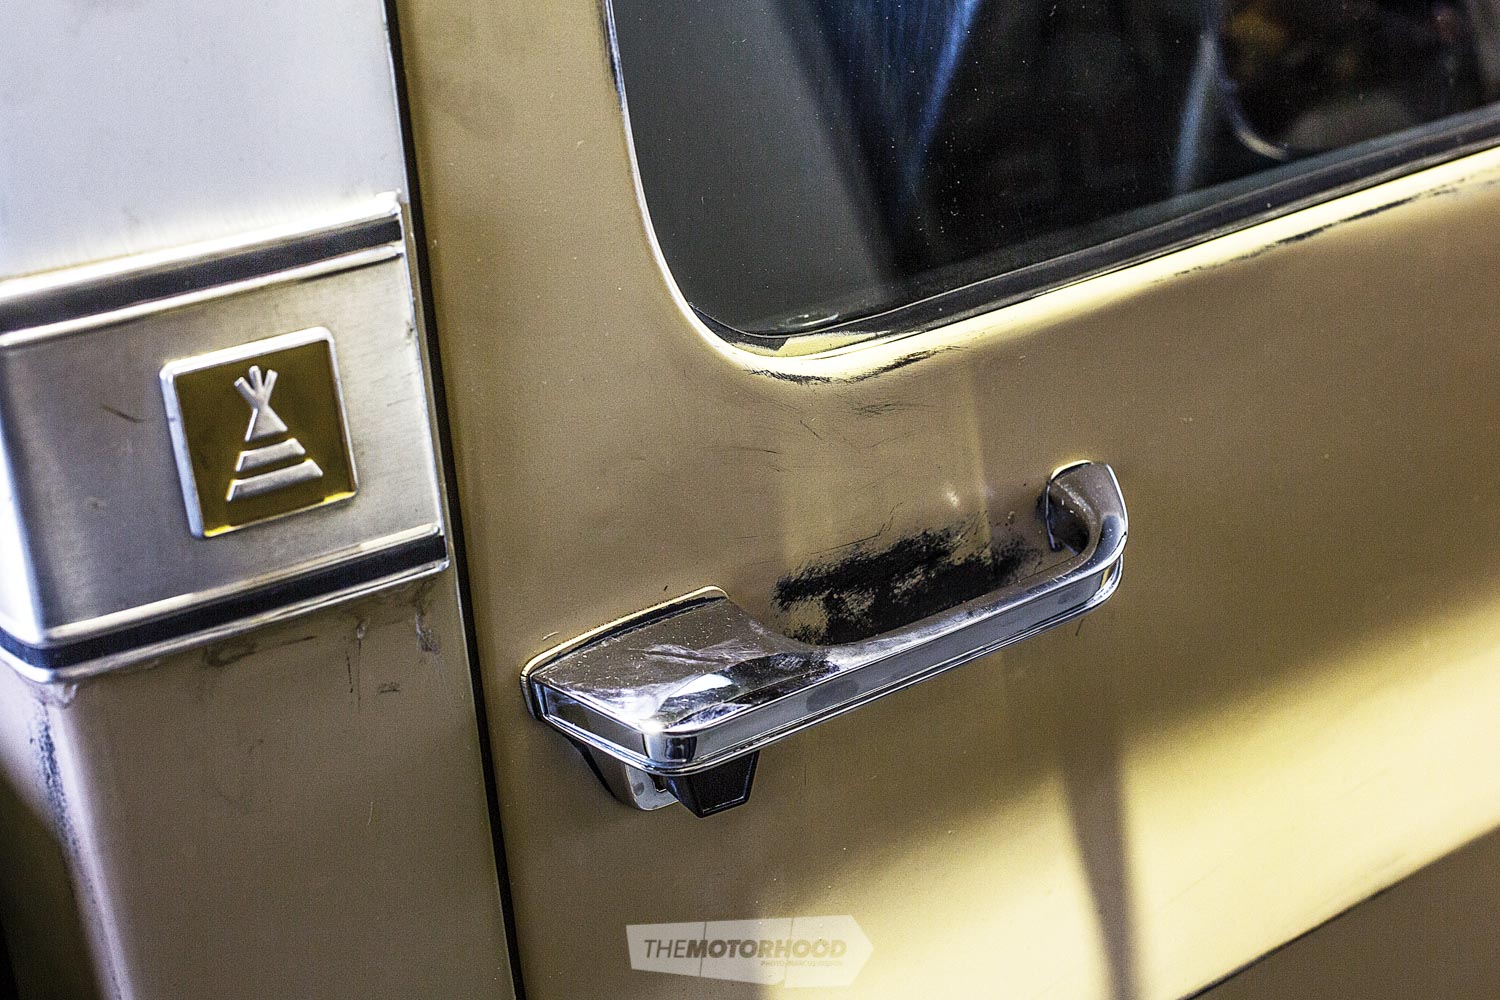
Begin by stripping off the chrome and other parts, such as door handles, lights, and wing mirrors. Any trim and badges on the body will also need removing. The next stage is sanding back the entire body with 240–500 grit sandpaper. This can be done by hand with a soft block, or with an orbital sander. Here, a paint shop staple, the DA system, was used as these keep dust to a minimum and make short work of the panels. Ideally, you want the soft pad between the sander and the sandpaper. The idea here is to prepare the surface so the new paint has something to which to adhere. Don’t try to remove all the paint; you only need to scuff the surface so the chemicals can bond together. The key is to make sure there is no gloss surface left. Simply wipe the panel as you go to check. Avoid going bare in any spots, but don’t worry too much, as it is likely to happen on edges etc., depending on the quality of the paint job — it was pretty thin on this truck. If you do go through to bare steel, you can etch prime these spots later. In this case, the owner decided not do any panelwork and to leave the few dents the shell had, but if you do want perfect panels, this is the time to get the bog out. If you want to do inside the door jambs, like the example here, make sure you sand them, too.
Masking
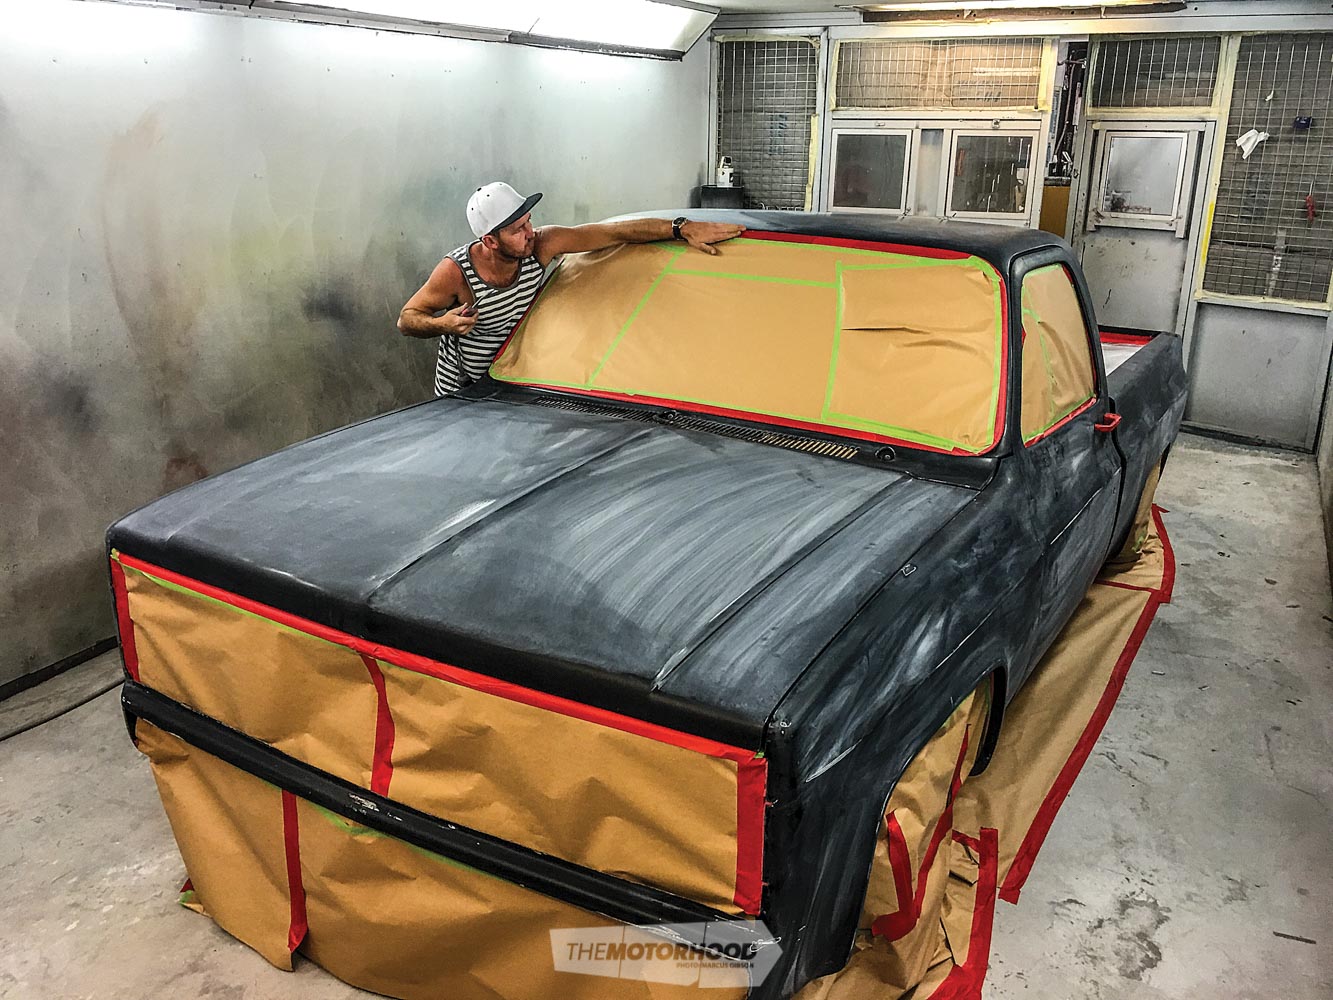
Once you’re happy with the prep, wipe down the body with a wax and grease remover using a clean cloth. Make sure you clean anywhere you’ll be applying masking tape. If you don’t, it won’t stick. As for where to mask off, make sure to cover anywhere you don’t want paint.
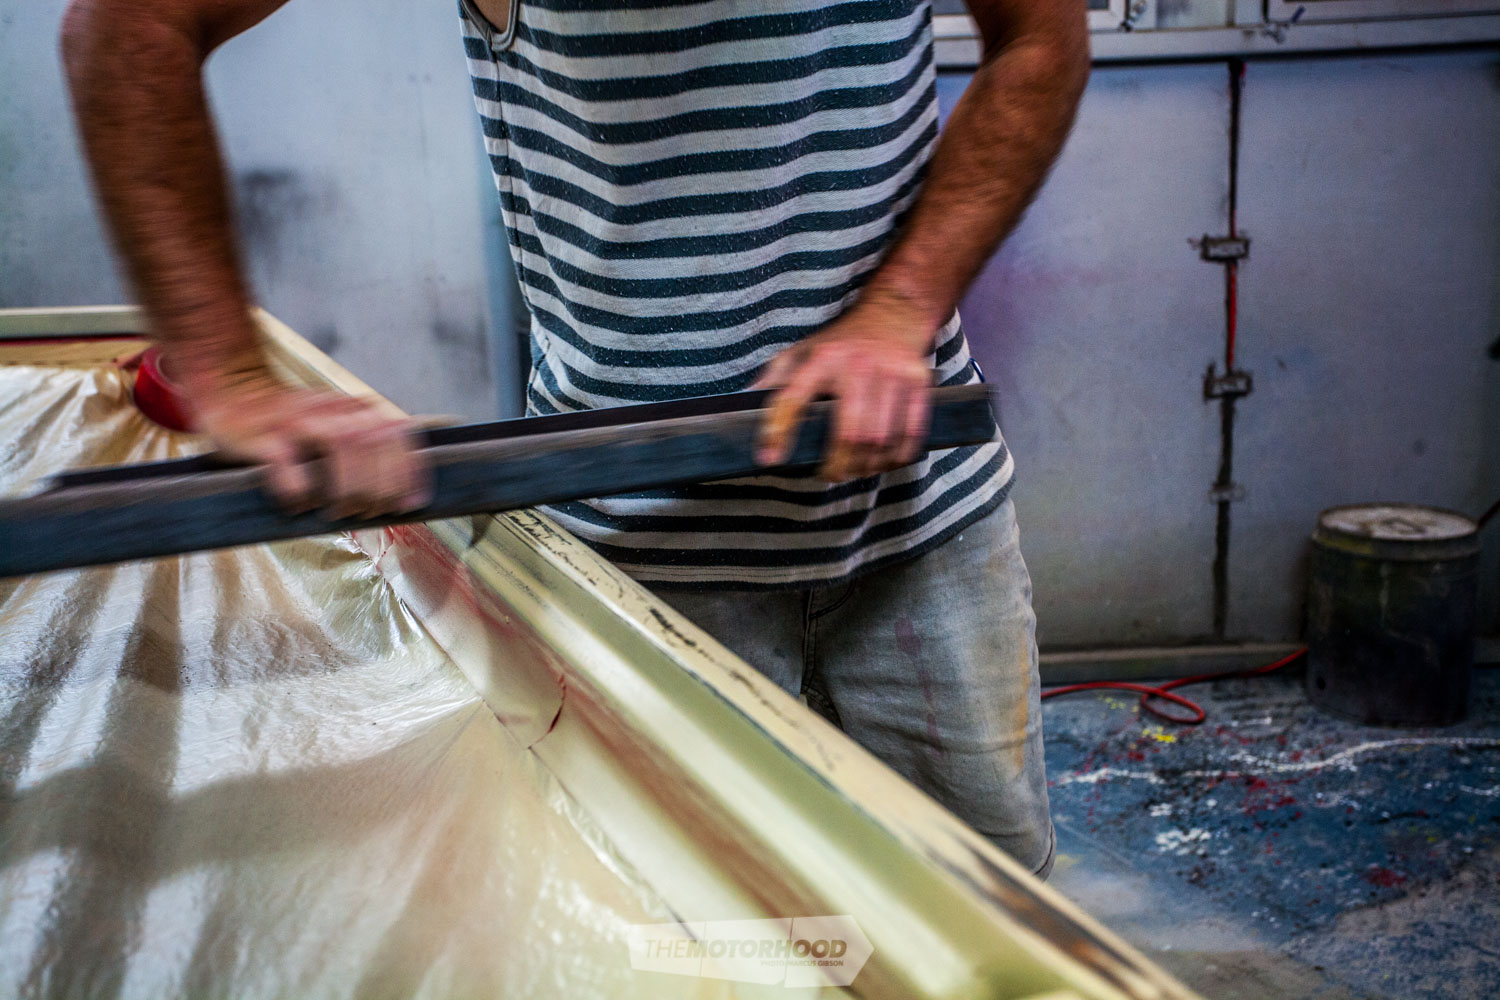
All the glass and inside the doors, etc. were masked before the truck was moved into the booth, where it was masked off from the rocker panels to the floor, to ensure no overspray would get under the vehicle and onto the chassis. Most paint shops will have a paper roller that feeds masking tape to one edge to save you some time, but newspaper and masking tape is also perfectly fine. Make sure all the gaps are taped tightly, as overspray will get in anywhere that is not completely sealed.
Laying down the plan
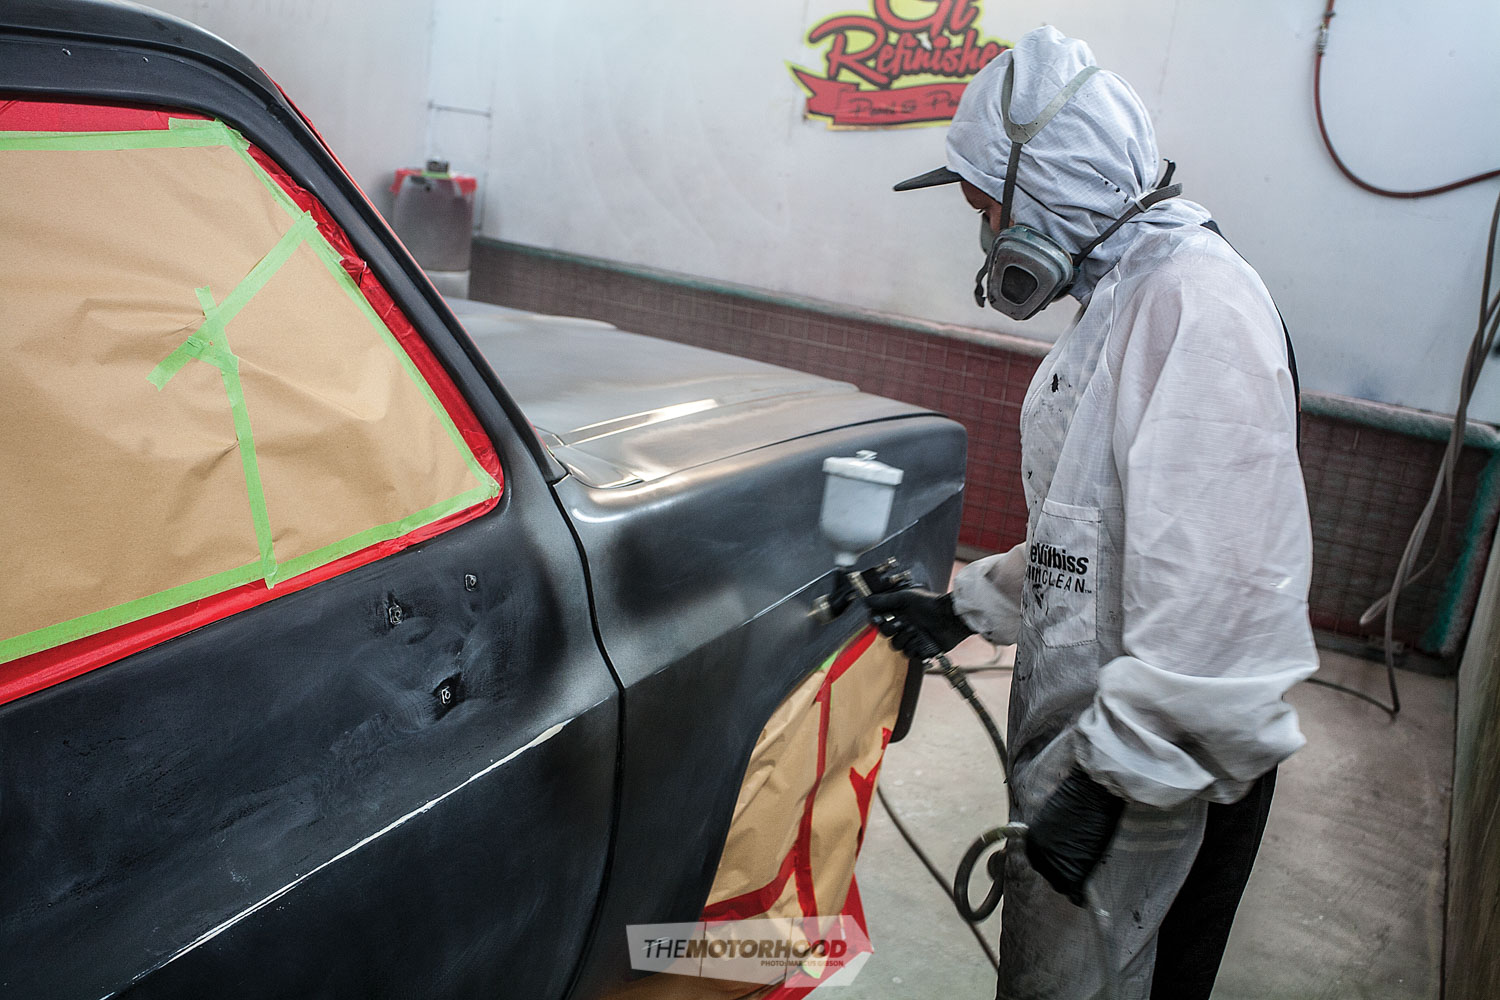
Before any spraying, wipe the surface down one last time using the two-cloth technique, and avoid touching any of the surface with your bare hands. Wet one cloth with wax and grease remover. Wipe the surface with this cloth. Then wipe the surface dry with the other cloth. At this stage, you will need to figure out just how much patina you want to give the body, as that will influence how much you need to spray with the first few coats. Four different layers of paint were used here to simulate the effects of patina — a silver for bare steel, a red oxide primer for rust, a black for blackened steel, and the actual body colour — in this case, a two-tone cream and white. All of these coats were done with DuPont Centari Economy Base Coat.
We were lucky that the truck’s old, dark metallic grey looked black once sanded, but if you’re painting on a bright colour, a few full-cover coats of black base coat to begin with will prevent the colour from showing up once you start sanding.
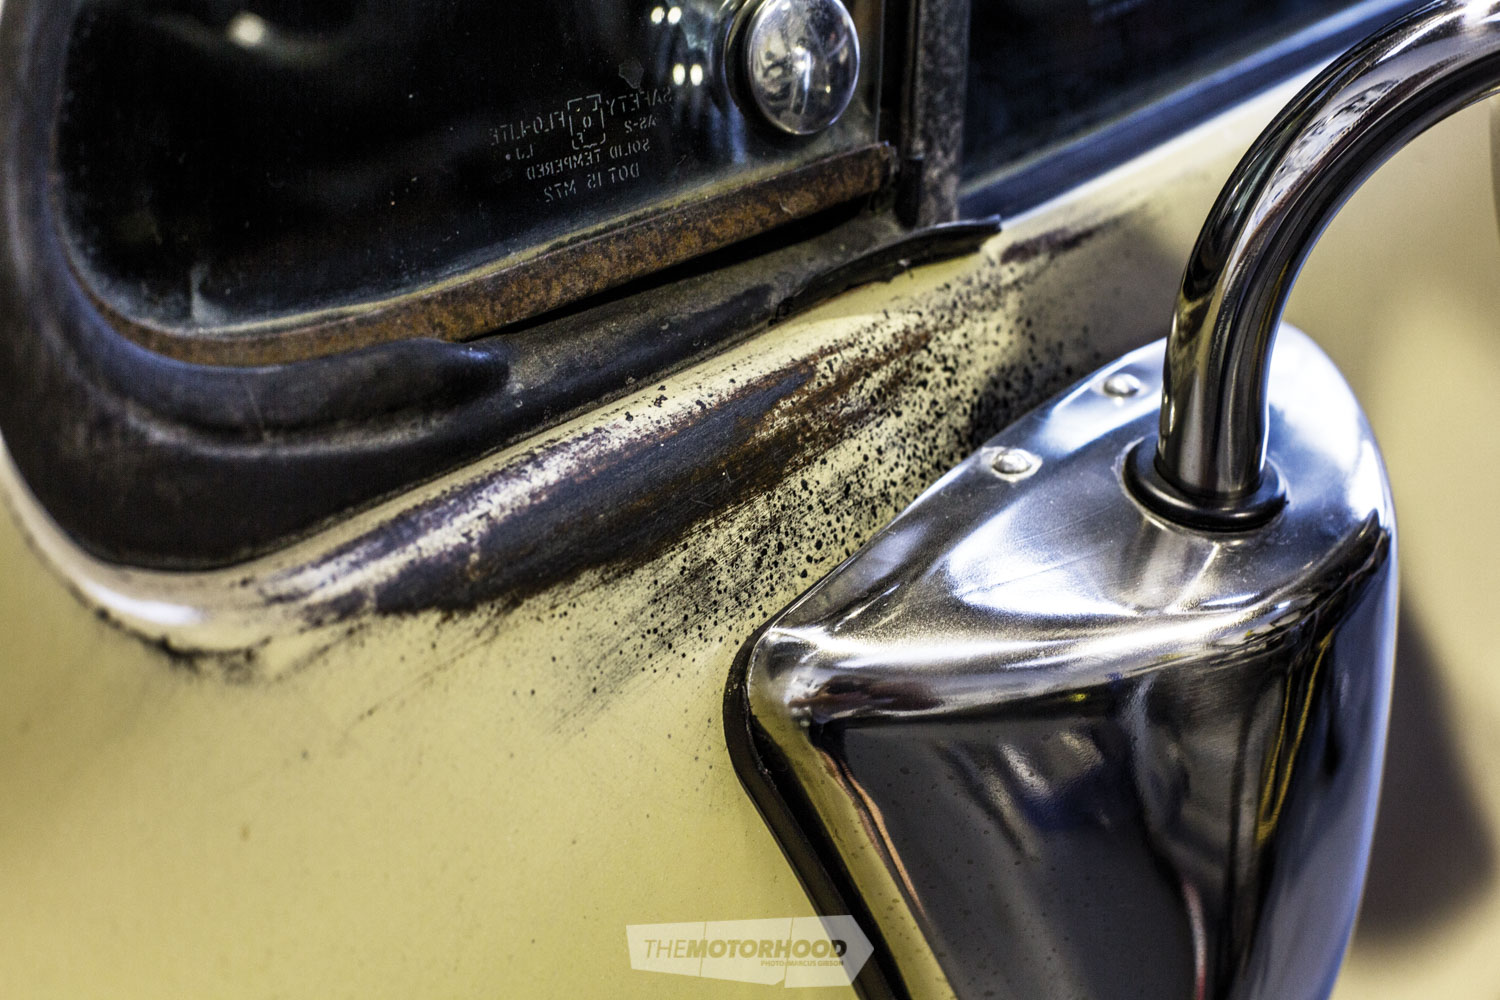
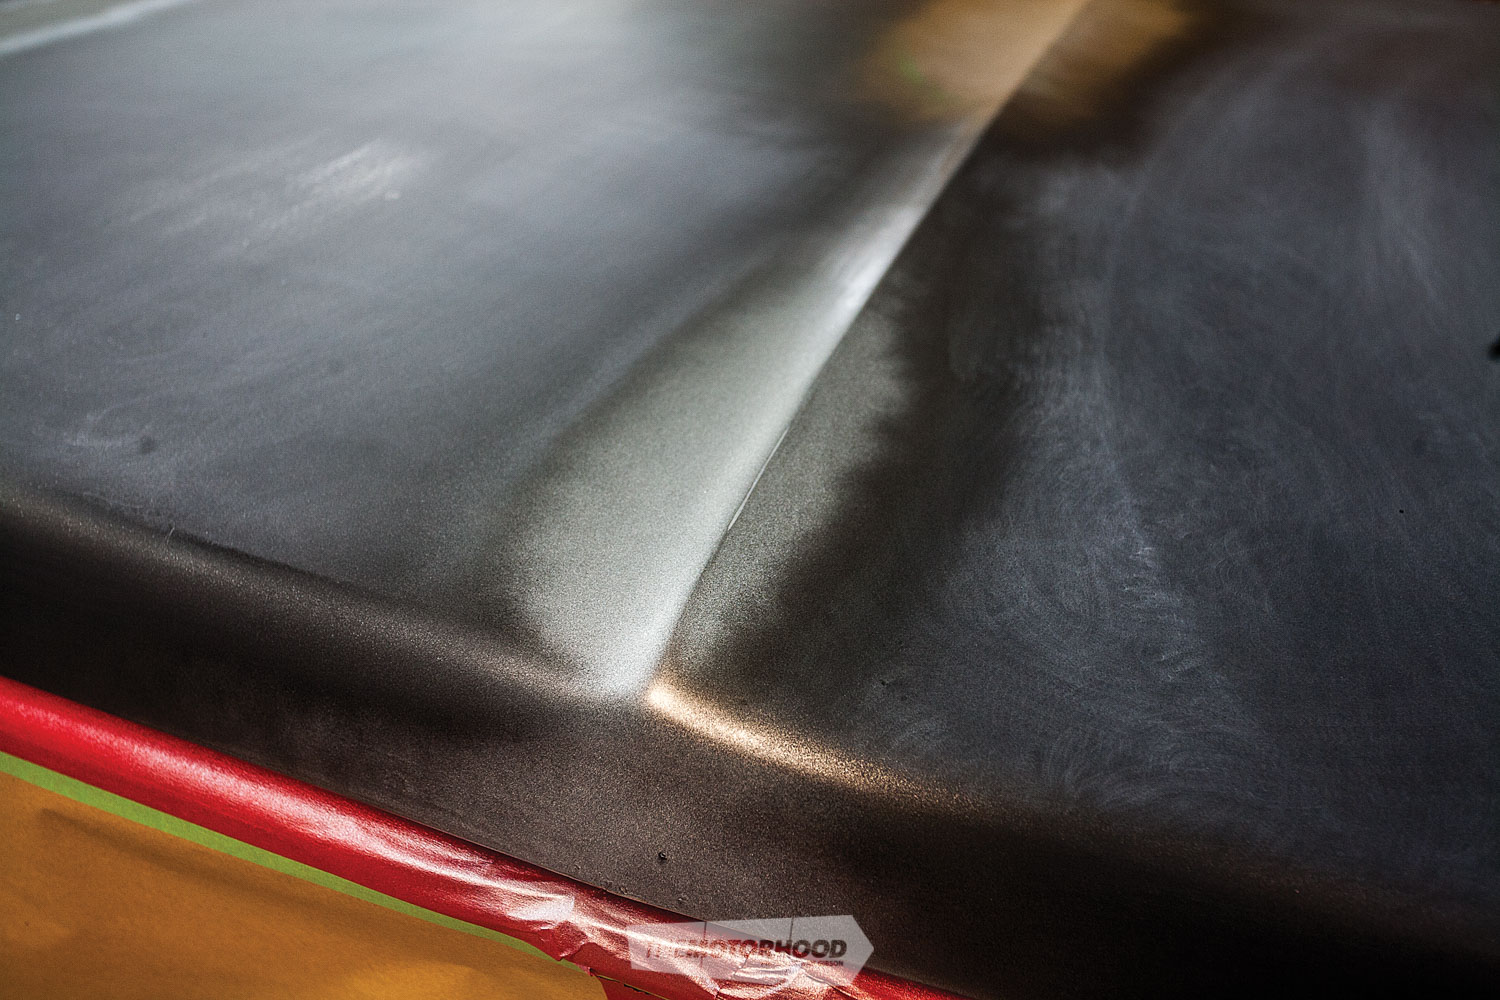
This process begins with the silver, laying it in selected spots, and taking detailed photos as a guide for where to sand later. When deciding where to spray, having a good understanding of how a vehicle would naturally wear is going to help. Use images from Google if you’re not sure. Edges are going to get worn the worst, as are under door handles, under the fuel flap, around the door locks, that sort of thing. The middle of larger panels are going to have sun fade. Grant from GT set the truck’s patina up as if the truck had sat in a barn with the right front corner blasted by the sun.
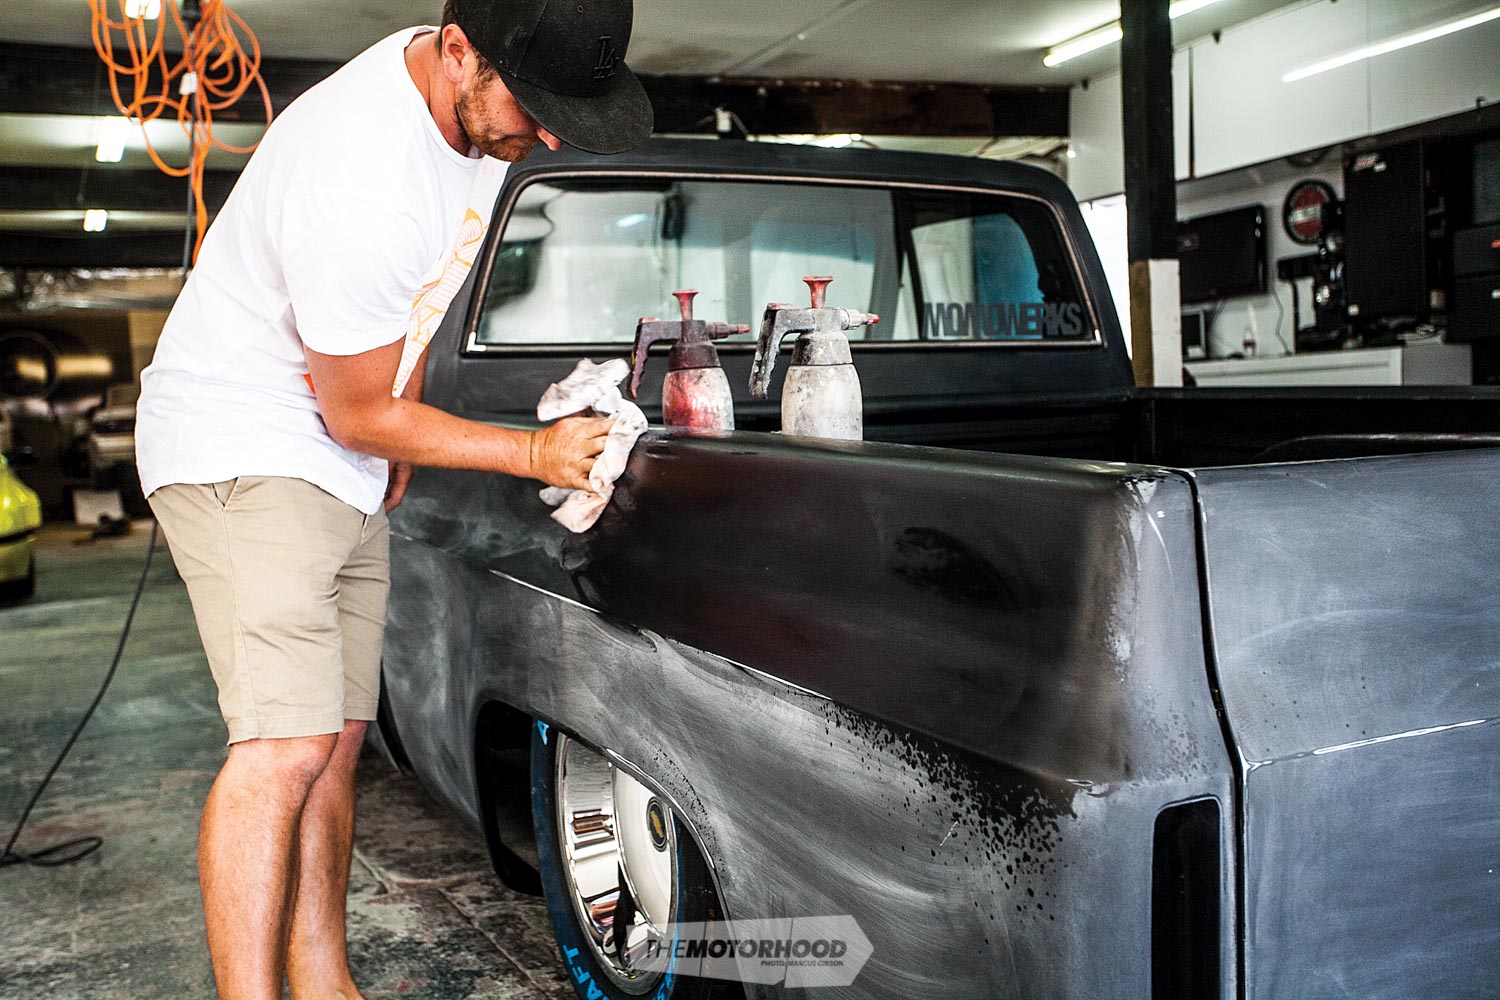
Adding texture adds realism
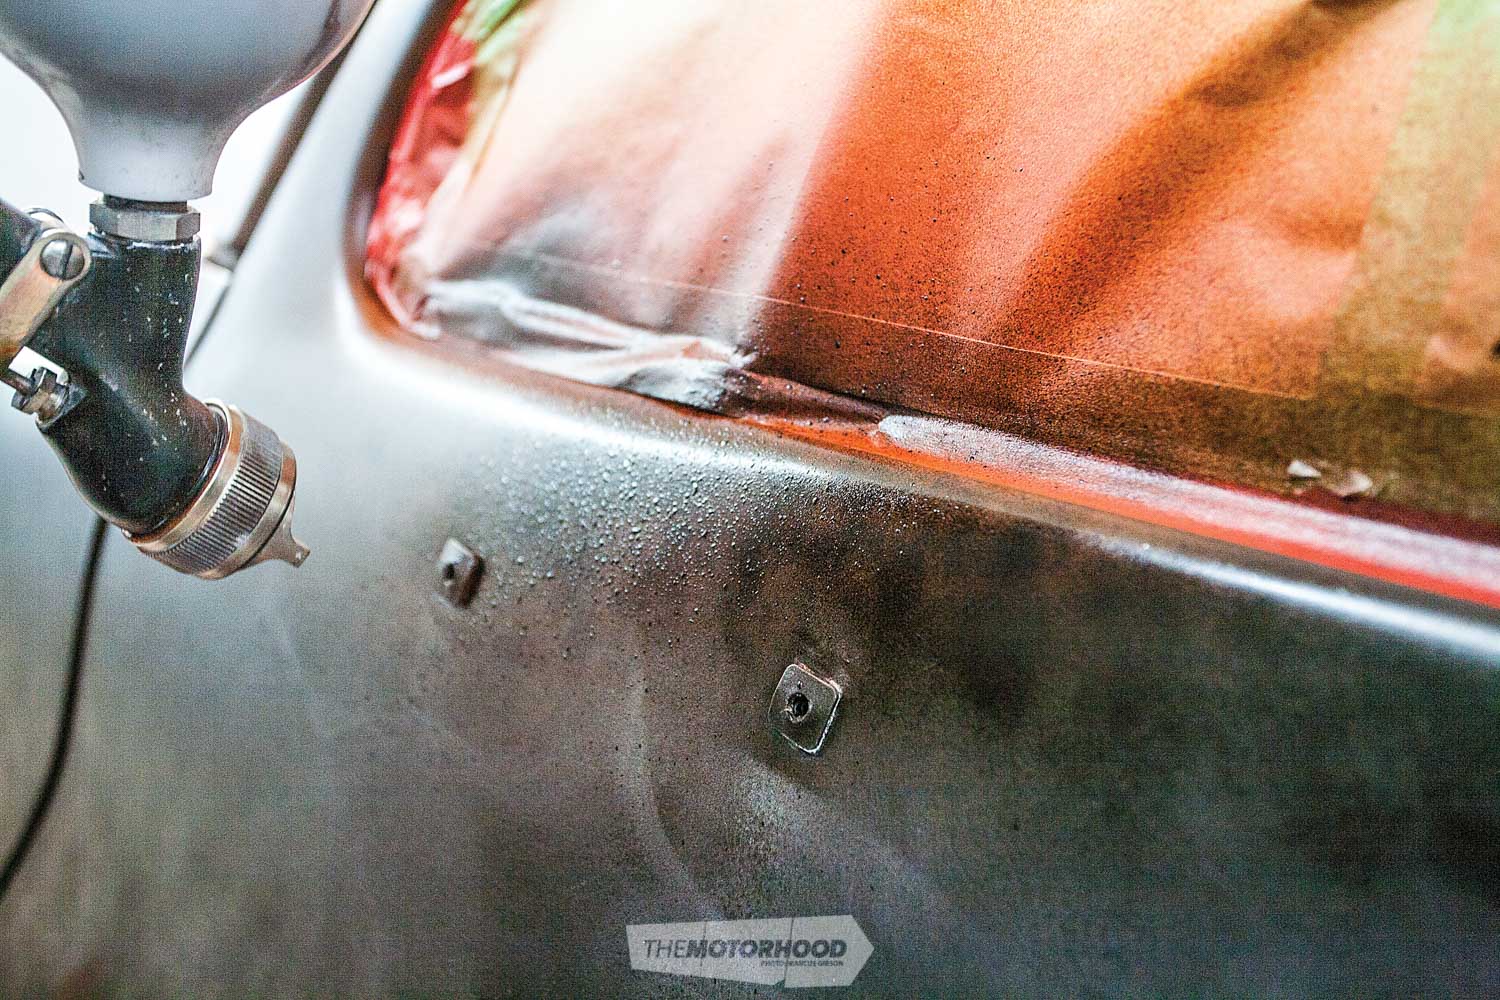
A work truck is going to be bumped and bruised, so its paintwork should reflect that. Grant used a few different techniques to start building up the texture, while building up the paint layers. Focusing on areas where the truck was already dented or damaged, he would lay on a thick coat and scratch it using an abrasive Scotch-Brite-type pad to mimic a scrape. He also dabbed a sponge into areas where rust would be. Another technique to fake rust was turning the air right down on the gun so it spat paint out, rather than the usual fine mist. He did this as he laid down the silver, then red oxide, and finally the black. Take photos at each stage so you can remember where all these areas are.
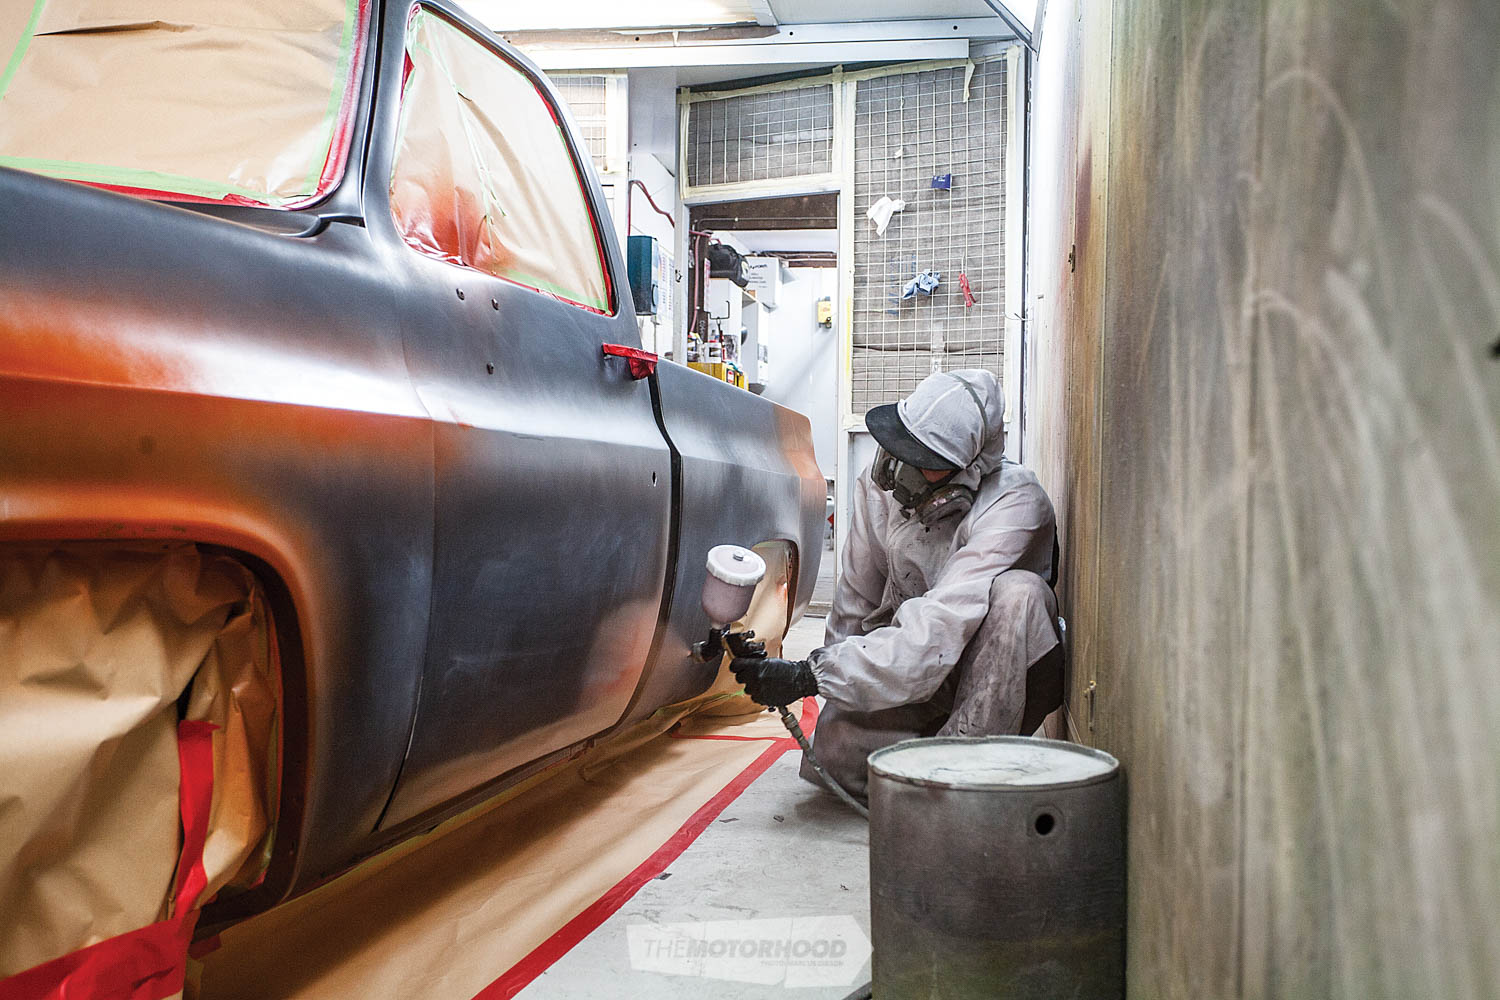
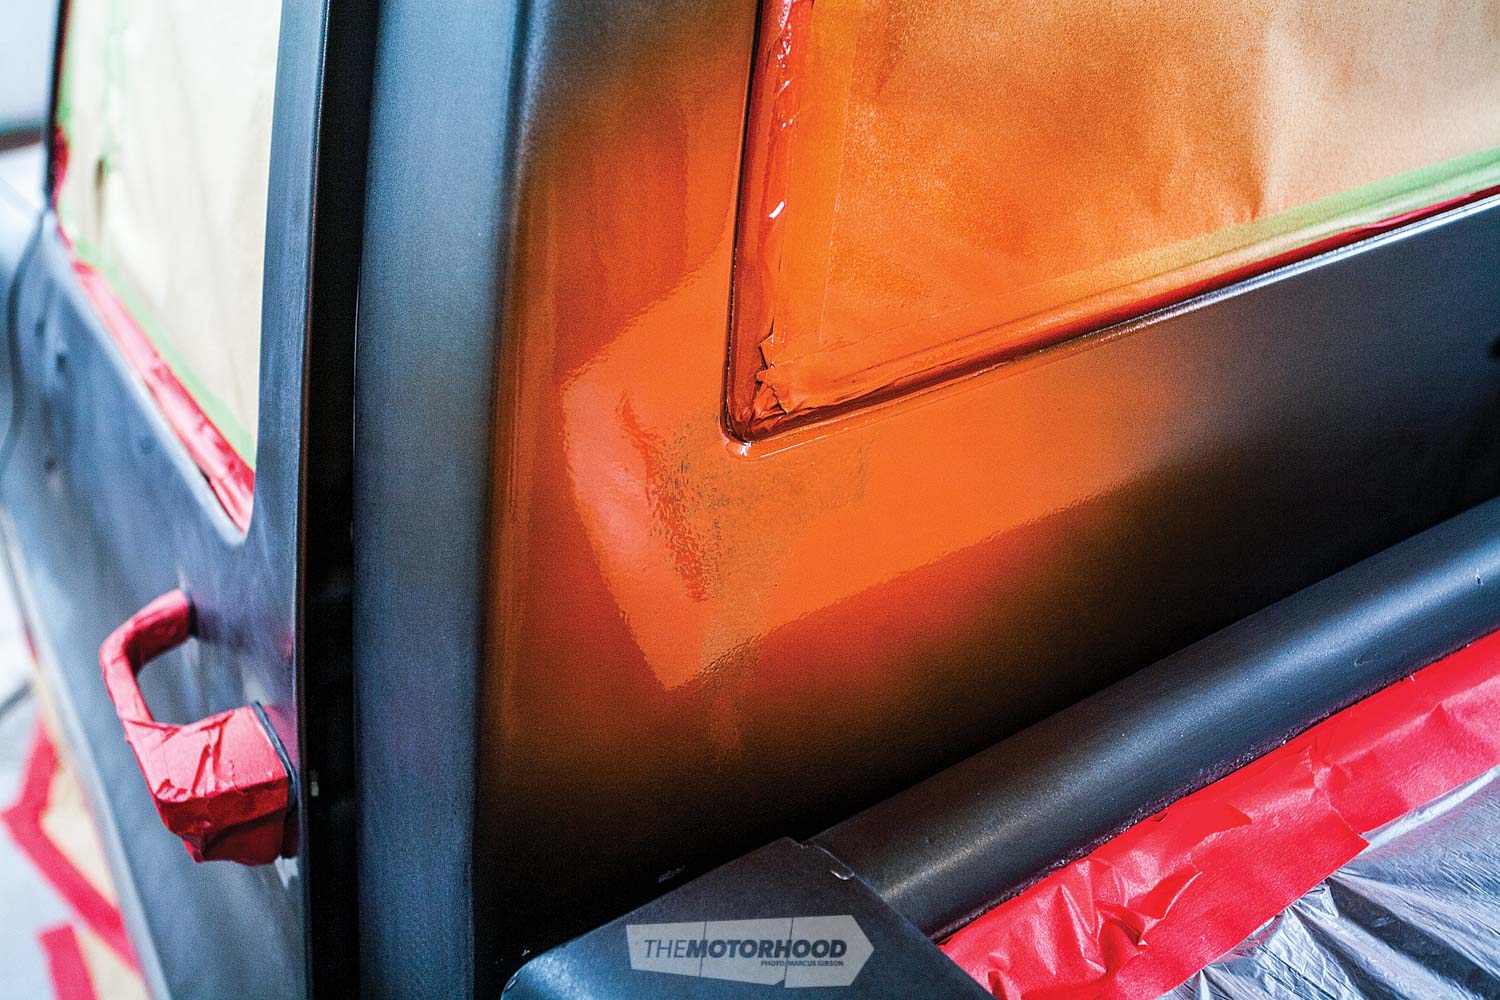
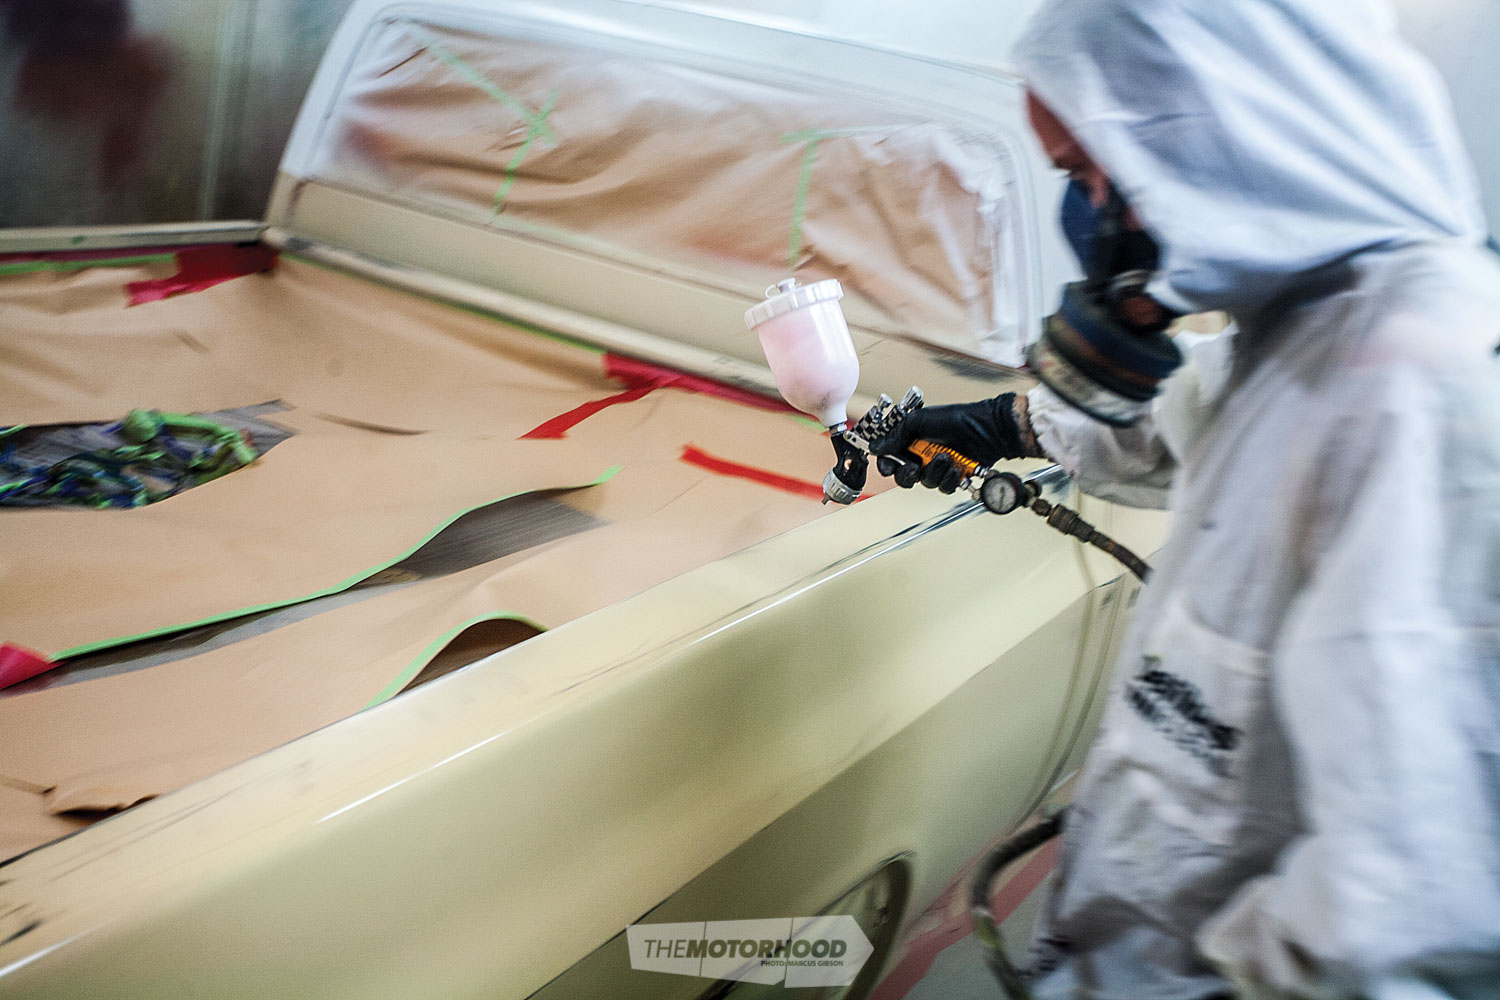
Time for coverage

Once you’re happy with the amount of patina detail, let it flash off, and then lay down your colour coats as you would any other paint job. Four coats of the cream had to be laid down to get coverage over the near-black base. A little red was added to a portion of cream and applied to the right front corner panels to further the sun-faded look for the final coat.
As this truck would be two-tone, it was important to wait for the cream to dry, before masking off and spraying the white roof. Again, it took a few coats to obtain coverage.
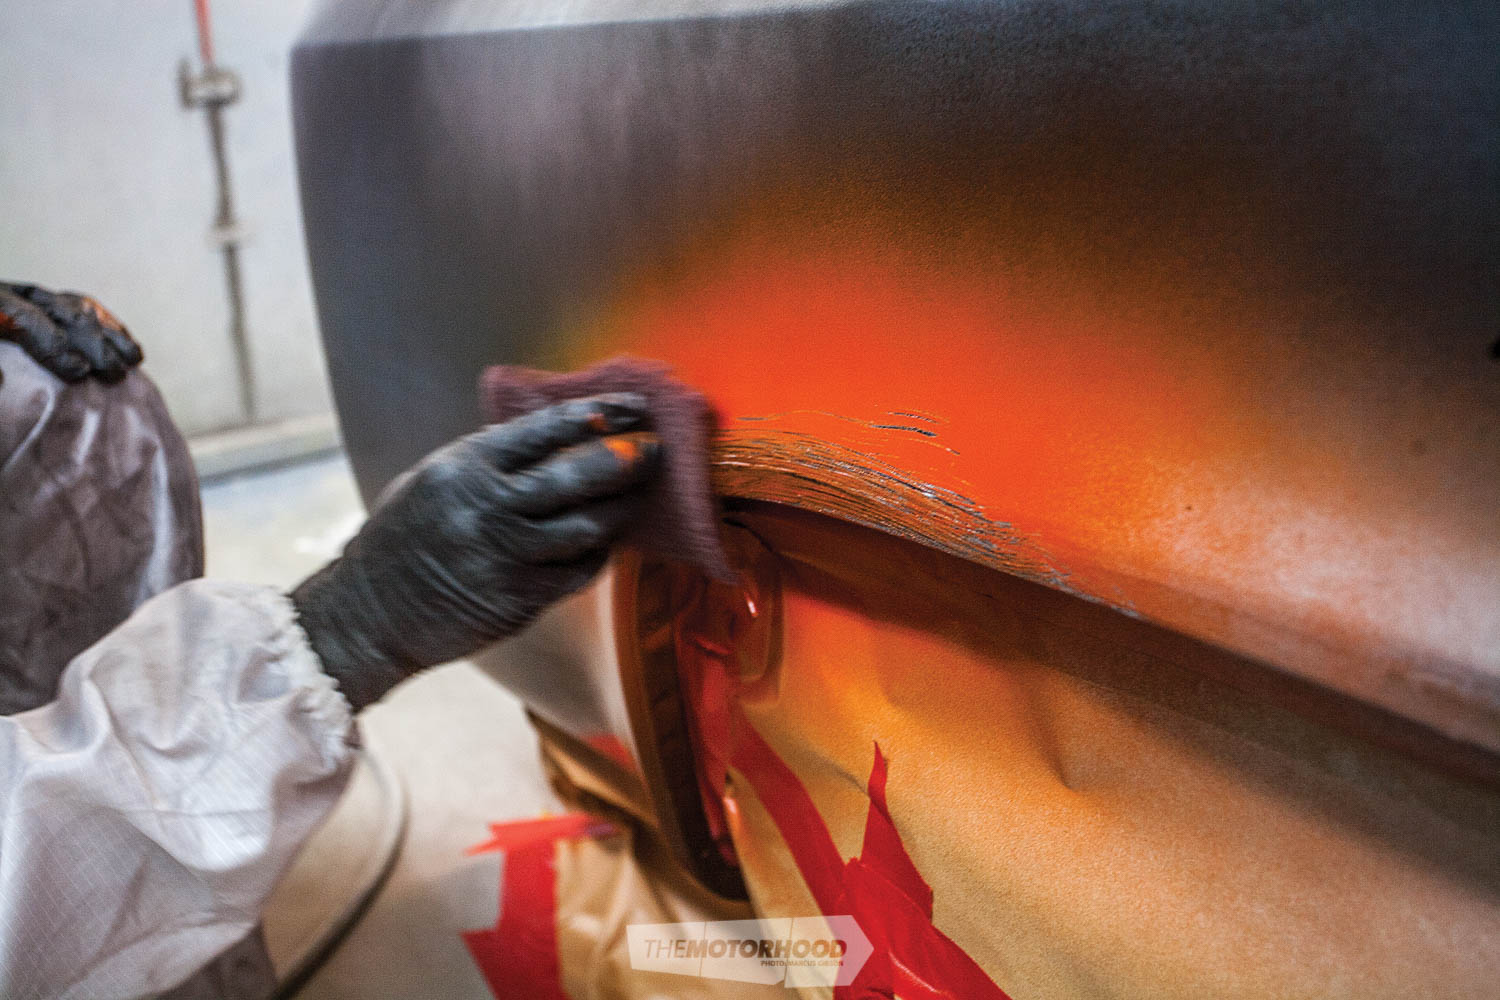
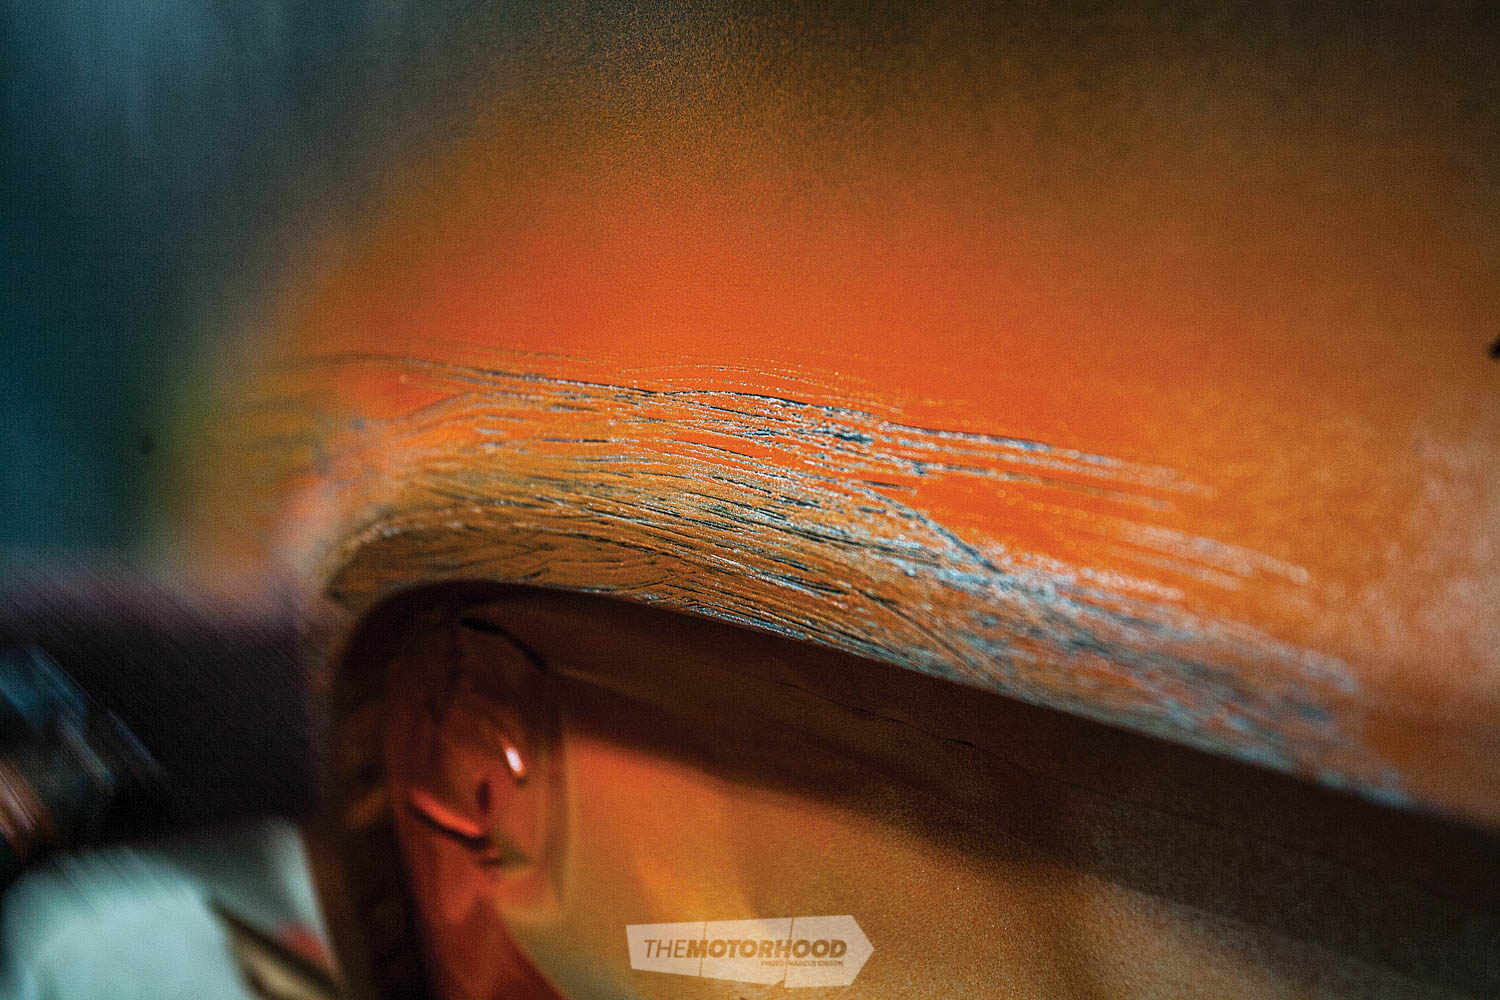
Rapid ageing

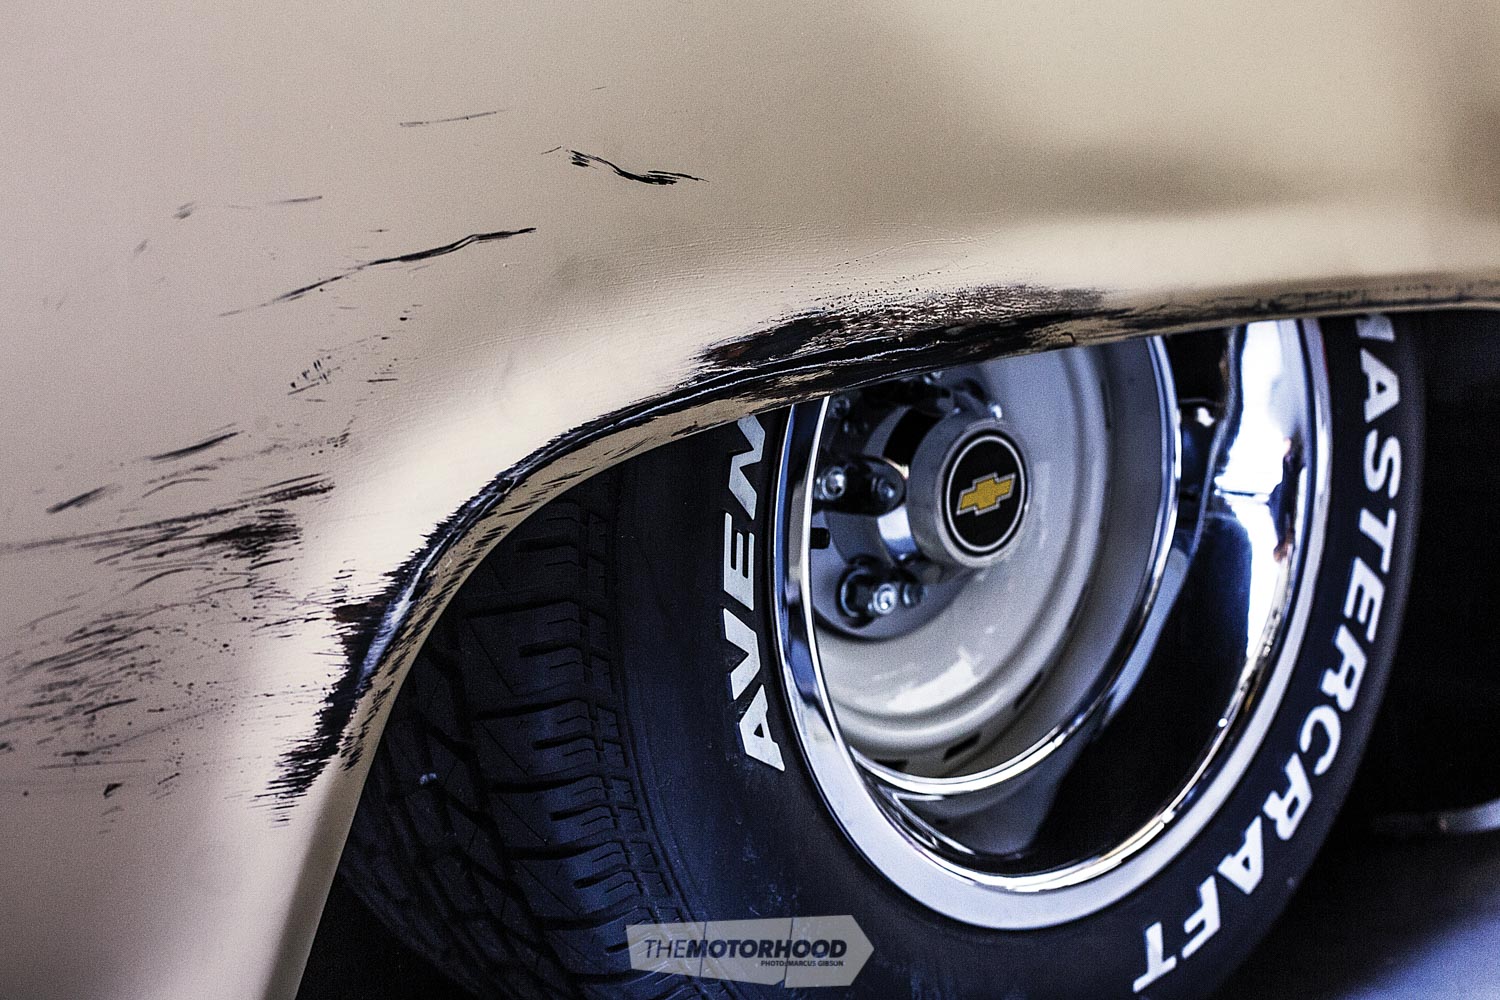
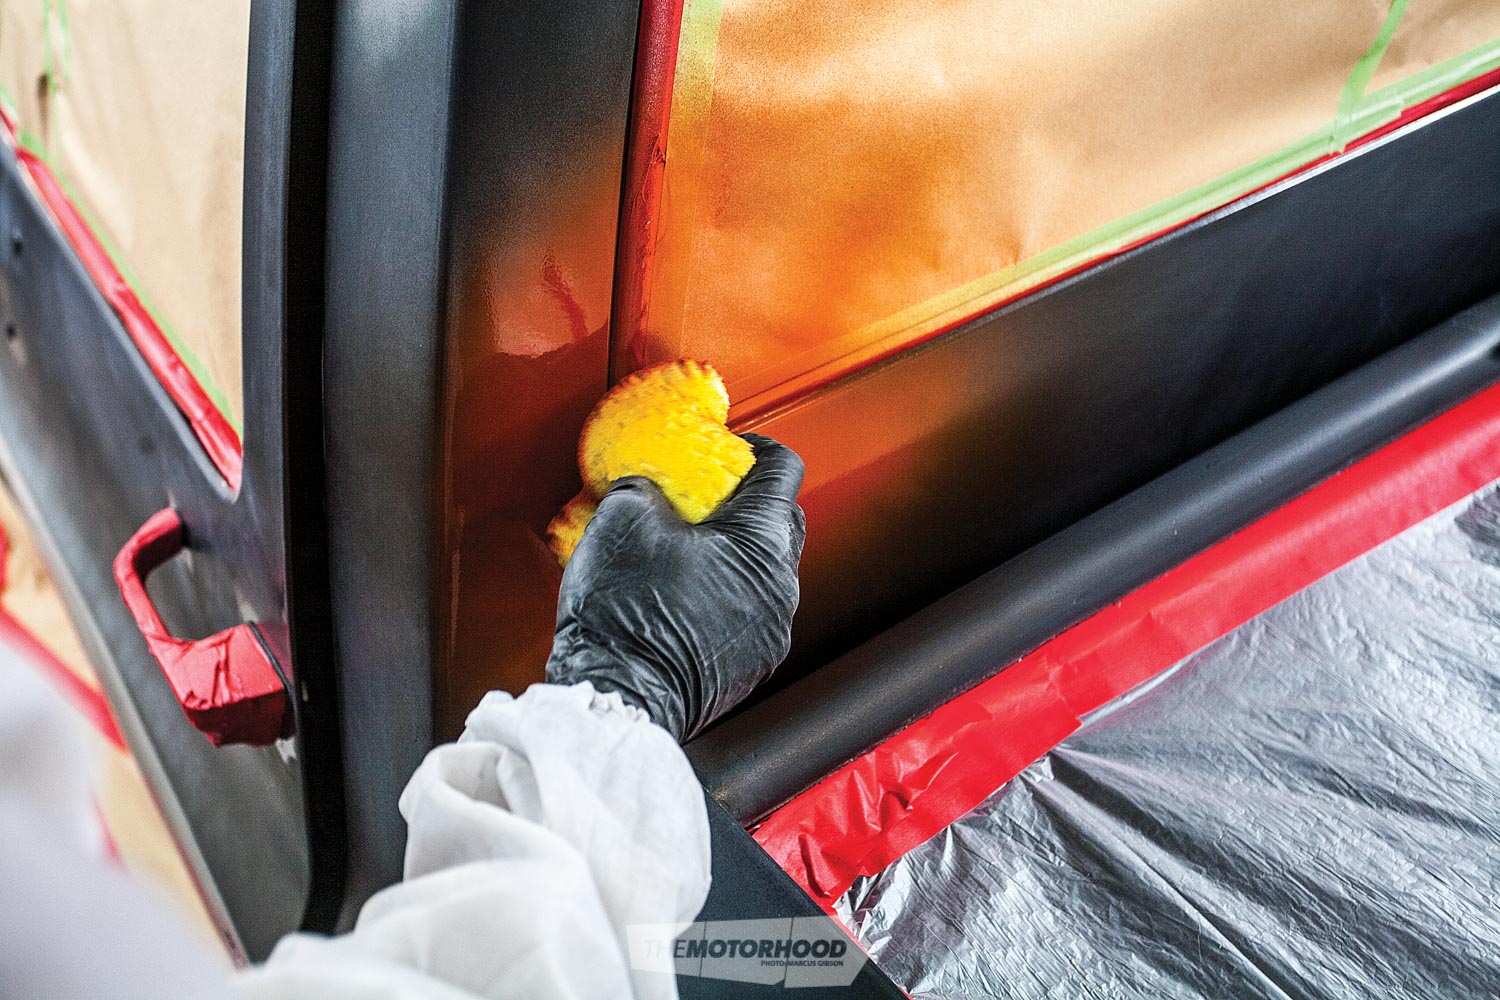
It’s not easy to take to your fresh paint job with sandpaper, and it’s even harder to decide where to begin. But just pick a spot and start sanding. An array of sandpaper was used here: wet and dry 400, and also 240 and 500 grit for differing effects. Where replicating sun fade, an orbital sander with the finer 500 grit was used, but if you’re attempting to mimic damage, go with the rougher 240 grit. Sometimes even that is not rough enough, so improvising comes into effect. Here, the guys grabbed anything they could find and bashed it against the bodywork — old ladders, bits of steel, paint tins, even a BMX bike. Basically, the goal was to mimic the actual use the truck would have seen, so obviously places like the tray edges are going to be worked over pretty hard. Reference back to your photos to see where to sand and simply work away till you’re happy. There is really no right or wrong. Go as far or be as minimal as you want. Try to avoid excess scratch marks around the edge of a patch, by using 500 grit around the edge to feather the spot out. Reference back to those Google images we mentioned earlier for real-life examples of what to replicate.
Finishing touches
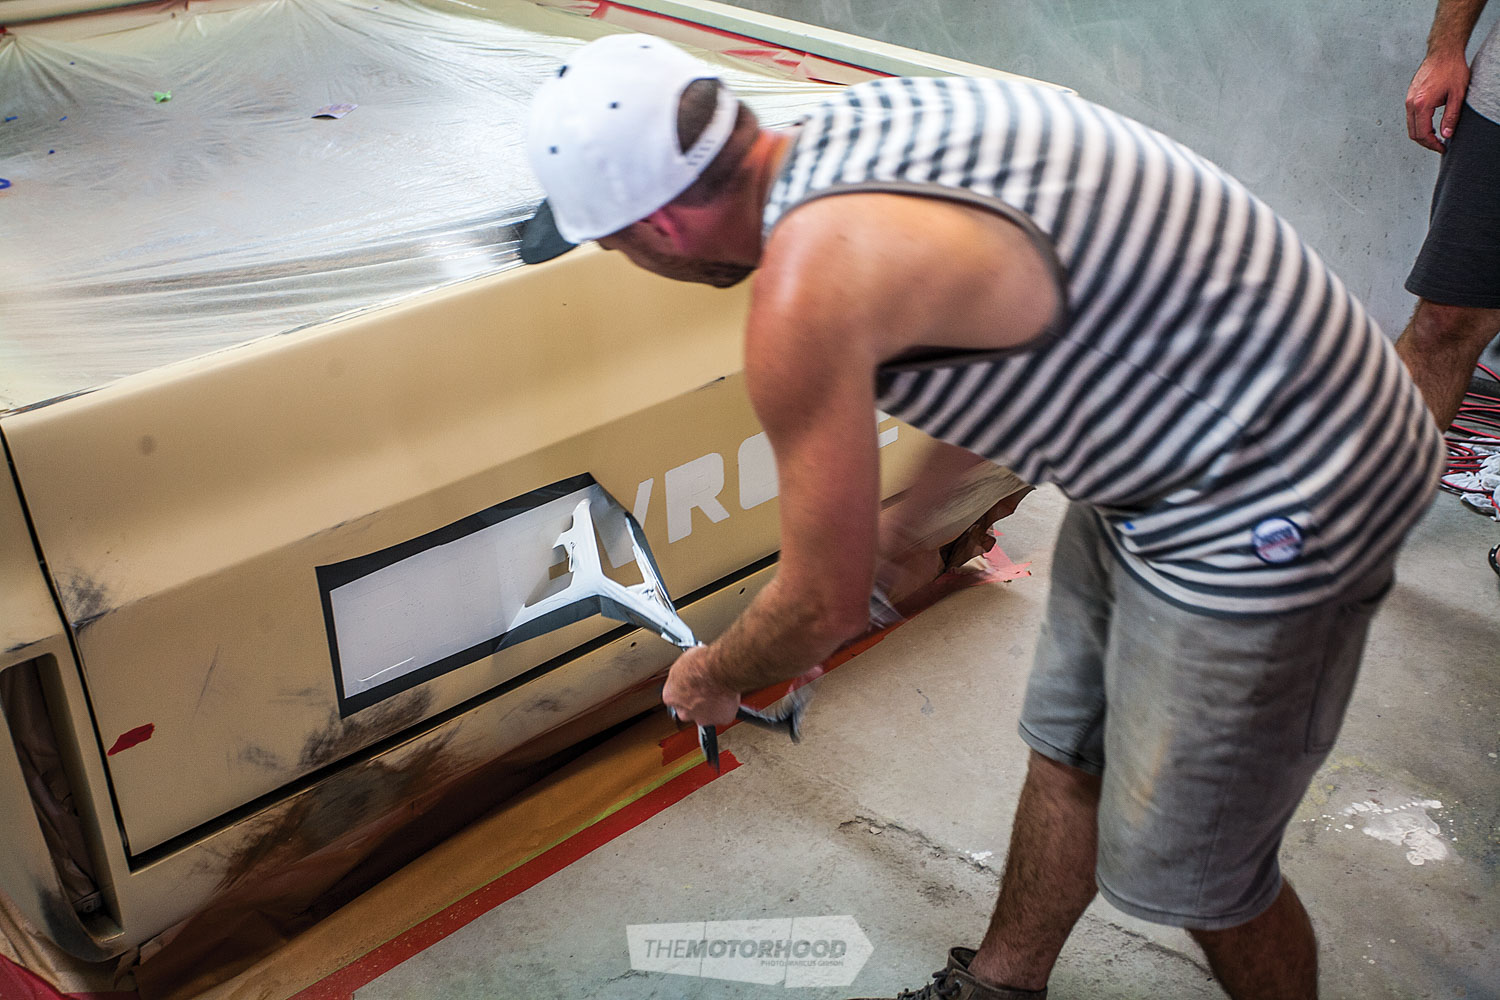
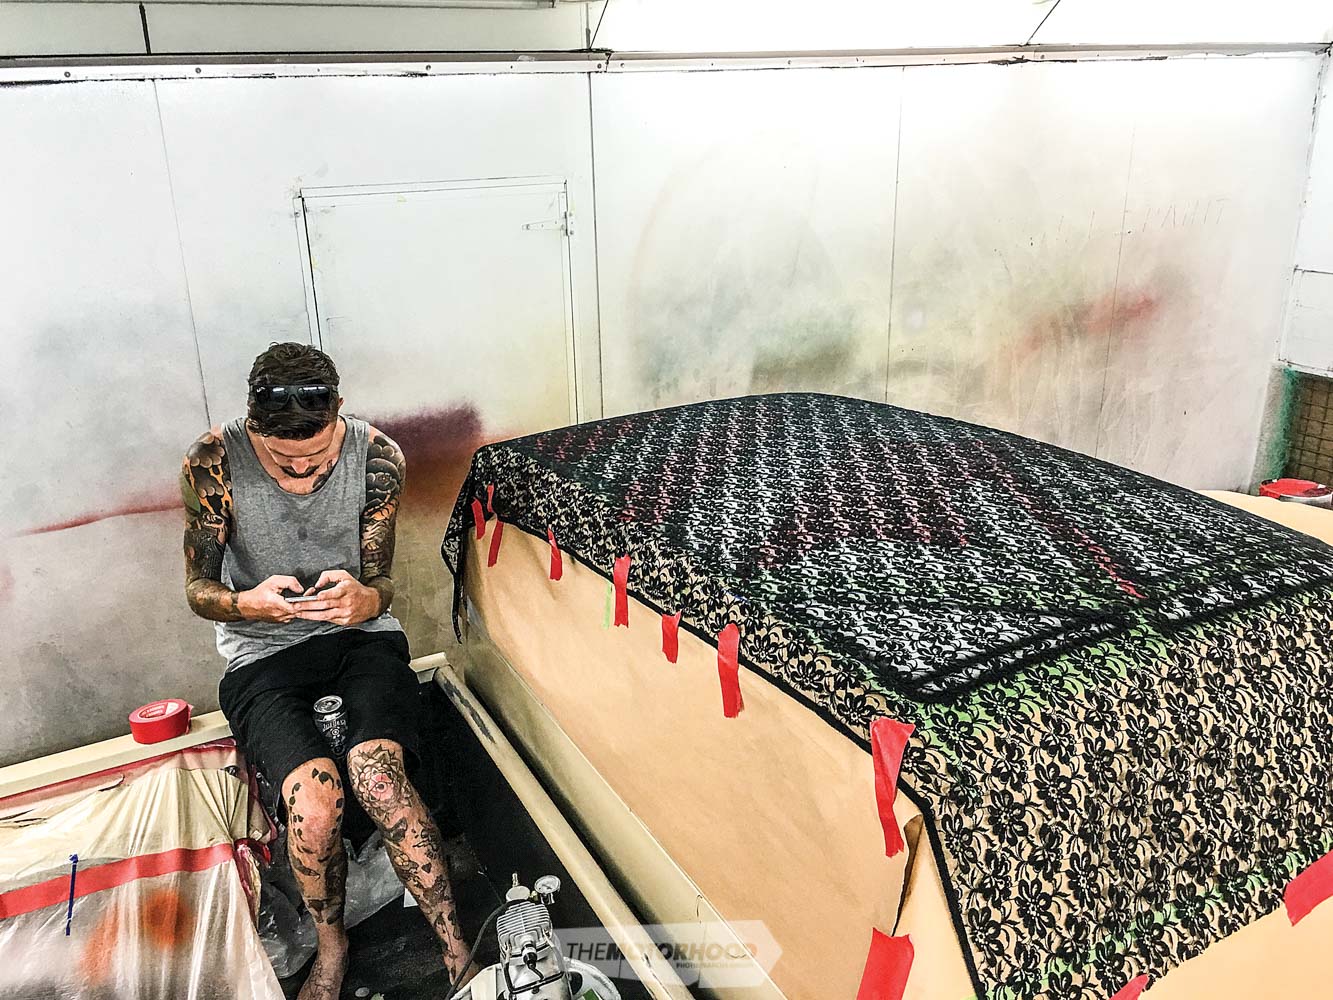
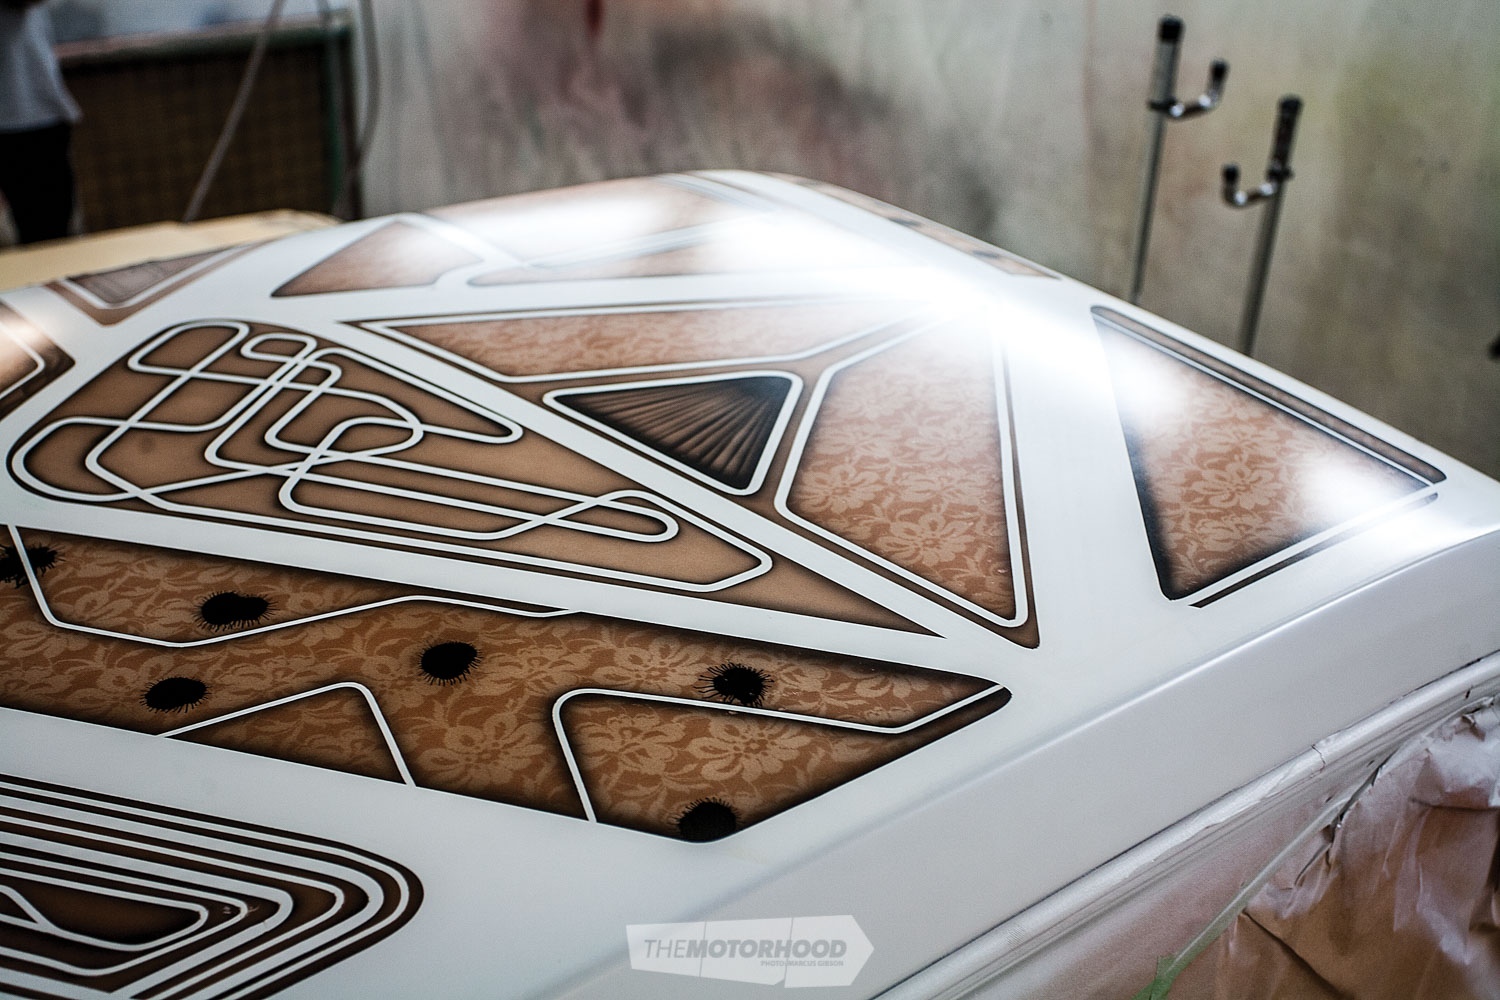
This job went a few steps further, and added a Chevrolet logo to the tailgate, with the owner electing to run with a 1950s logo rather than a period-correct ’80s version purely because he liked it better. The logo was found online and cut out with the vinyl cutter. Once applied to the vehicle, the letters were removed from the block to reverse the normal application process, and were masked off. Grant sprayed on one coat of black and then two of white. The masking was then removed instantly to help give a rough edge effect. After it had flashed off for half an hour, it was sanded like the rest of the body. If you decide to do this, be sure to wear it in a similar manner to the panels around it. In addition, some period-correct lace and candy work was applied to the roof and also given the patina treatment. To give the entire lace piece a dull look, as though it had been painted in 1980, it was given a once-over with the DA system and 500 grit, knocking it all back — once again, applying those rules on wear and sun fade; yep, that right front corner got a working over.
Seal it up and enjoy
Once you are happy with the amount of patina achieved, wipe the body down with a dry cloth to remove any loose particles left over from sanding. Hopefully, no one has touched the bodywork with their greasy hands during the process. The reason the paint needs to be sealed is that the base coat has no sealer, as it’s designed to be clear coated. New Zealand’s harsh sun will destroy it quickly, and you will also have a tough time cleaning it. You also don’t want to lay super glossy clear over the top, as that will emphasize the faux patina. What the GT Refinishers team does is spray two coats of DuPont Centari Economy Binder mixed with hardener. This gives a slight sheen and seals up the job perfectly.
Lay down two coats, let it dry for 30 minutes, and you’re ready to de-mask and see the final result. For a 24-hour job, the owner was pretty happy with how the truck turned out, and mentioned that it was one of the most entertaining paint jobs he’d been a part of. So what are you waiting for? Get the boys around and get stuck in!