Despite the pervasiveness of mass production, the art of coach building refuses to die, only becoming more sought after by those seeking the quality touch of a true professional
To claim that things have changed during the last century would be an understatement and a frivolous one at that. Of course things have changed, regarding almost every single aspect of life as we know it, thanks to the unstoppable advance of knowledge and technology. Within the scope of this magazine, though, one aspect of life interests us more than most: transportation, or, more specifically, passenger cars.
While mass-production techniques, such as those employed and popularized by Henry Ford in the early 1900s, have changed the landscape of private passenger car ownership markedly, they also heralded a significant decline in perhaps one of the most beautiful forms of automotive craftsmanship — coach building.
The craft of coach building is as old as the coach itself, and, in an automotive context, the term describes the production of a vehicle body by a specialist coachbuilder. By the late 1920s, vehicle design had begun to feature pronounced curves and more complex panels, influenced by and associated with the art-deco style. It was this period that saw the creation of what many regard as the most extravagant and beautiful cars ever made. However, the labour-intensive process of coach building was not mutually compatible with the economies of scale yielded by mass production, and the art form soon faded to the point of obscurity. It never died, though.
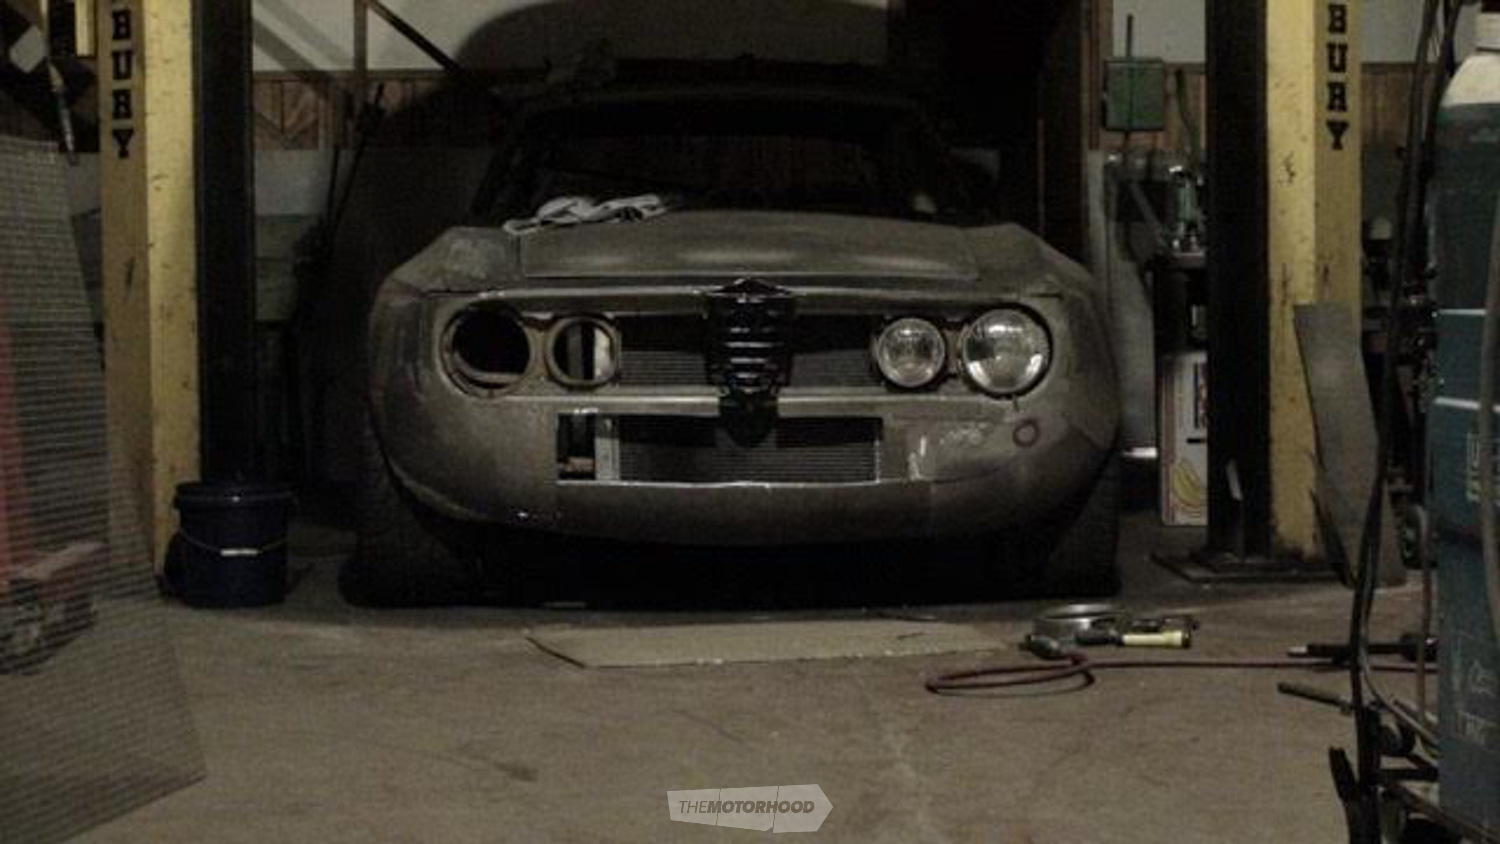
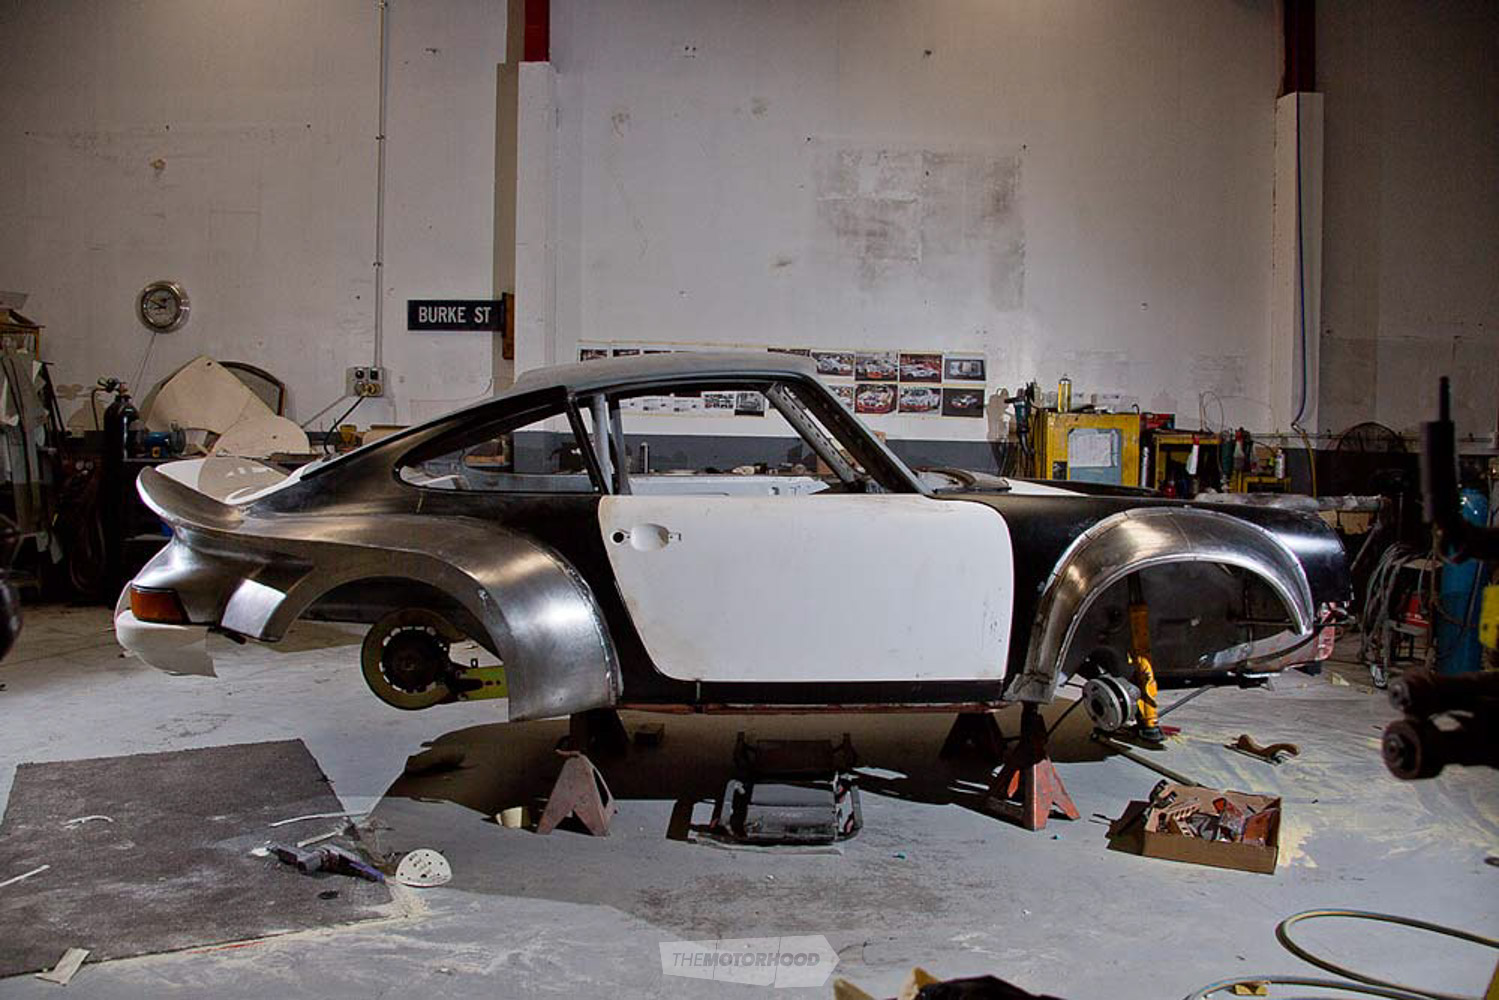
Fast forward several decades to today, and coach-building craftsmen — some of who are from second- and third-generation coach-building families — hone their skills either on restoring rusty and fatigued classics to return them to their former glory or recreating from scratch such exotics as early Ferraris, Jaguars, and Alfa Romeos. In many cases, amazing results were and still are achieved with equipment that is considered primitive in today’s world of quick-turnaround consumerism.
Many enthusiasts involved in the classic car fraternity believe that this traditional art is slowly but surely dying away as the older master craftsmen hang up their tools after decades of plying their trade. We decided to check out some of the businesses currently specializing in this form of work within New Zealand and have found that the art of coach building is alive and well, with more businesses than ever offering an elite level of workmanship. Here’s an inside look at the many aspects of custom metalwork.
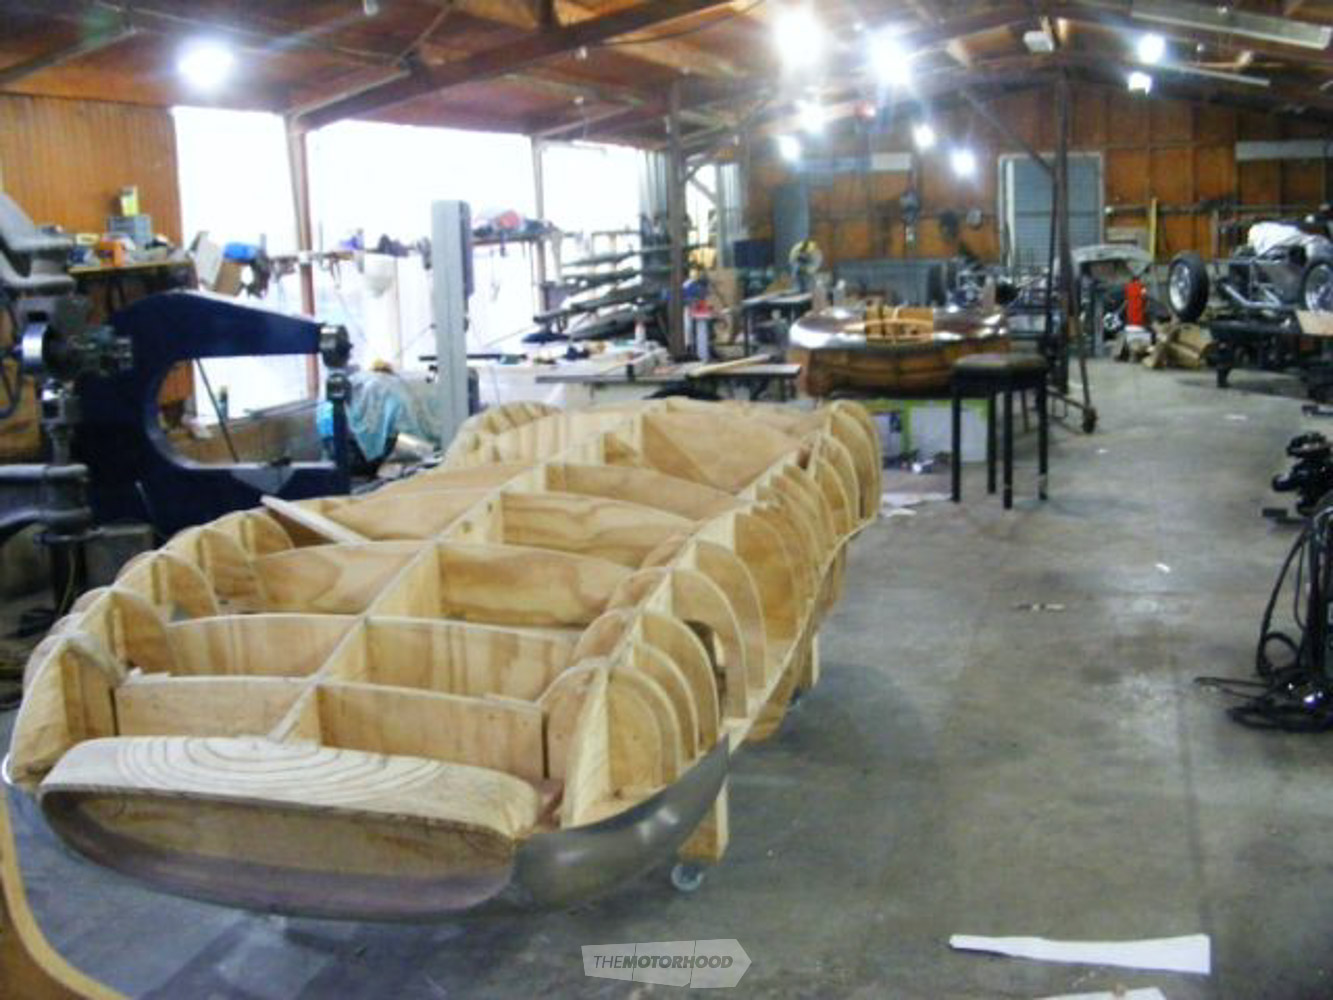
Body bucks
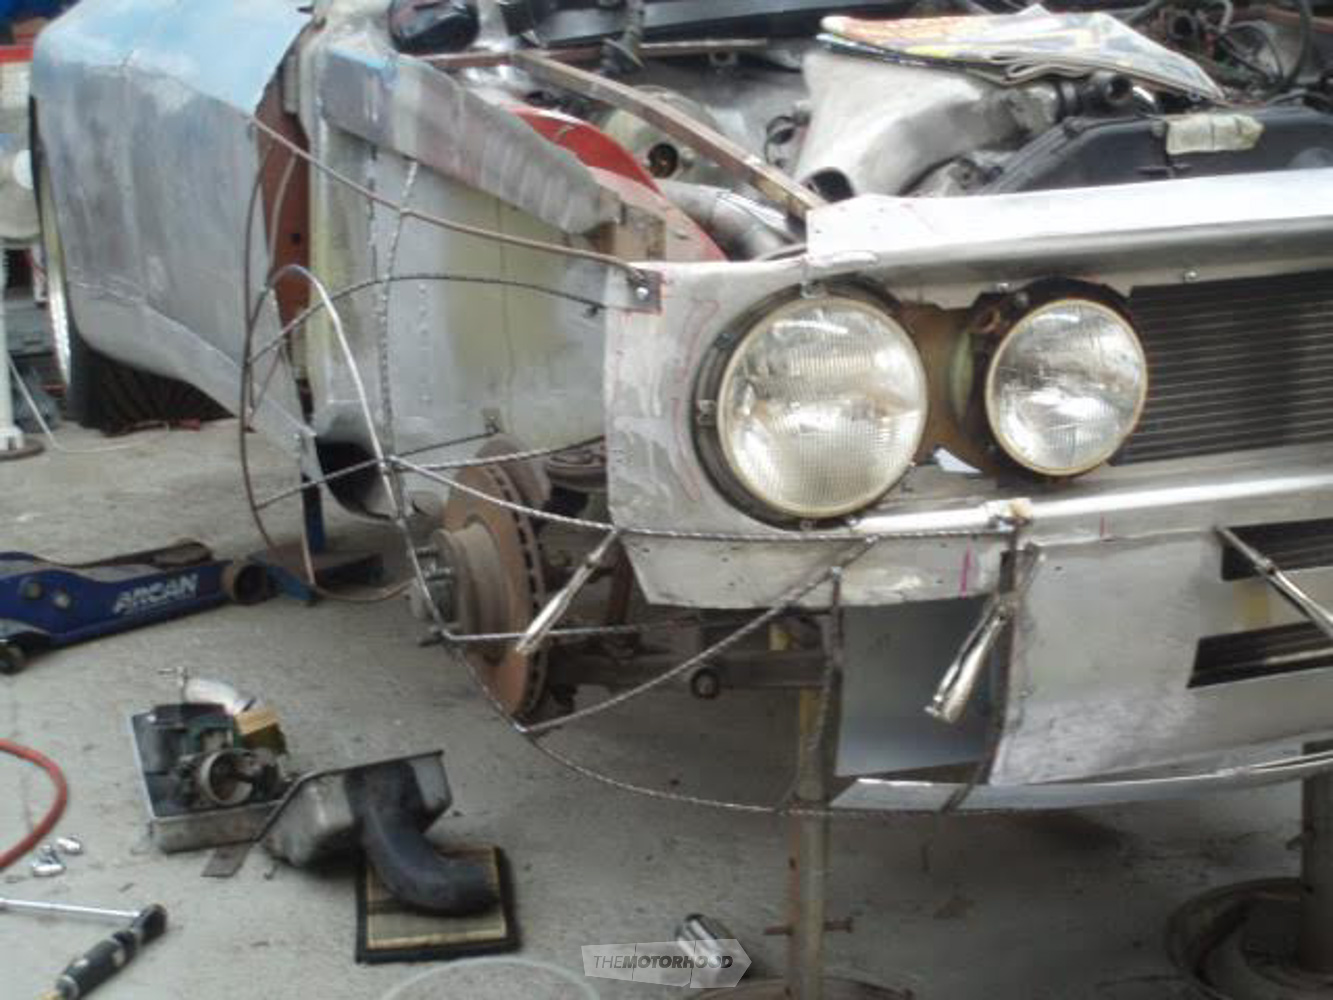
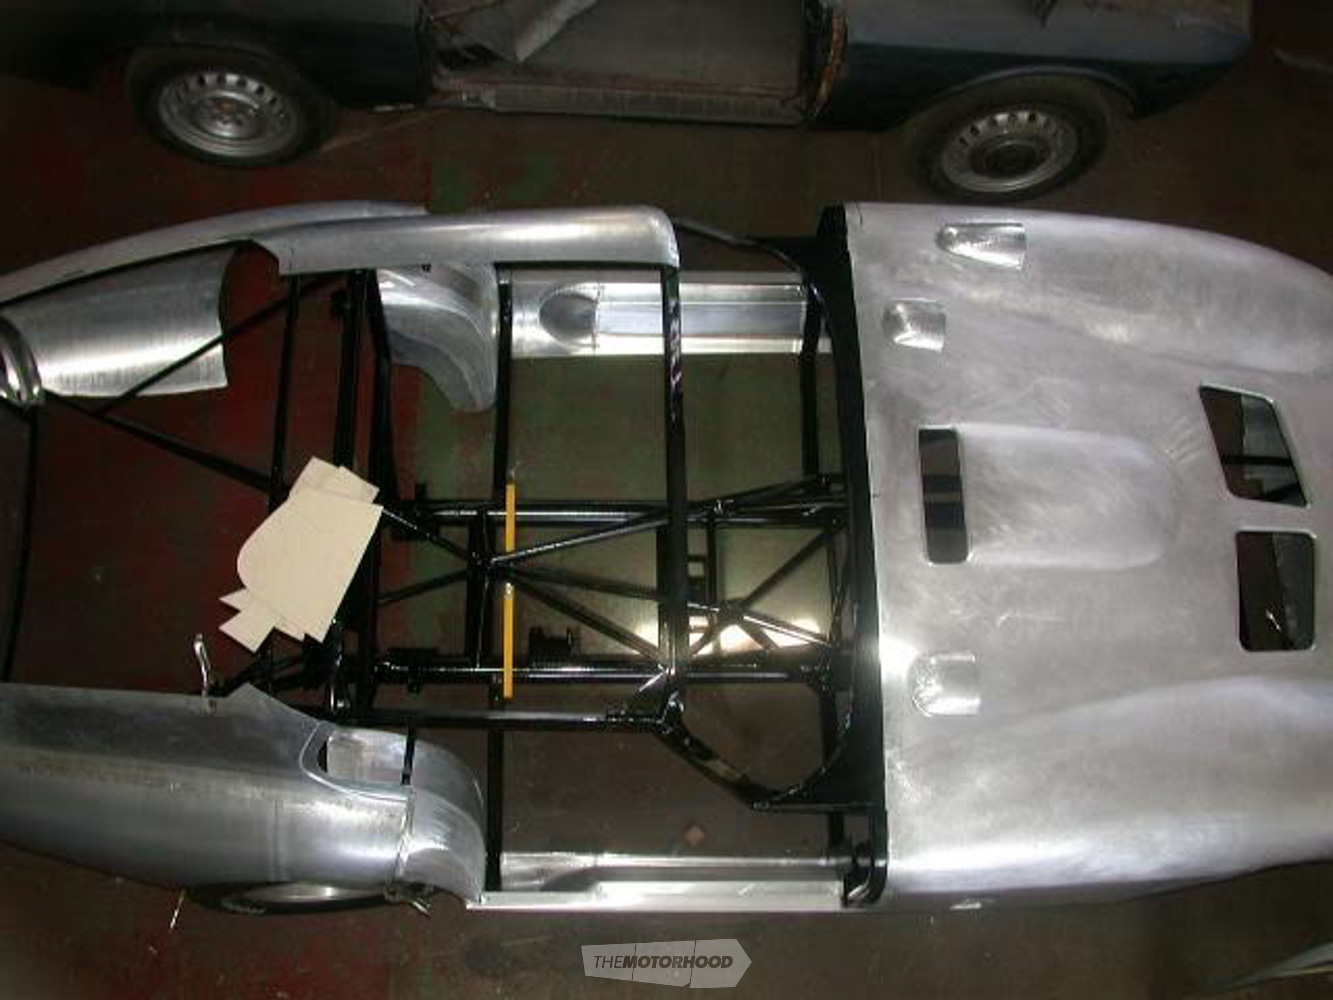
At its essence, coach building involves the complete crafting of a vehicle’s body — floorpan, firewall(s), roof, and exterior panels. While all of these require time, skill, and the right tooling to complete, it is the creation of exterior panels around body bucks that is most associated with the art.
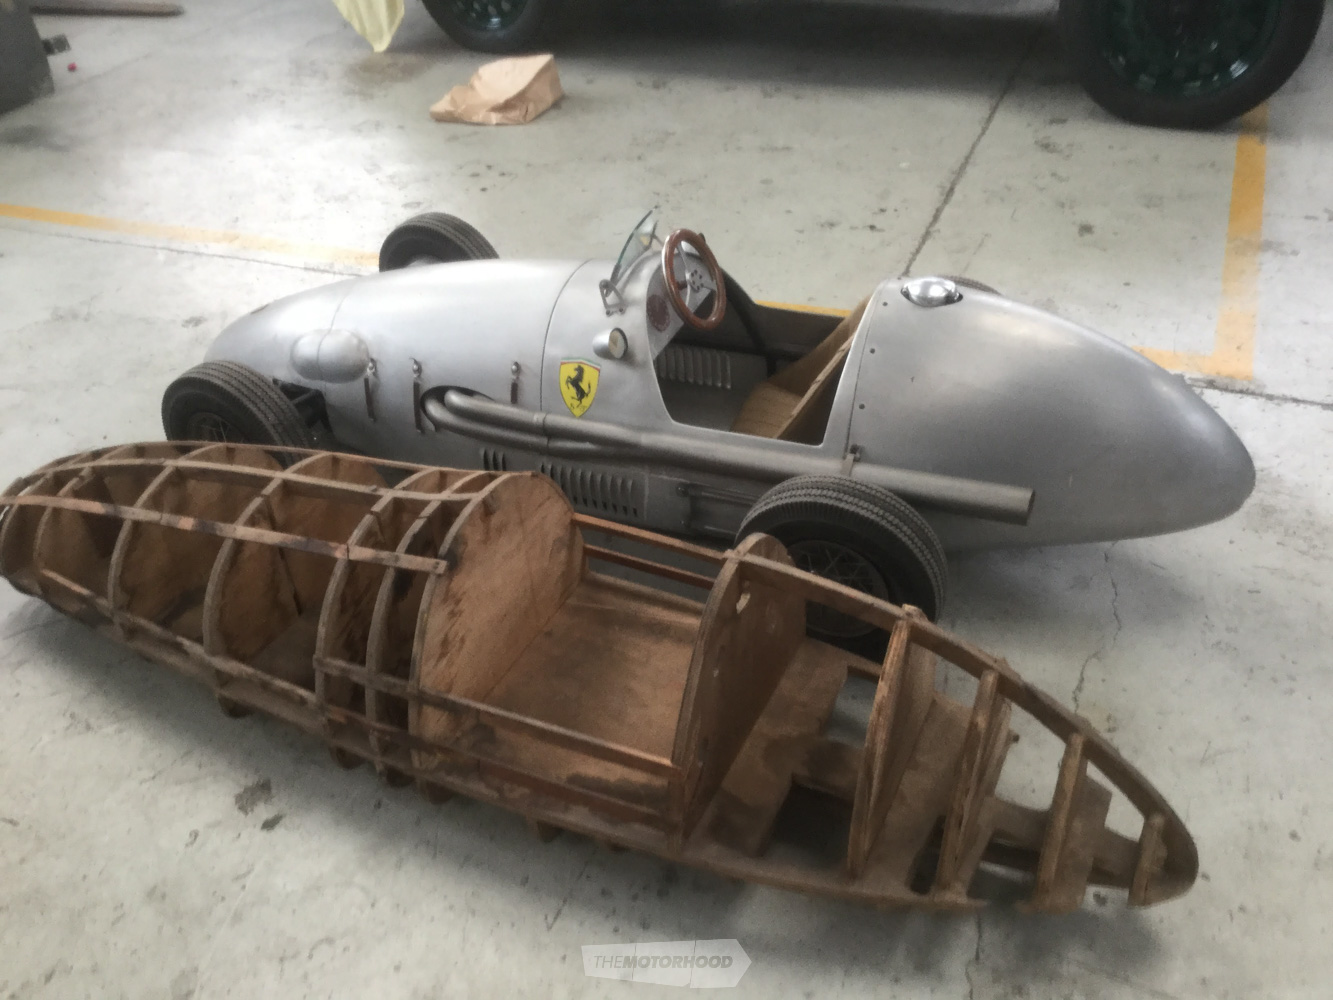
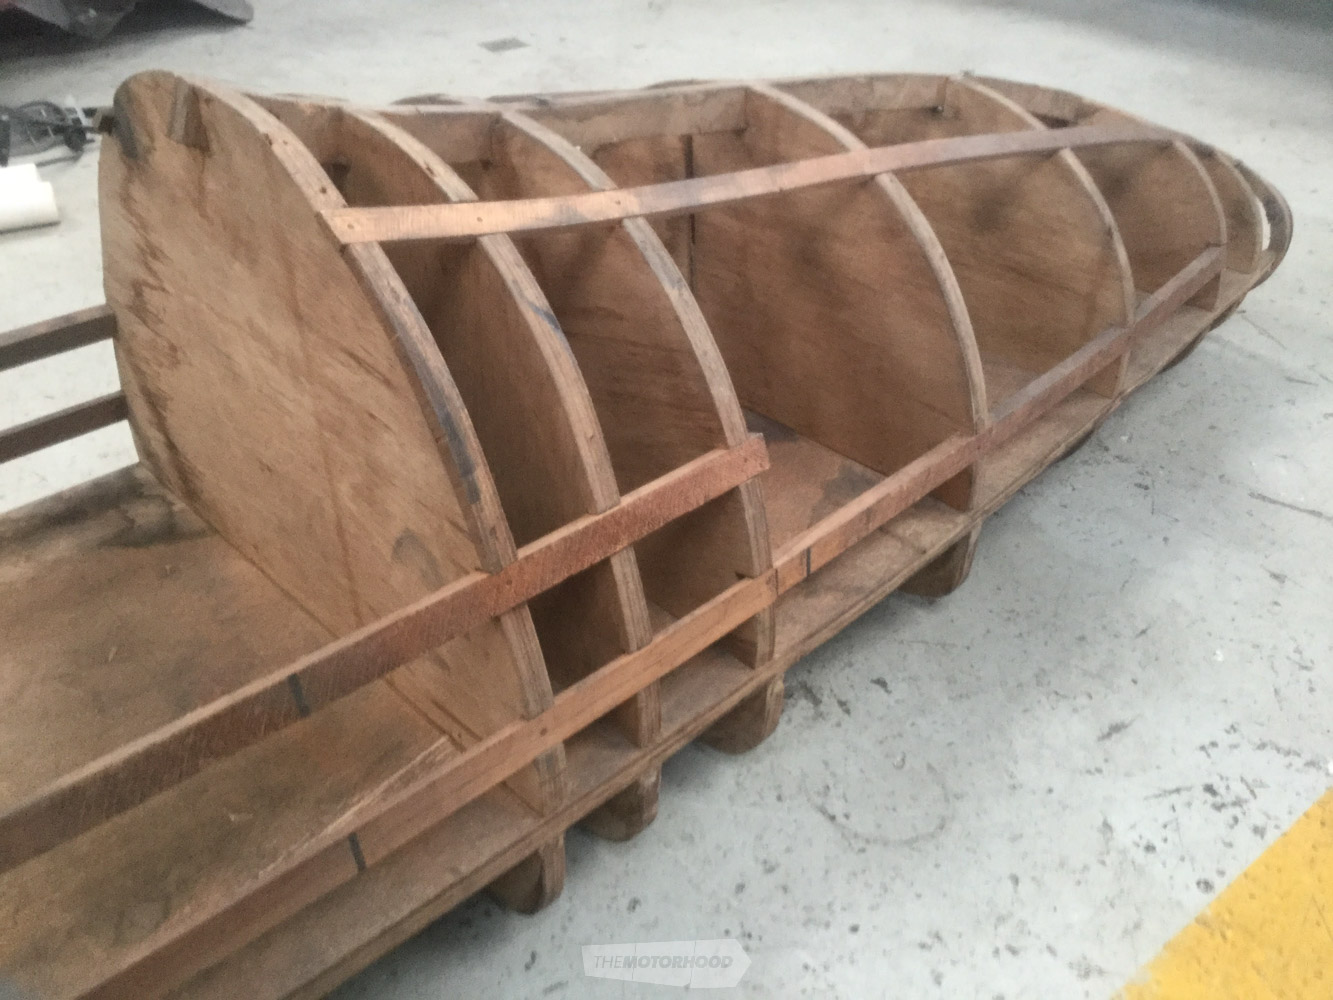
There are two main types of body buck, one made with metal rod and the other with wood. The first is generally made with 6mm rod to resemble the shape and detail of the car.
Wooden bucks, however, are the more well known of the two. In the creation of a wooden buck, the vertical stanchions tend to be placed approximately 350mm apart, secured to each other with longitudinals to give the plan shape. With a wooden buck, it is possible to fill in sections to form solid areas over which the metal can be hammered to shape. This is particularly helpful when panels have to be turned over edges to form radiused entry to ducts.

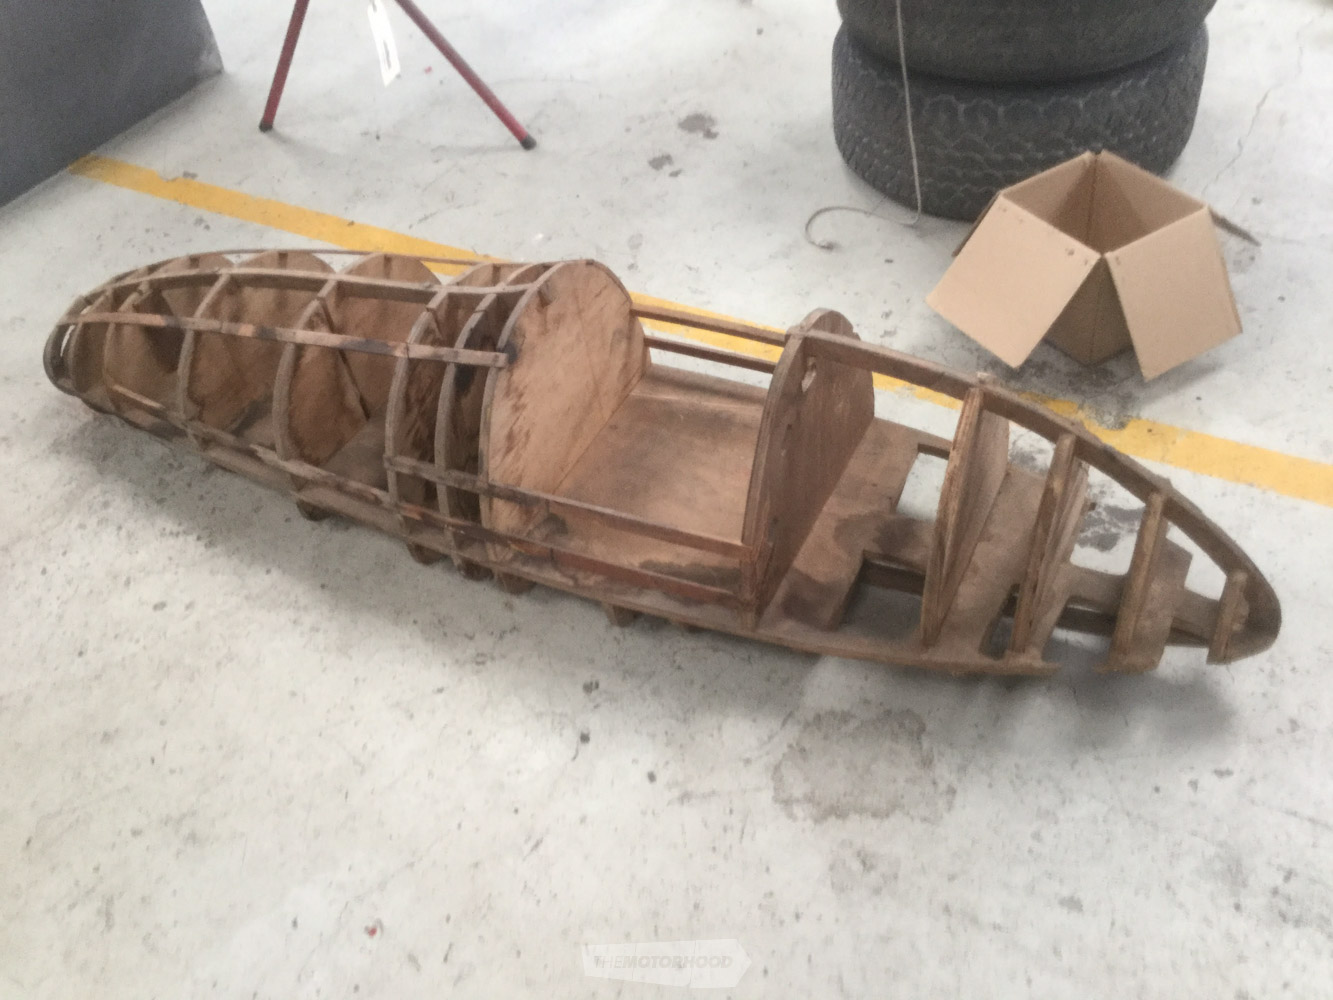
When the panels are being shaped with the English wheel, power hammer, or on a wooden stump, they are regularly trial fitted on the relevant area of the buck to check the contour. A successfully moulded panel will be able to touch the buck without gaps.
Expert tip: “The quickest and easiest way to understand how metal shaping works is by comparing it to pizza dough. The more you stretch it out, the thinner it gets.” — Jason Burke, Burkes Metal Works
Cutting
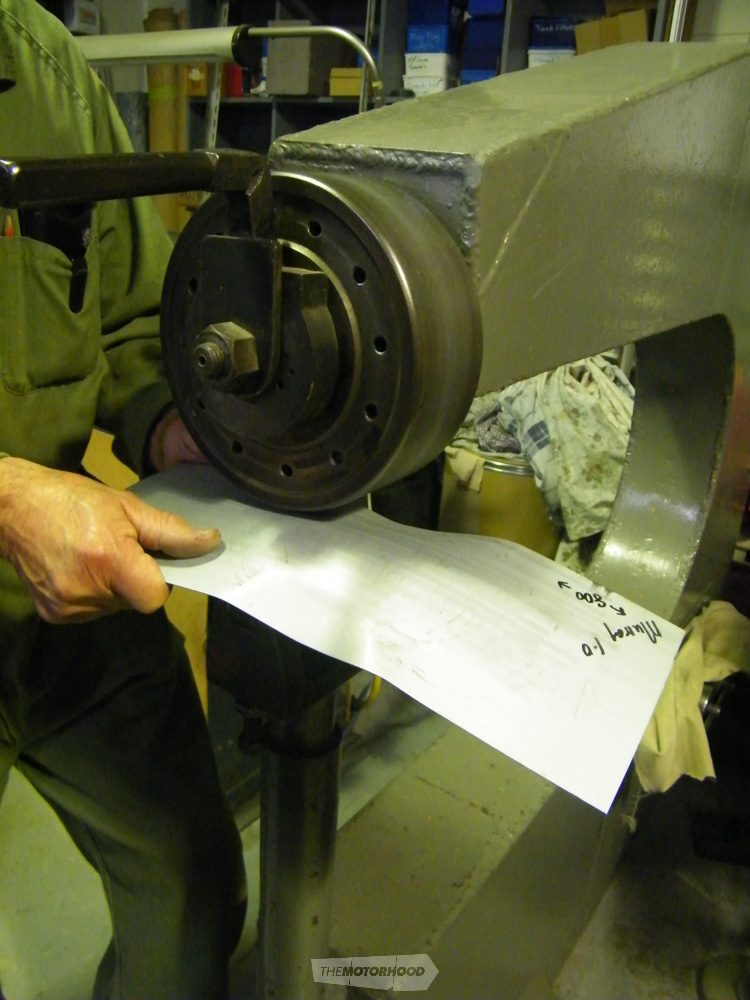
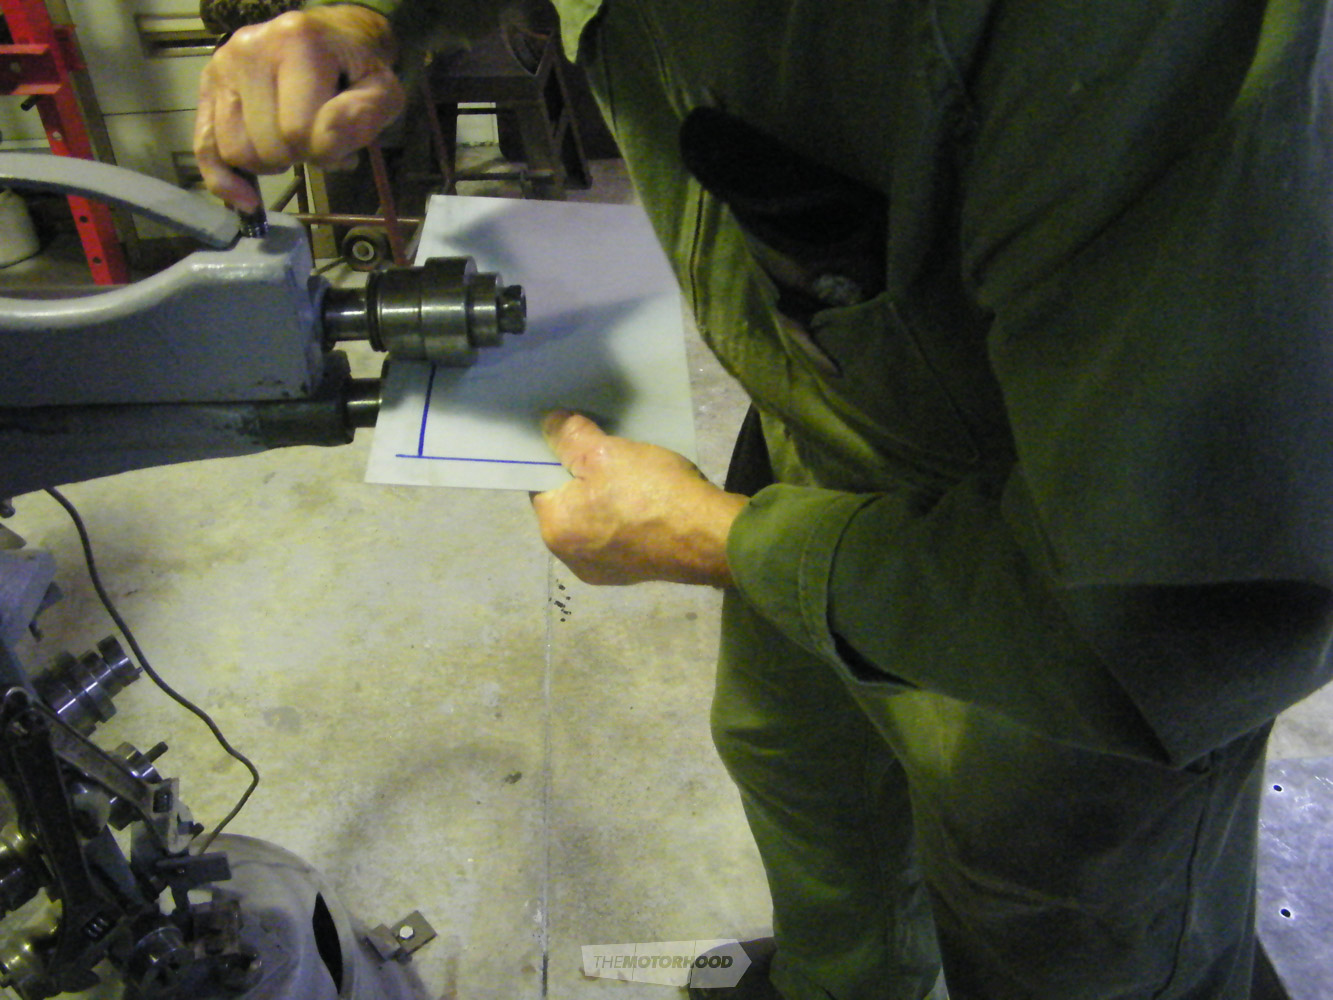
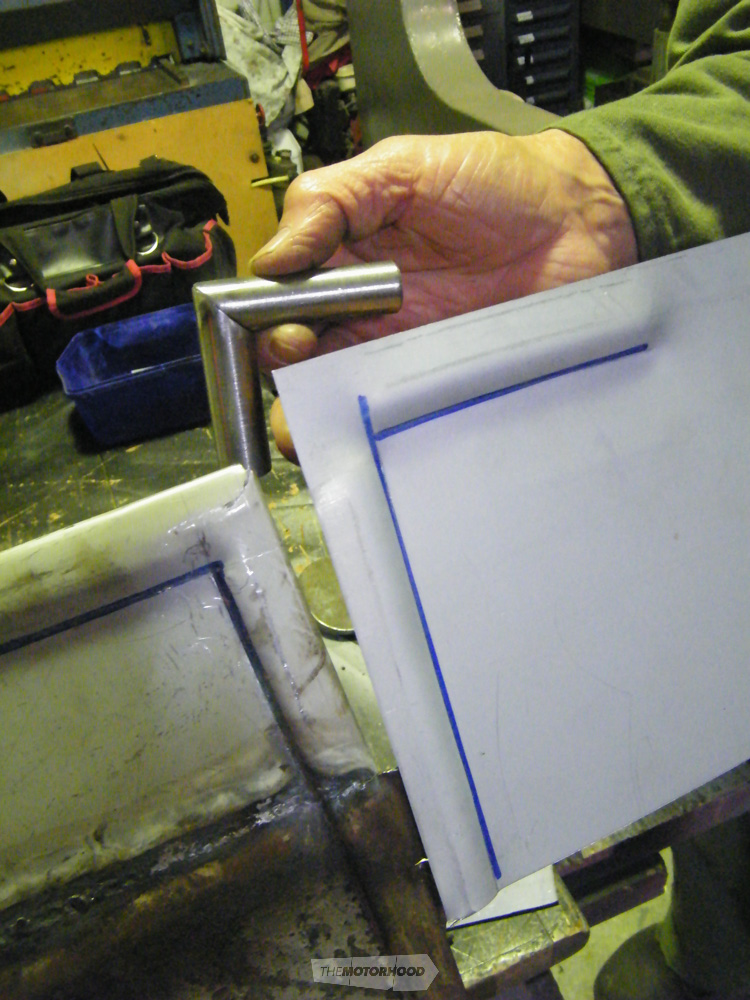
You can’t start metal work without first cutting your sheet metal to an approximate shape and size. The cutting of metal is a step that is perhaps taken for granted, when compared with the more glamorous aspects of shaping and forming custom panels. While many cuts can be completed through the use of a trusty angle grinder and cut-off wheel, professional coachbuilders often prefer other cleaner, quicker, and more accurate methods, such as using an oxyacetylene cutting torch or a plasma cutter, each of which has its own unique advantages and disadvantages.
Key tool: oxyacetylene cutting torch
An oxyacetylene cutting torch is a reasonably simple device, fuelled by separate oxygen and acetylene tanks. When the acetylene flow from the nozzle is ignited, it is concentrated on the surface to be cut until the cut line glows red. Activating the oxygen trigger feeds oxygen to the surface, and the reaction of oxygen with the metal forms iron oxide. An oxyacetylene mixture burns at upwards of 3000°C, and, as iron oxide has a significantly lower melting point, it is liquefied and runs from the cut line.
One of the biggest advantages of an oxyacetylene set-up is its versatility. As long as there is gas and an ignition source, it can be used.
Key tool: plasma cutter
Plasma cutting is effectively a more technologically advanced version of oxyacetylene cutting, operating under different principles to achieve the same result.
A plasma cutter operates as an electrical circuit, using the metal item as an earth and an electrode in the nozzle as the electrical supply. Compressed gas — often oxygen — is blasted from the nozzle to the work surface and is ionized by the electrical arc to complete the circuit. The stream of ionized gas, known as ‘plasma’, generates extreme heat capable of melting the metal directly in its path, blasting the molten metal clear of the work surface.
A plasma cutter can efficiently cut through very thick pieces of metal but requires an electrical supply to do so. It is also a complex unit of machinery, and this is reflected in the cost price.
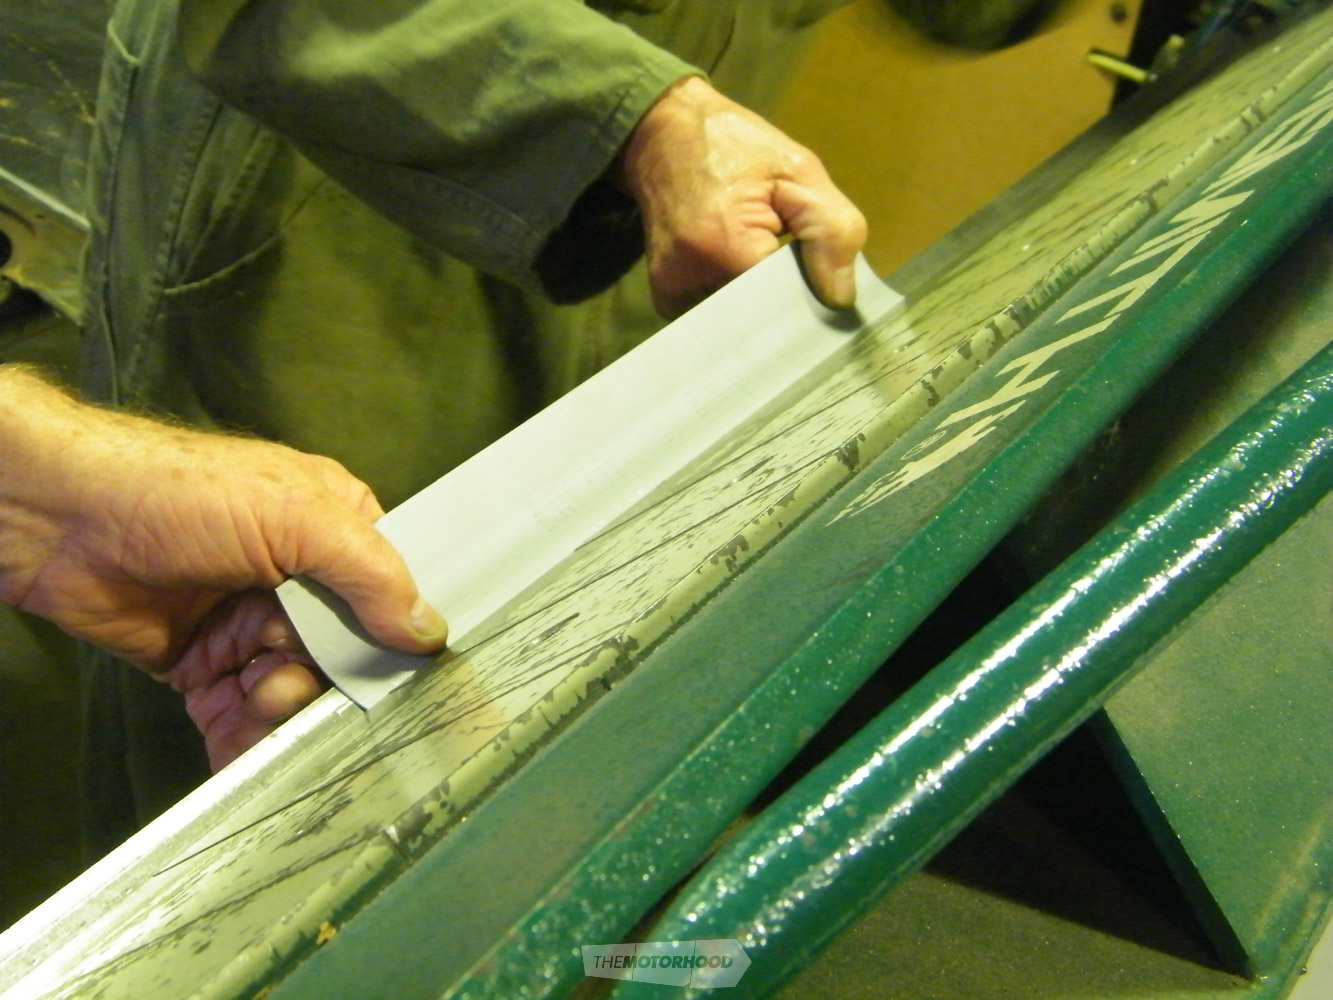
For lighter gauge sheet metal, when precision isn’t necessary — such as the beginning of a patch panel — you can’t beat going manual. This means tin snips, and while it is possible to get a range of air- and electric-powered nibblers, suitable hand-operated tin snips will allow the coachbuilder to quickly and easily cut out straight and curved sections of sheet metal to be shaped.
Expert tip: “If you can’t buy patch panels or body parts to replace the rusted areas of your project car, you may be forced to have them fabricated by hand. Metal fabrication is time-consuming and therefore costly. It involves the use of very old skills and methods long forgotten by most panel shops. It’s essential [that] your vehicle restorer has the right equipment to complete the job correctly.” — Paul Stapleton, Rustorations 2017 Ltd
English ‘wheeling’
To use an English wheel is known as ‘wheeling’ and is often required for compound curves in the repair and manufacture of automotive panels. Panels produced this way require highly skilled labour, but the method has the flexibility to produce different panels using the same machine.
The English wheel is shaped like a large, closed letter ‘C’. At the ends of the C, there are two wheels. The upper wheel is known as the ‘rolling’ wheel, while the lower wheel is called the ‘anvil’ wheel. The anvil wheel usually has a smaller radius than the rolling wheel. The rolling (top) wheel is flat in cross section, while the anvil (bottom) wheel is domed.
The depth of the C-shaped frame is called the ‘throat’, and its size usually determines the largest size of metal sheet that the operator can place in the machine and work.
Operating the machine requires the sheet metal to be passed between the anvil wheel and the rolling wheel. This process stretches the material and causes it to become thinner. As the material stretches, it forms a convex surface over the anvil wheel. This surface is known as ‘crown’ and provides the rigidity and strength in the surface of the workpiece.
Key tool: English wheel
The top rolling wheel and the bottom anvil wheel are adjustable to suit the exact requirements of each particular job. An English wheel can be purchased as an off-the-shelf tool nowadays, and most take additional anvils, which can be purchased separately, allowing for varying curvature in the panels being worked.
Expert tip: “When using an English wheel, it’s always easier with two people to ensure a consistent shape.” — Duncan Ross, Panelcraft Auto Restoration Ltd
Swaging
‘Swages’ are grooved tools used by traditional panel beaters to form shapes in metal that may be too difficult to make with a hammer alone. ‘Swaging’ is a technique in which cold metal is formed over a swage. The technique is also used in the joining of two panels when an edge of one panel is swaged so as to overlap the other to create the impression of one continuous surface.
A swage puts a furrow or groove through a section of sheet metal for decorative purposes or for the purpose of increasing its rigidity. It is often used in larger areas of sheet that require stiffening and increased structural strength.
Swaging machines come in different sizes with a variety of interchangeable dollies, which come in male and female sides. These allow the worker to create different swage shapes or profiles, and can be used in new work or to match swages used in existing panels while in the process of repair or replacement. Custom-made jigs can be used to finish the swage or complete corners in specific jobs.
Key tool: bead roller
A bead roller is one of the most important tools in a coachbuilder’s arsenal, allowing for beads or swages to be worked into metal sheets or tubes. Relatively straightforward in operation, a bead roller makes it easy to strengthen sheet-metal parts and work a bead into tube ends when required.
Expert tip: “When swaging freehand shapes, use two people; smooth, even speed; and get [in] a comfortable position for guiding. Again, when wheeling, [ensure] correct height, [and] smooth, even wheeling, and don’t be afraid to experiment with the pressure on the wheel.” — Graeme Climo, Auto Restorations
Edge shrinking and spreading
Edge shrinking and spreading are key skills in many aspects of panel production and repair in classic motor vehicles. This can be done through manual techniques utilizing a hammer, or with the help of a mechanical spreader.
Heat can be applied to a damaged area of the panel and a special hammer used to reshape the metal. This technique is used together with planishing to restore the panel to its original shape and contours.
The folding machine and the mechanical spreader can be used to create curved and flanged sections like those often found in rusted bases of door pillars or door corners.
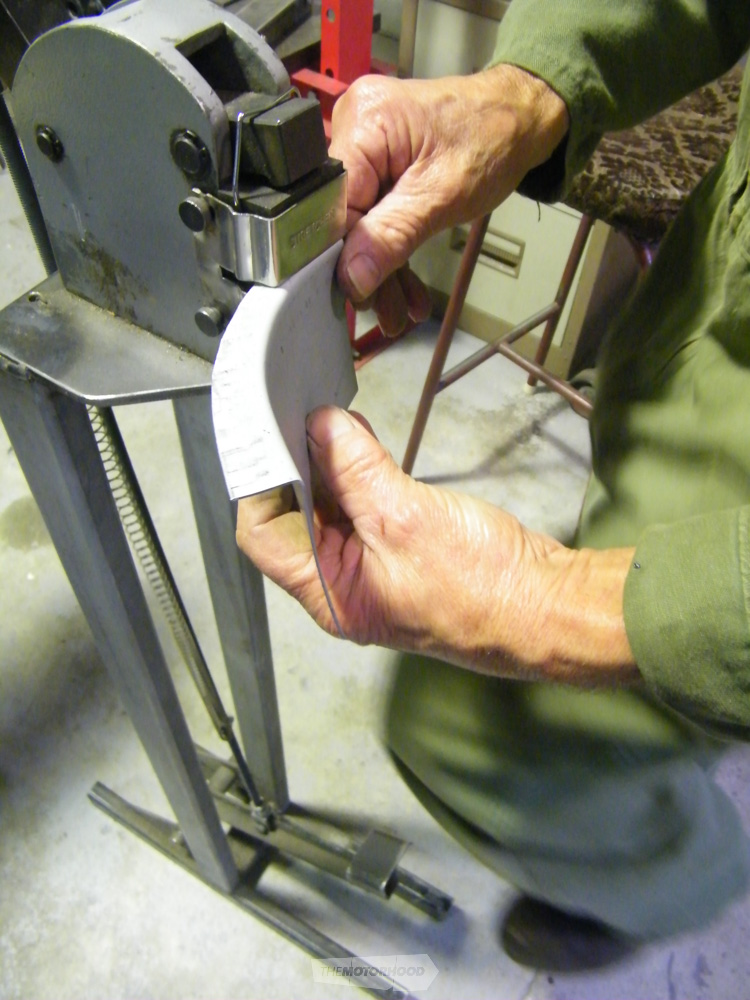
Key tool: shrinker stretcher
The shrinker stretcher is perhaps the most bang-for-buck item in terms of metal shaping. Modern shrinker stretchers operate so as to negate the need for more labour-intensive processes, including relief cuts, heating, and hammer shaping. This allows the operator to add a gentle radius to a metal panel by either shrinking or stretching, and its versatility means that it can be used to form patches for just about any panel repair.
Expert tip: “Before you start shaping metal for wheeling, swaging, or hammer forming, consider the type of material or metal you use. Cold rolled or deep drawn is best, [as it is] softer and more malleable.” — Terry Price, Restorations Unlimited
Welding
‘Welding’ is the process of fusing pieces of metal together. If completed properly, a weld becomes a strong joint. There are several ways to weld, such as by gas flame or electric arc, and the method is largely dependent on the type of materials to be joined.
Butt-fusion welding with oxyacetylene is often used in the repair of old steel work. No filler rod is used, as it is hard and cannot be filed down when cleaning up the weld.
The skill is to know how, when, and where to relieve the stresses in the metal. It starts with tacking the joint about 100–150mm ahead, then using a hammer and dolly to relieve the stress in the metal before proceeding. This requires skill and experience to move the flame along the seam to be joined. The joint can then be cleaned up with a hammer and dolly and filed to get as close as possible to a smooth finish.
The easiest weld is two straight edges cut with a guillotine, and common repairs involving this technique include replacing rusted door bottoms and corners. In working on existing bodies, the coachbuilder must at times get their hands inside body members and door shells. Thought must therefore be given to where the cut can be made to allow access for hands and tools.
Expert tip: “The secret to welding sheet metal is even heat and weld speed coupled with even planishing over the heat-affected zone.” — Phillip Broadbent, Ngatea Panelbeaters Ltd
Oxyacetylene welding
Using an oxyacetylene welding plant to butt weld 1mm thick panel steel can lead to frustrating distortion. To minimize this, the tacking process is important and starts by placing the first tack in the centre of the joint and alternating the following tacks either side of the first until the edge of the weld is reached. Each tack should be smoothed using a hammer and suitable dolly, which conforms as closely as possible to the shape of the panel being welded.
Brazing
In contrast to standard welding procedures, brazing is used when metal is overlapped or parts need to be joined at as low a temperature as possible. Brazing requires a flux to be used, in order to make the weld metal flow. The flux residue appears as a glazed crust on the weld and should be completely removed to avoid later corrosion and paint problems.
Expert tip: “When welding: weld hot, [ensure] good penetration, [and] correct angle and remember to breathe. We have observed new welders tend to forget to breathe regularly when fusion/butt welding!” — Chris Schouten, Tin Rabbit Restorations Ltd
Soldering
Joining metal by soldering requires relatively little heat, and the method is commonly used to join copper parts in radiator repairs and building. The surface of the parts to be joined should be completely clean for the best results. A properly executed soldered joint will have great shear strength.
Expert tip: “When starting a new restoration project make sure you get a detailed estimate broken into separate stages. This allows you (the client) to give the go ahead on each new stage, which gives you full control of the project and allows you to keep an eye on costs.” — Mike Baucke, The Surgery
Hammer forming and planishing
‘Hammer forming’ involves the use of a relatively soft mallet on the panel, against a corresponding concave surface, usually custom formed from wood. It is one of the oldest techniques in the book as far as the shaping of sheet metal is concerned. It is traditionally performed using tree stumps or logs with a bowl shape carved into the top, and operates as a rudimentary shrinker stretcher for larger, flatter pieces.
Once shaped satisfactorily, a planishing hammer can be used to even out any imperfections. ‘Planishing’ is essentially a hammer-and-dolly process, using a flat- and smooth-headed planishing hammer on the imperfect exterior side, and a dolly contoured to match the panel surface on the underside. The aim here is to get as smooth a surface as possible, although it is still likely to require finishing with a file or sandpaper.
Key tool: planishing hammer
The planishing hammer has a relatively small head with a large contact surface, flat and smooth in profile. Used in conjunction with an array of dollies — which must be chosen to best suit the curvature of the panel being finished — the planishing hammer is an important tool in achieving a smooth surface finish on a panel that has, until planishing, only been approximately formed.
Expert tip: “Having the ability to fabricate our own replacement panels means [that] we are able to restore cars that might have otherwise been piled into the too-hard basket. An important part in this process is the process of TIG welding patch panels and outer skins to OEM structures. It is important that each panel butts up to the existing structure perfectly to ensure a strong molecular bond between the metal surfaces and … [to negate the need] for filler rod, making for a stronger weld and a better finish for the next process in the restoration.” — Matt Brook, Custom Paint and Restorations